Notice: We request that you don't just set up a new account at this time if you are a previous user. If you used to be one of our moderators, please feel free to reach out to Chris via the facebook Outerlimits4x4 group and he will get you set back up with access should he need you.
Recovery:If you cannot access your old email address and don't remember your password, please click here to log a change of email address so you can do a password reset.
If you've seen Mick T's high clearance sills and you're considering doing it as well, this might be of some use. These are some really clear pics of the inside of the Sierra sills (thanks to Andrey/Russian on Pirate):
I've cut the ends of mine open and stuck my arm in and sorta figured what it was like mentally already; but this is quite a clear way to see how the panels are stitched together.
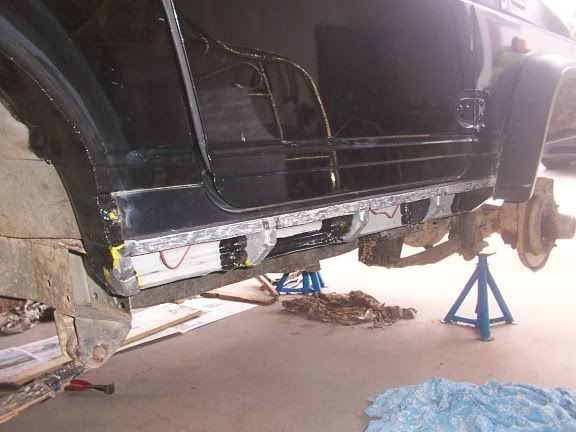
I aint got a digi but I did this a few months ago. I cut the sills off just below the door as in your photo. I got some folded 2mm steel given to me by an engineer and had it welded direct to the body.( Mig.)
The steel was folded like a rectangle with the centre section of the top wide area cut off, if that makes sense. So it has a fold inwards about 10mm on the top each side. The steel was galvanised too. Now my sills hang down just over 50mm. The floor is actually lower than the sills.
I'll address that later with a short piece of angle.
LM.
It's better to have LIVED for a day than to have EXISTED for a hundred years.
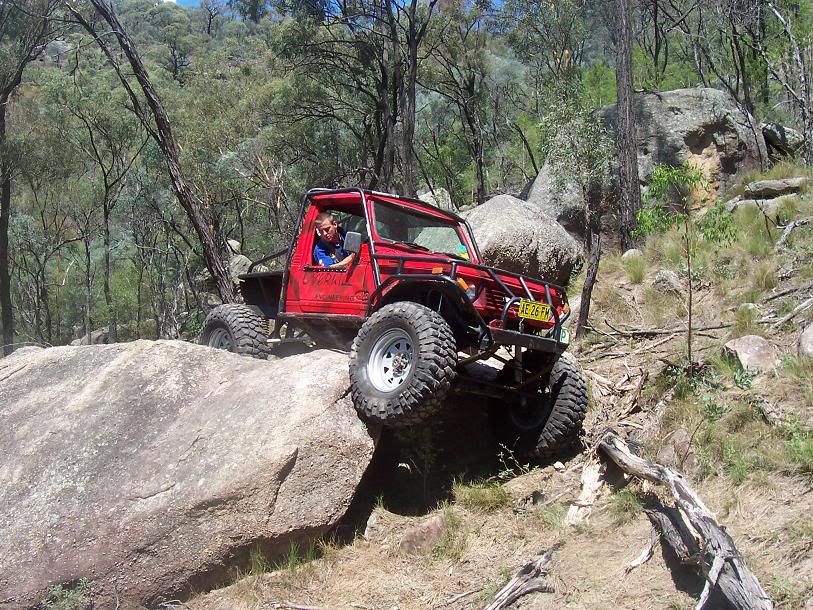
Ahh .. back when times were simple .. and I still had a Zuk ..
" If governments are involved in the covering up the knowledge of aliens, Then they are doing a much better job of it than they do of everything else "
Why dont people just cut the whole sill out? ive had a look in mine and there is nothign realy the sill is there for besides cosmetic...more space for a slider to be closer to the body as well as higher
MADZUKI wrote:Why dont people just cut the whole sill out? ive had a look in mine and there is nothign realy the sill is there for besides cosmetic...more space for a slider to be closer to the body as well as higher
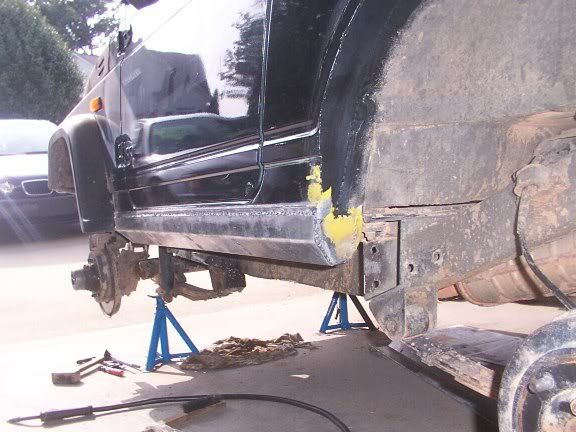
you mean like this?
i cut into my footwell to get the required clearance for the front stay
Team UNDERDOG #233
WERock Australia thanks to
[url]http://www.longfieldsuperaxles.com[/url]
[url]http://www.rockbuggysupply.com[/url]
or like this as posted elsewhere doesnt give as much clearance but would be a reasonable alternative to actual welded or bolted sliders particularly if built out of 3mm plate
..................I myself would still go the traditional slider .....but I always seem to have the chuck wagon on trail runs .....I carry most shite for repairs .....so the overweight rigs always need sturdy protection