Notice: We request that you don't just set up a new account at this time if you are a previous user.
If you used to be one of our moderators, please feel free to reach out to Chris via the facebook Outerlimits4x4 group and he will get you set back up with access should he need you.
If you used to be one of our moderators, please feel free to reach out to Chris via the facebook Outerlimits4x4 group and he will get you set back up with access should he need you.
Recovery:If you cannot access your old email address and don't remember your password, please click here to log a change of email address so you can do a password reset.
Lifting sierra transfer case
Lifting sierra transfer case
I've got a two inch bl in and want to lift my tcase an inch. If you've lifted your case, what have you used?
cheers Dan
cheers Dan
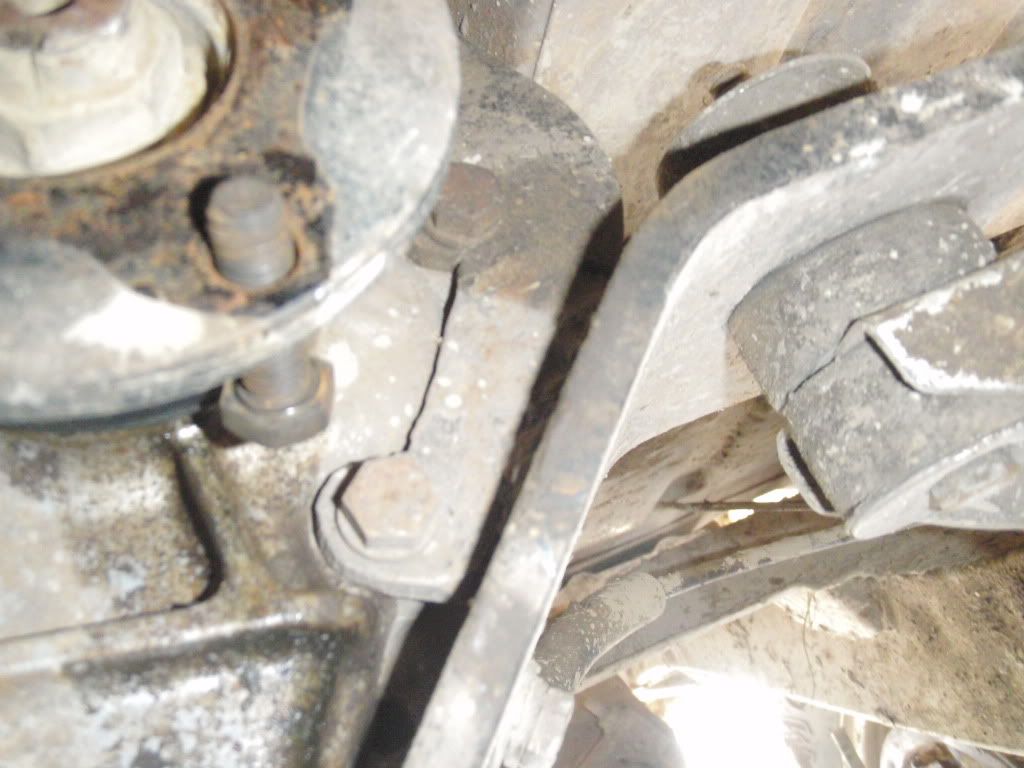
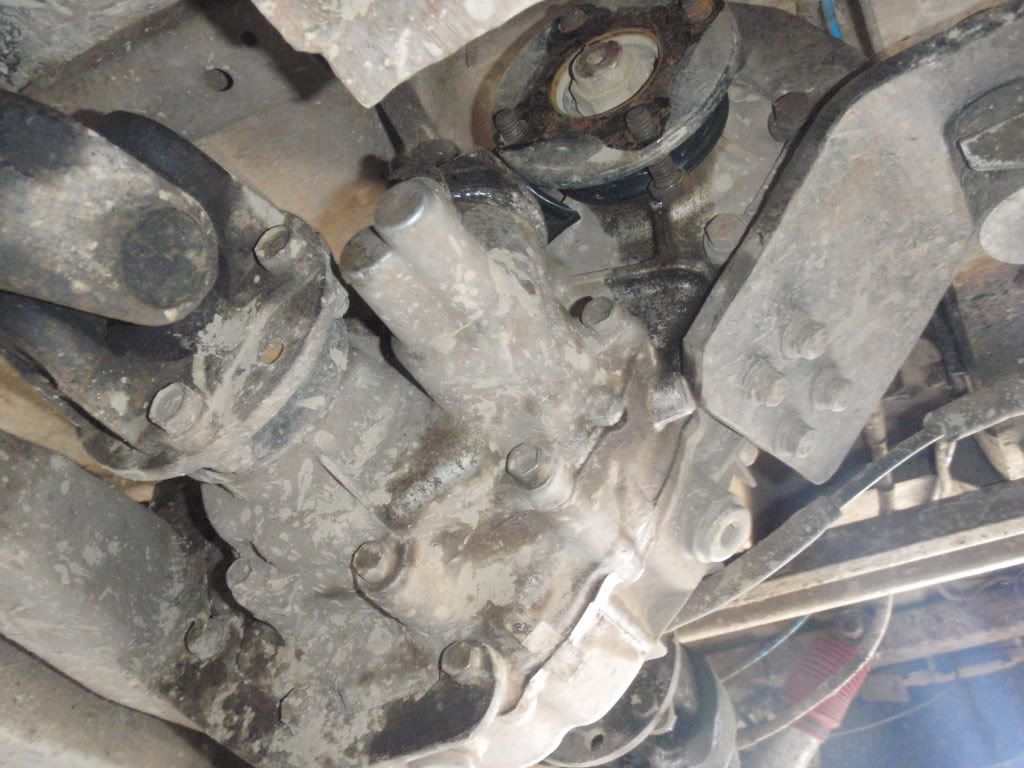
You can weld on a plate to the original bracket that lifts it up what ever amount you want and then just add a metal bush or solid block on the other side, though this gives really bad leverage on your mounts if you are running gears or lockers.
Here's the old one of mine next to the newer Spidertraxx one I got you can see the add on bit of plate, you cna probably also see the big twist in it as well I got sick of bending it back and the fact that it was week meant it wasnt getting any better didn't help.

This was another idea I toyed with but I didnt like the idea of one thing being bolted to another thing so scrapped that plan...

Here's the old one of mine next to the newer Spidertraxx one I got you can see the add on bit of plate, you cna probably also see the big twist in it as well I got sick of bending it back and the fact that it was week meant it wasnt getting any better didn't help.

This was another idea I toyed with but I didnt like the idea of one thing being bolted to another thing so scrapped that plan...

..wrench, wheel, wreck repeat..
check out the action @ http://www.darwin4x4.net
check out the action @ http://www.darwin4x4.net
As per my post in another thread.
This thread came up again so I might add to it regarding the transfer lift.
There was a thread on pirate in the last 2 weeks regarding using Honda engine mounts to lift the transfer. They looked exactly the same as the Sierra transfer mounts but twice as thick. I'll see if I can find it.
Edit: http://pirate4x4.com/forum/showthread.php?t=721460
-Mal
Zook 1, 2, 3 gone
Patrol - Wheels, engine and stuff
Zook 1, 2, 3 gone
Patrol - Wheels, engine and stuff
mate if the stud was one piece through (if thats what you meant) it would defeat the purpose of having a flexible mount... they are designed to flex & move independant of eachother...MUD-PIGSIERRA wrote:If those studs are joined in the middle they would be pretty good, I was ripping mine in half though as they are not joined for the Sierra ones...
All the gear, No idea...
If they were not joined in the middle it would defeat the purpose of most guys with lockers and gears as they get ripped in half under heavy load. As mine did, numerous times before I went to the Spidertraxx kit. The sole purpose of the rubber is not just to allow flex but to cut down vibrations as well.Dee wrote:mate if the stud was one piece through (if thats what you meant) it would defeat the purpose of having a flexible mount... they are designed to flex & move independant of eachother...
..wrench, wheel, wreck repeat..
check out the action @ http://www.darwin4x4.net
check out the action @ http://www.darwin4x4.net
dont worry it might be happening soongreg wrote:you guys are going about this job all wrong...
Here's what i did:
1. remove body
2. remove suspension
3. cut out all transfer cross members
4. build new transfer cross members
5. re-assemble
Never miss a chance to turn a 1 hour job into a 2 year build
[color=green]Vote Earth[/color]
So you got to check them out? It wasn't mentioned if they were Civic, Accord or something else.meads02 wrote:i ordered three honda accord engine mounts this arvo. fingers crossed they don't rip in half
X2 on posting up the details on how you go.
-Mal
Zook 1, 2, 3 gone
Patrol - Wheels, engine and stuff
Zook 1, 2, 3 gone
Patrol - Wheels, engine and stuff
awesome info , i love outerlimits!
i have lifted mine . currently using round tube with washers welded to the ends, and bolts all the way through, washers on the bolt head/nut ends. i was looking for alternate solution to hopefully cut down on vibration as it does shake a bit being solid mounted ! my stock mounts lasted less than i invisioned while running 32's .
i will see if i can get an image up for the sake of sharing
did big gq make them for you?Adsport wrote:awesome info , i love outerlimits!
i have lifted mine . currently using round tube with washers welded to the ends, and bolts all the way through, washers on the bolt head/nut ends. i was looking for alternate solution to hopefully cut down on vibration as it does shake a bit being solid mounted ! my stock mounts lasted less than i invisioned while running 32's .
i will see if i can get an image up for the sake of sharing
[color=green]Vote Earth[/color]
greg wrote:you guys are going about this job all wrong...
Here's what i did:
1. remove body
2. remove suspension
3. cut out all transfer cross members
4. build new transfer cross members
5. re-assemble
Never miss a chance to turn a 1 hour job into a 2 year build
[quote="4WD Stuff"]
I haven't quoted Grimbo because nobody takes him seriously :finger: :finger: :finger: :finger: [/quote]
I haven't quoted Grimbo because nobody takes him seriously :finger: :finger: :finger: :finger: [/quote]


I have a 2" bodylift. The transfer lift RHS is 50mm x 6mm thk. Havent had a problem yet. Hole in top for original rubbers, and nuts welded in, so easy installation with bottom bolts.
Have a roctoy ring to go in also...So may have to lower it..Or cut ring to suit abit..
The transfer is actually up behind the chassis bout 15mm. The CAT however like to slide up on things.
But i think suzy likes her belly scratched
I am Tim
Yes, it becomes much, much better.
Lifting the case about 2" results in a pretty much level jackshaft. As the jackshaft is short and spins at somewhere between 1.4 and 1.7 times driveshaft RPM, getting it really well aligned is worth the effort.
I'll post some photos tonight, but I've lifted the case and aligned jackshaft on a few cars now (including my tray) and there's a surprising reduction in vibration at speed.
obviously with tall lifts/spoa rear driveshaft angle might become a problem, but for our cars with lower lift it's all good.
Should mean jackshaft unis (the "forgotten" uni) last longer too.
Steve.
[quote="greg"] some say he is a man without happy dreams, or that he sees silver linings on clouds and wonders why they are not platinum... all we know, is he's called the stevie.[/quote]
Who is online
Users browsing this forum: No registered users and 2 guests


