Page 2 of 5
Posted: Fri Jun 20, 2008 8:32 pm
by NJV6
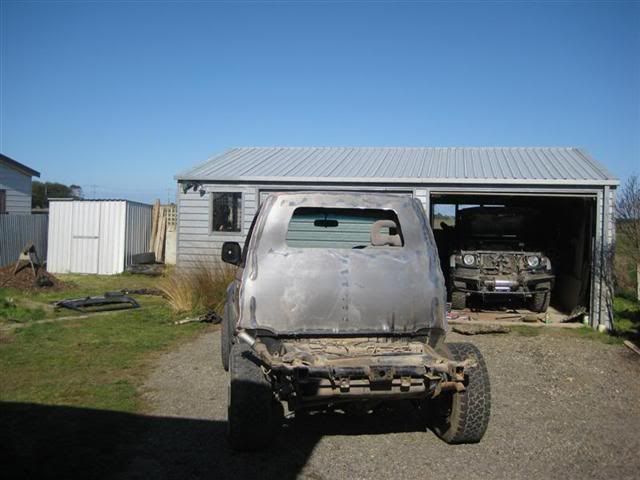
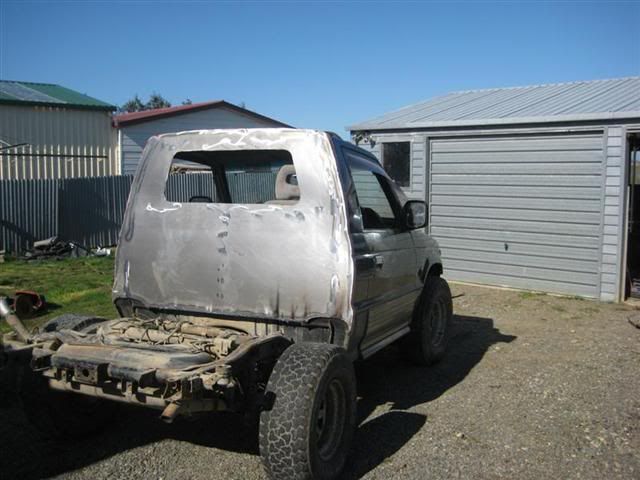
The Chop now has a motor!
I have no idea how long the wreck had been sitting for but after bolting it all in and plugging everything in (THANKS WACKO for the ignition bits) and turned it over and away it went!
Rattled real bad for 5 seconds then quiented down nicely (must have been sitting for a while), didn't even smoke. (so far so good), then stalled when I tried to gave it throttle but it's bed time.
Posted: Sat Jun 21, 2008 9:39 pm
by NJV6
Motor in and running nicely. Quietened down (lifters) after about 5 minutes. Leaking RHS rocker cover leading to smoke signals. Will leave it be for now - hopefully will burn off and dry up a little if it gets run. Had to buy a new idler for alternator as it was missing - that part almost doubled the value of The Chop!
No reading on temperature gauge. but it should have moved after the time it was running. I'm wondering if that is why it would not idle properly - was sitting 1200 like a cold idle.
Put gearlever back into gearbox (I was all set to lift body off chassis before this engine turned up) and a makeshift seat, put steering wheel on, bled clutch, hooked up gauges and it then moved under it's own steam - something it has not done for nearly 4 years.
Pulled rear diff housing today to fit locker tomorrow. Rolling entire rear end out and replacing. Will get some pic's up tomorrow.
Any ideas on fast idle and no reading on temp gauge?
Posted: Sun Jun 22, 2008 6:41 pm
by NJV6
Did a bit more today.
Donor vehicle for motor and locker
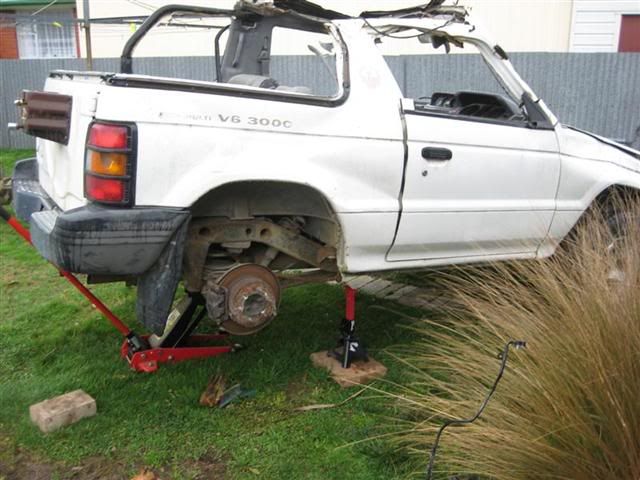
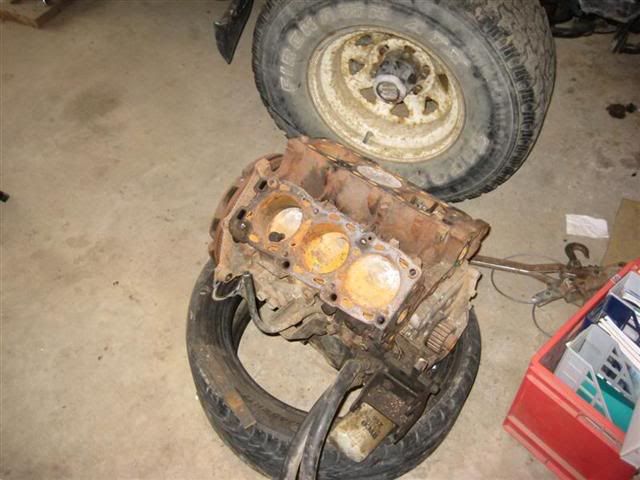
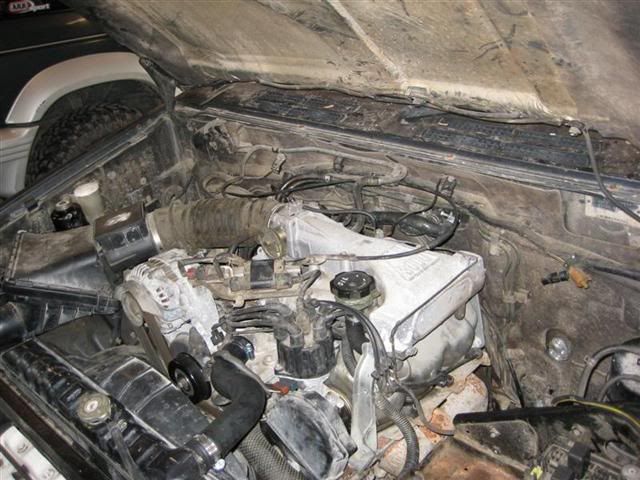
Motor out of Chops, had chipped pistons and siezed solid - no idea what happened
Got new motor in
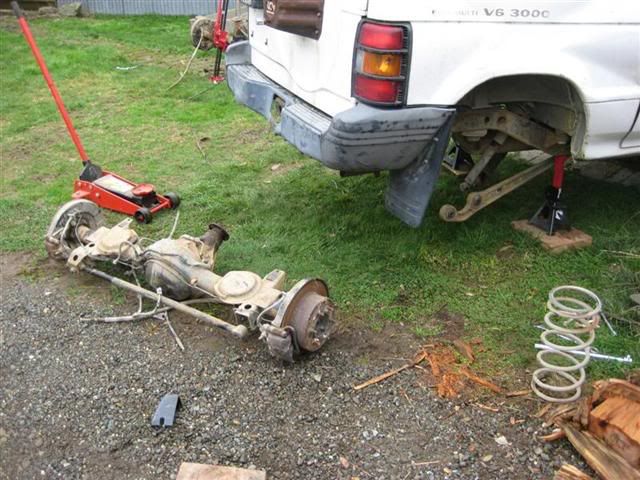
Rolled Diff out of Chops. Interesting to note the LSD was still very tight at 180km. Once it was out like this it was very hard to turn - just wanted to go in straight lines! Quite the opposite to the open/locking diff I put back in.
Next it to get the wiring for the locker and work out what I am going to do with the vehicle!
Posted: Thu Jun 26, 2008 3:43 am
by toastmaster
does rolla have headlamp bezels

Posted: Thu Jun 26, 2008 3:58 am
by mad geordies
hi mate good to see it coming on but... since you have the doner..also change the front diff to match as i done the same as you changed the rear and worked for a bit but then went bang was slightly diffrent to the front diff i know you probally know what your doing just incase mate
Posted: Thu Jun 26, 2008 5:45 am
by NJV6
They are the same ratio.
Toastmaster - no they have been donated to the chop hich came with none. I do have the numbers though and will let you know when it stops snowing et al
Posted: Thu Jun 26, 2008 5:47 am
by mad geordies
good just checking! lol
Posted: Thu Jun 26, 2008 6:41 pm
by toastmaster
Thanks NJ!
Posted: Sun Jun 29, 2008 7:03 pm
by NJV6
Didn't really get anything achieved this weekend.
Pulled the brakes off the JTop Donor as they come with factory 18's and most 15 inch rims don't fit. It came with 15's but didn't turn as they were jammed on against the calliper.
I whipped some 16's on to the front to move it around my property but I wasn't prepared to give them away so took the bigger brakes off and put some old ones I had in the shed on it so I could use the horrible wheels it came with.
The JTop brakes are simply massive in comparison to std and I imagine they would be a pretty solid upgrade. If I was to upgrade would I need a bigger master cylinder? That was one thing I never actually checked to see if there was a difference.
I may not bother with moving the C pillar up to the B. I cut the C into 3 pieces so get an idea of how it would fit, it wouldn't fit straight up as the differences are too great. Thinking (unless I get persuaded otherwise) I may just put a straight wall in the back where I have cut. I left it straight so if I had to I still could.
Posted: Sun Jul 06, 2008 10:33 am
by toastmaster
Hey NJ you have motivated me to hack the back half of my paj! I'll make a post when i start cutting!

Posted: Mon Jul 07, 2008 8:30 pm
by NJV6
toastmaster wrote:Hey NJ you have motivated me to hack the back half of my paj! I'll make a post when i start cutting!

Yeah! The phenomenon has begun! Is yours a shortie?
Posted: Tue Jul 08, 2008 5:48 am
by toastmaster
Well the first one i'm doing is a shorty, its an '87 and i marked the cut lines on saturday. I'll be cutting the back half of the top off of this one in a few weeks. and my other is a '94 4 door and i plan on cutting the whole back section off and just having a 2 door cab like yours, but that won't be till next winter. what did you use to make your cuts? i have a reciporcating saw and a 9" grider.
Posted: Tue Jul 08, 2008 7:08 am
by NJV6
Just the 9 inch and 4 inch grinders.
I looked at doing a 4 door and had the vehicle here but it would take quite a bit of work to turn into a single cab so decided against it with my limited skills.
Posted: Mon Jul 21, 2008 2:46 pm
by toastmaster
i started on mine today!

Posted: Thu Jul 31, 2008 7:55 pm
by NJV6
Righto, what do you guys think - do I go LWB or SWB?
I have the LWB chassis just waiting at home for something like this body to go onto it.

Posted: Sat Aug 02, 2008 11:30 am
by WACKO
i say go the lwb route. itl look heaps better, and even if you dont use the chassis i recon you should extend your wheelbase. with things your talking of doing now you will be doing some serious suspension mods anyhow so may aswell jsut extend the swb to mwb...
Posted: Sun Aug 17, 2008 7:10 pm
by NJV6
After helping a mate do a SAS and put a 1UZ toyo V8 into a Surf I got inspired to crank out the grinder again.
The Body got the final grind up... It was probably going to be beyond my skills to get the c pillar to match up so it'll be a flat panel in the back.

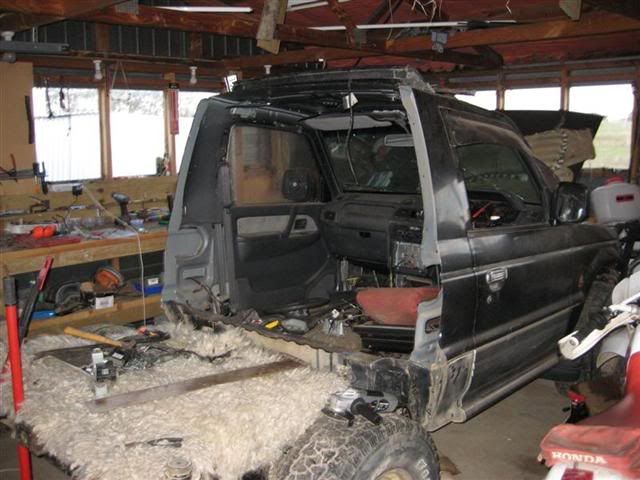
Its hard case driving around like this - skids up very easily! Put a nice comfy suspension seat in it

The LWB chassis is getting tha treatment. To fit it in the shed with heaps of room to spare - off came the back

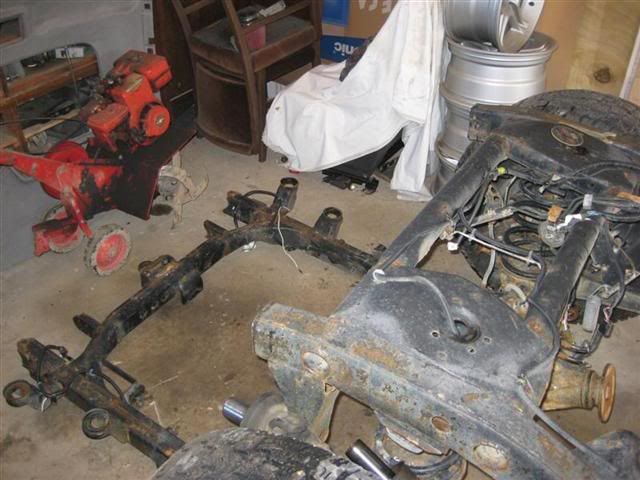
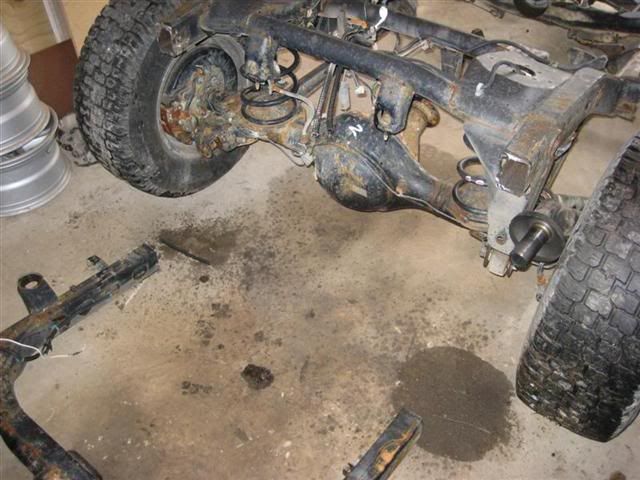
The chassis rails are substantial!
The all the bits I could unbolt from the IFS got unbolted.
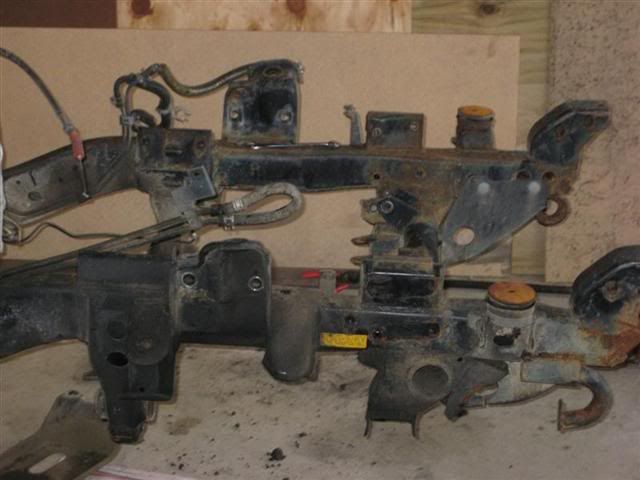
And the grinding started.
Posted: Mon Aug 18, 2008 4:38 pm
by WACKO
good stuff man! glad to see you have seen the light! you going 1uz or what?
Posted: Mon Aug 18, 2008 7:08 pm
by NJV6
Weeeeeeeeeeell long story.... Catch you on MSN soon

Man, do those IFS bits take some grinding! Faaaark me, I've changed skin colour and not even nearly half way! The 9 inch was getting heavy so called it a day

Posted: Tue Aug 19, 2008 5:45 pm
by NJV6
Hmm. Had change of plan.
Need to do some more measuring but preliminary measureing shows I now may cut the entire front end off the chassis and weld the Toyota Prado in.
Diff ratios the same and would save an awful lots of grinding and welding, castor would be set and everything. Problem is, i'd have to use those horroble Prado front radius arms.
Hope to talk about the legalities of it tomorrow. Watch this space, should be exciting!
Posted: Sat Aug 30, 2008 11:39 am
by NJV6
Posted: Sun Aug 31, 2008 7:48 pm
by NJV6
Did some sealing of the joins in the cab and rust proofed all the inside joins then started on the Chassis once more.
Cut the Paj chassis off in front of the body mount
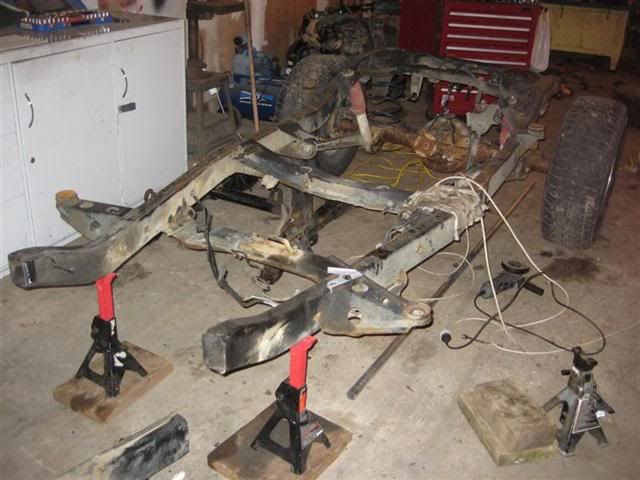
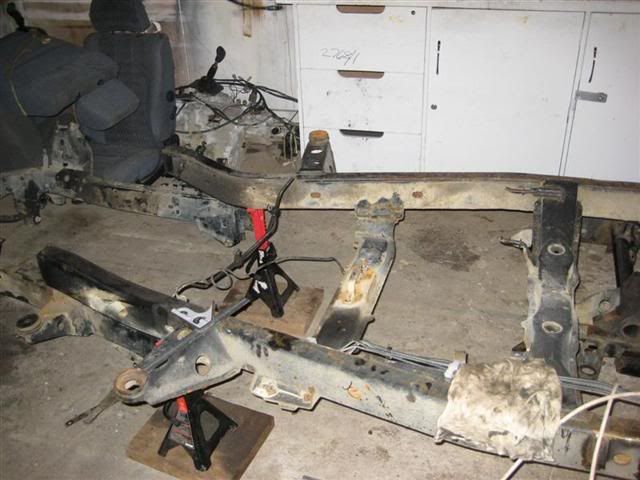
Cut the Prado front after much measurement. I can only guess how much it will settle with the weight of cab and engine etc on it. I am more worried about it being to high - it cab be lifted on springs easy enough.
Where I have cut it - all I need to mount to Paj chassis is Radius arm mounts.
Posted: Wed Sep 03, 2008 8:15 am
by NJV6
Chassis have been joined. Measurements are dam near perfect. Diaginals are spot on, and lengths are within 1mm. Both spring towers are within 1mm of each other in height off the ground.
Had to pull the Prado chassis in about 15mm.
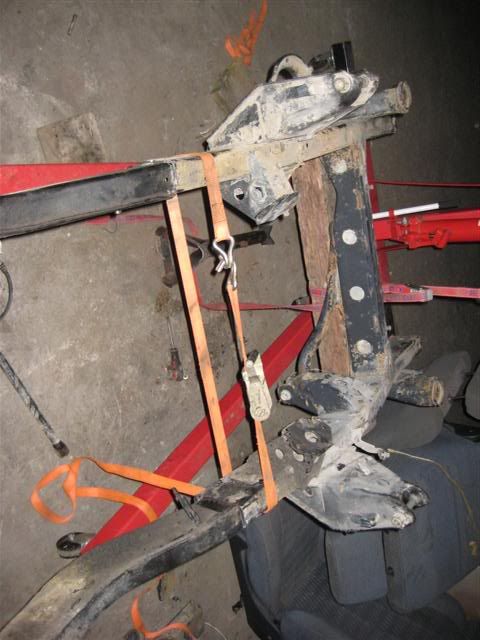
The Finished article
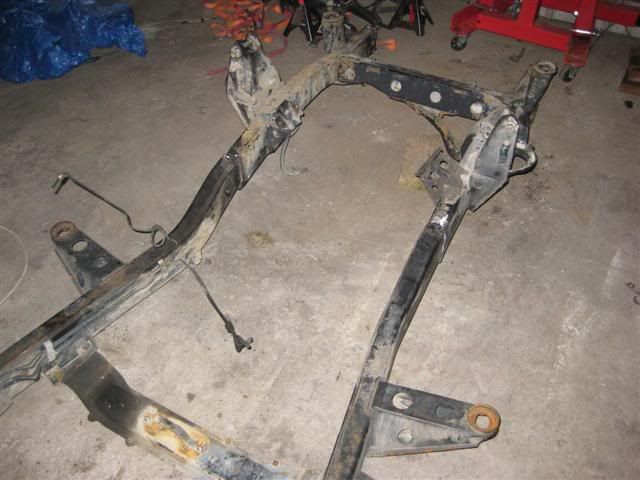
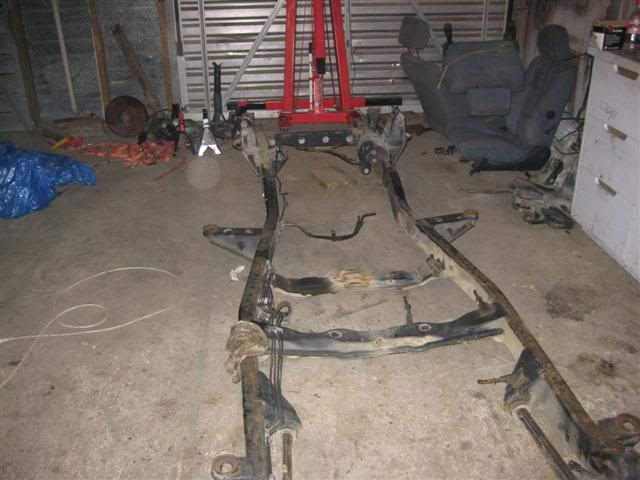
This is the Chassis Mitsubishi should have designed all those years ago.

Posted: Wed Sep 03, 2008 9:35 pm
by -Scott-
NJV6 wrote:...cut the entire front end off the chassis and weld the Toyota Prado in.
OK - I give in.
After reading this, I thought I'd missed something, so I've just been back through the thread and can't find it.
WTF? Why the Playdo front end? Sounds like it's a live axle? I've never seen a Playdo with a live front end - or is it what Oz calls a Bundera?

Posted: Thu Sep 04, 2008 12:00 am
by HotAe92
-Scott- wrote:NJV6 wrote:...cut the entire front end off the chassis and weld the Toyota Prado in.
OK - I give in.
After reading this, I thought I'd missed something, so I've just been back through the thread and can't find it.
WTF? Why the Playdo front end? Sounds like it's a live axle? I've never seen a Playdo with a live front end - or is it what Oz calls a Bundera?

Old school pwado's, not too many in OZ, I've only seen 1 or 2 here in WA.
Posted: Thu Sep 04, 2008 6:25 am
by NJV6
O sorry Scott - yea forgot about you poor lot over there

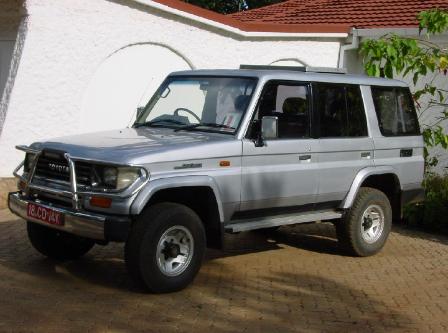
We got loads of Prado's as Jap imports - same as your Bundera indeed. But these carried on right from about 1987 up until 1996 with the 90 series came out - the 1st IFS ones. The Prados were known as 71 & 78's with engine options being the 2L-T and the 1KZ. Mine is from a LJ78. The shorties were LJ71.
Posted: Sun Sep 14, 2008 7:32 pm
by NJV6
Update - chassis looking good. Some plates on where the chassis was joined.
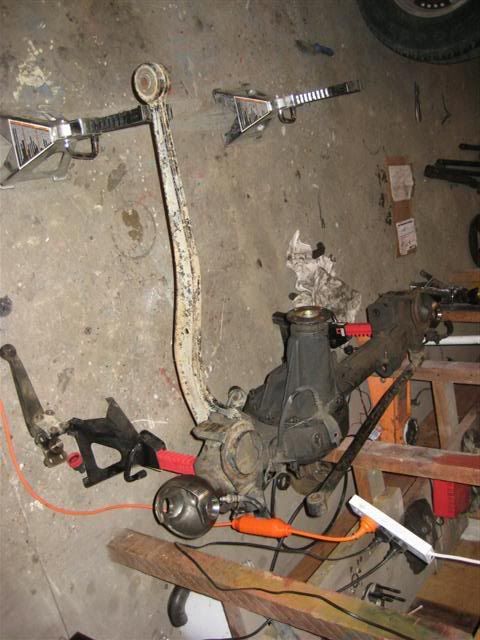
Priced a Toyota Prado LJ78 Swivel hub rebuild kit and nearly fell over. 4 bearings and a bit of fluff sure add up, so might not replace them for now.
The swivel hubs may need cut & rotating when they are in to correct caster angles so it still drives ok on the road, so I may have to strip it all again for that. You can't work that out until it is at finished ride height.
Body - well I am sick of sanding bog. I am a fussy barstard and want it to be right. Nothing really to show so no pic's yet.
I really need to decide on a colour to paint it..... Suggestions?
Posted: Sun Sep 14, 2008 8:11 pm
by WACKO
green and pink camo!
Posted: Tue Sep 16, 2008 9:00 pm
by NJV6
Plates for joining chassis
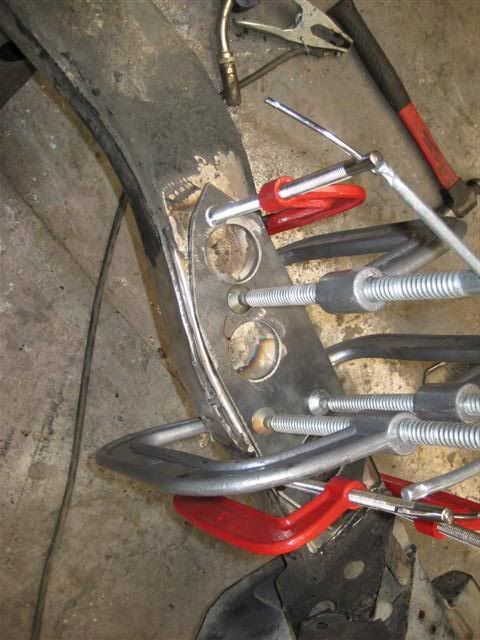
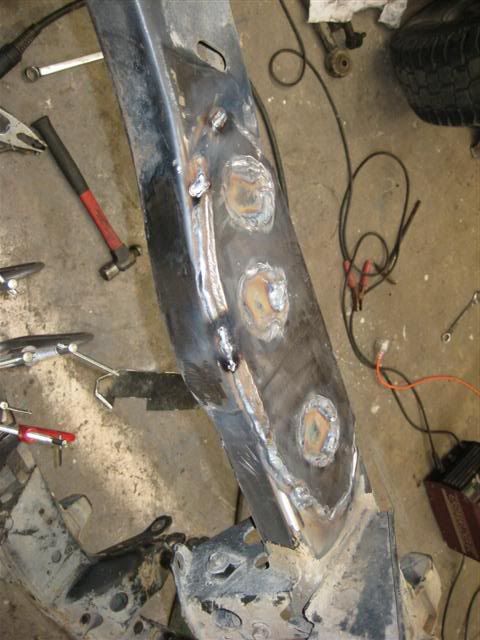
Ran out of gas for the mig. So starting assembling the front end.
New swivel hub bearings and axle seals.
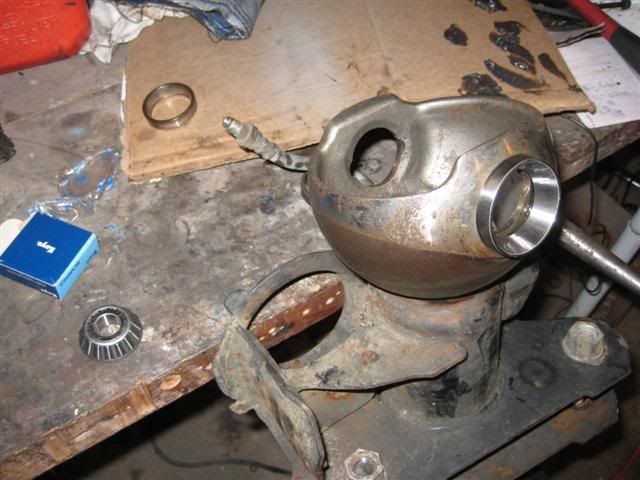
Then set it up. Nice and shiny.
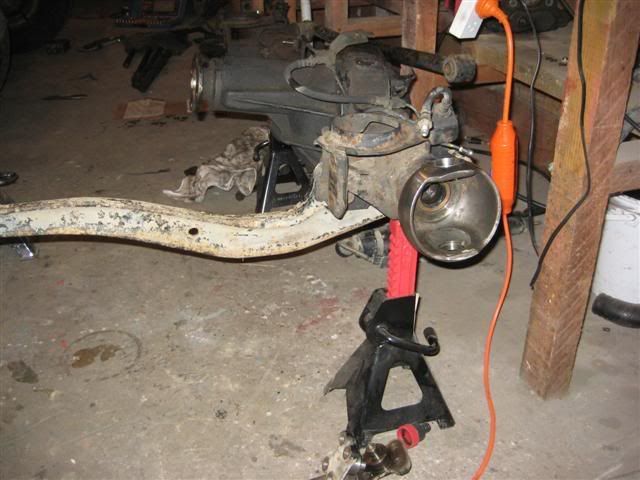
Posted: Wed Sep 17, 2008 7:25 pm
by WACKO
im still waiting for a email with address...
oh yeah.. i plan on the debut trip of mine on the 12th oct, you should come up for that.. rnd one of the trials is on the 11th so there will be lots of 4wding action to watch...


