Page 3 of 9
Posted: Sat May 31, 2008 6:16 pm
by Nitemare
Great work awesome to see some more female getting into the 4x4 world and even better that your doing it in a zuk keep up the good work

Posted: Sun Jun 01, 2008 4:26 pm
by spamwell
here is how i did the rear of my sierra, marine grade vynl around foam padded wood it looks really good i am yet to do the tailgate though.

not a very good picture i know
Posted: Sun Jun 01, 2008 9:23 pm
by just cruizin'
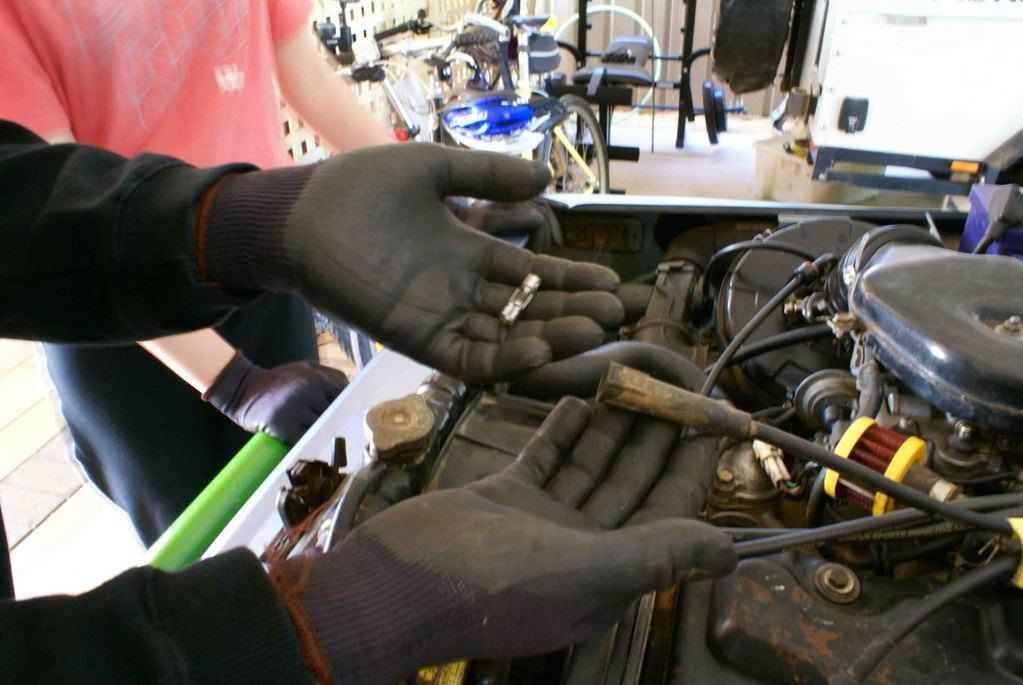
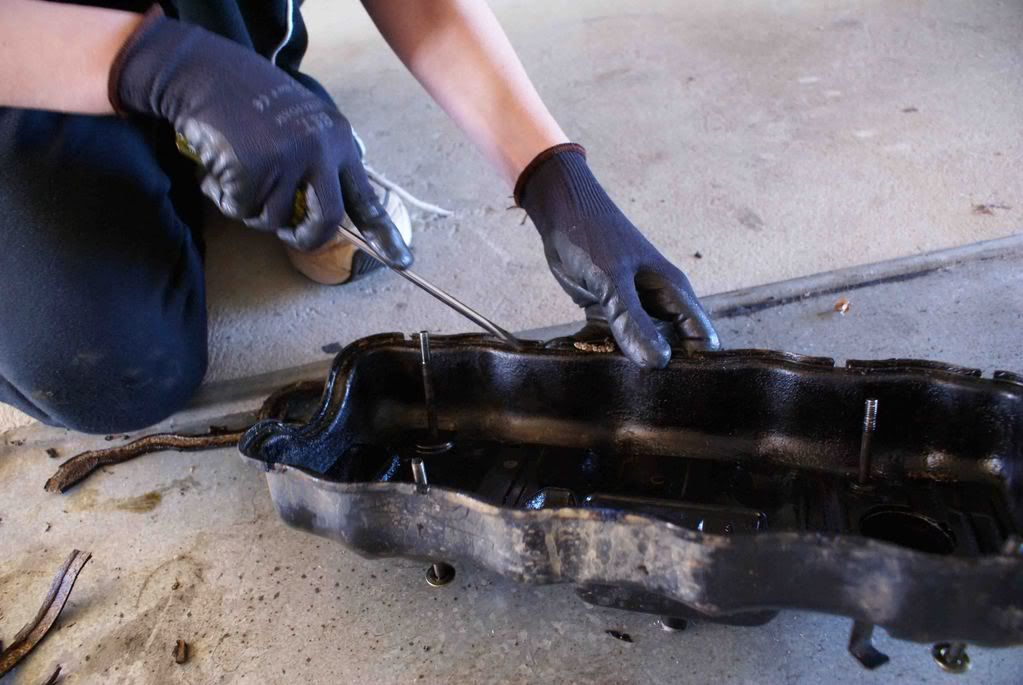
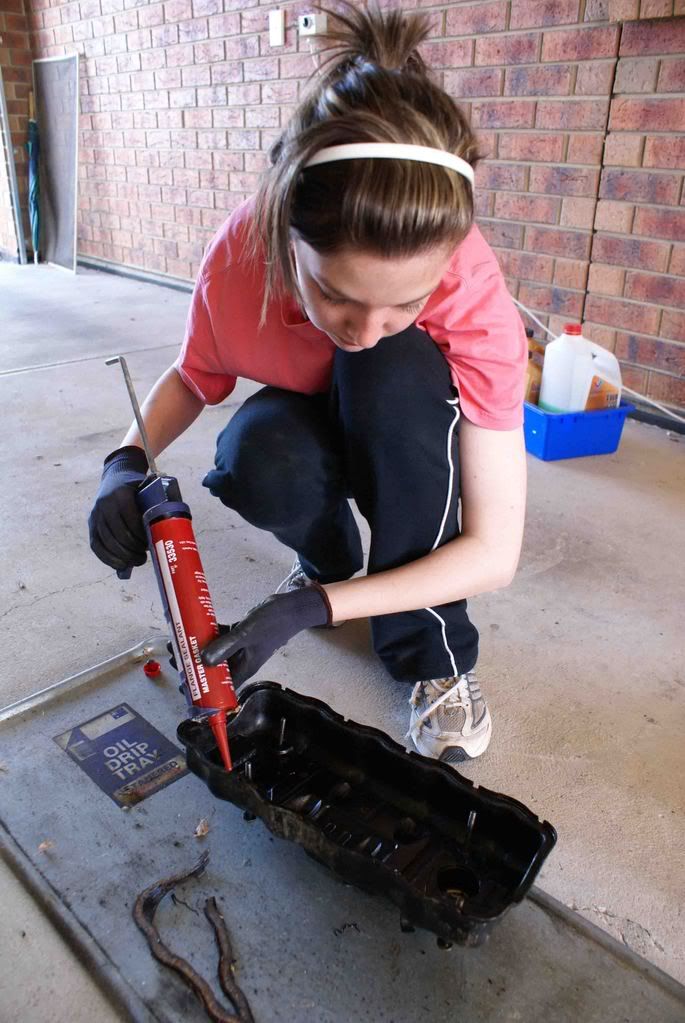
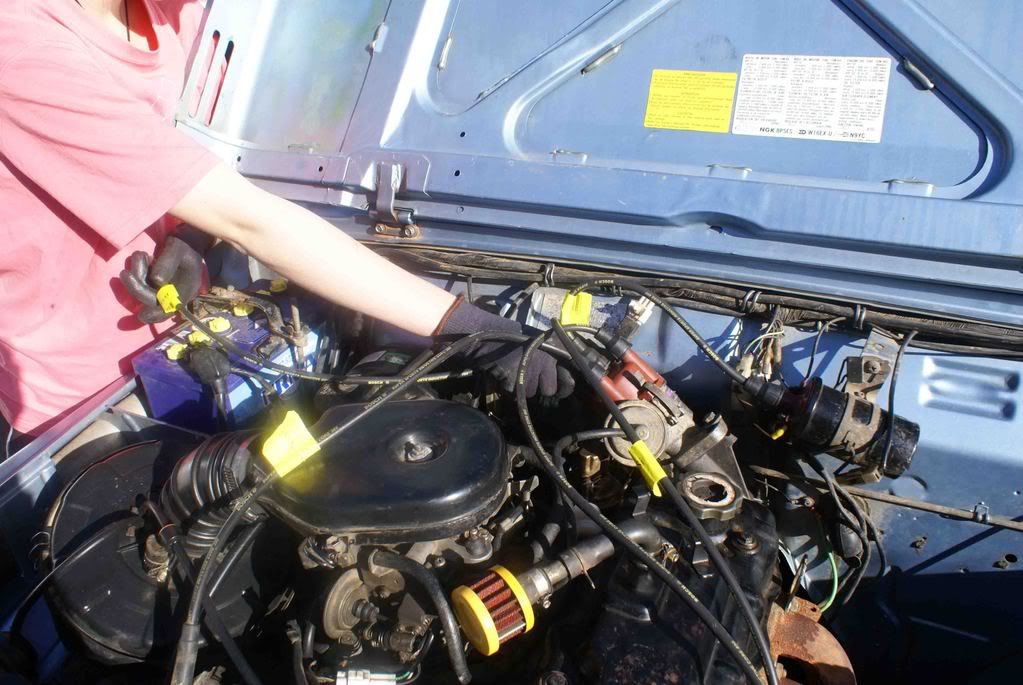
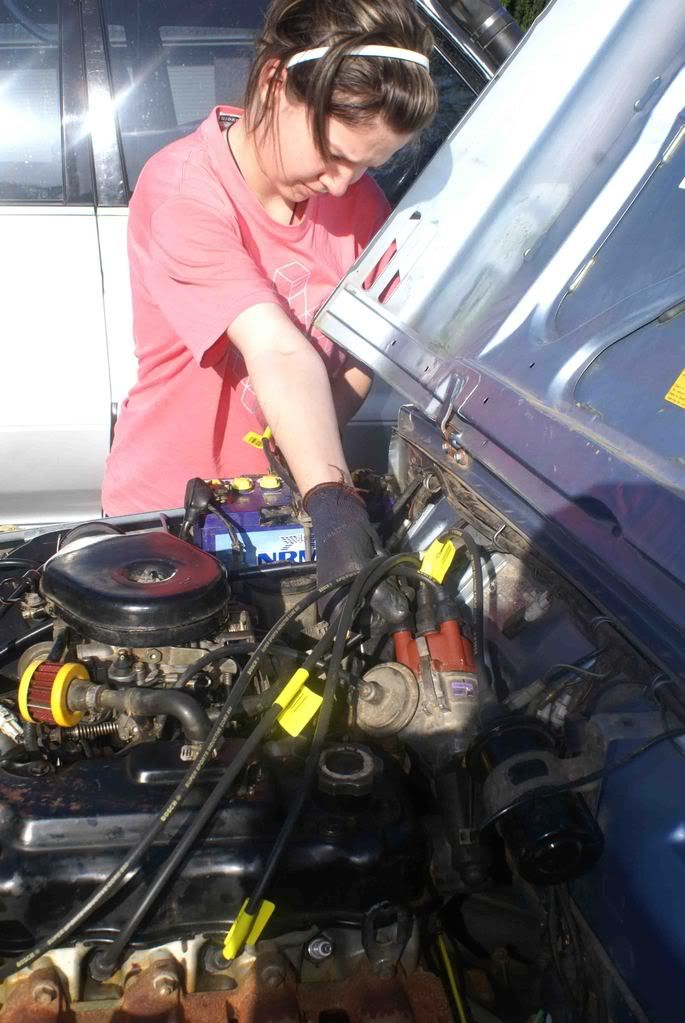
I think that was the most careful oil change ever conducted on a Sierra, gloves, drop sheets. Mine doesn't need oil changes, oil doesn't stay in long enough to get old, just keep topping it up.
Posted: Sun Jun 01, 2008 10:35 pm
by raqmup
just cruizin' wrote:Mine doesn't need oil changes, oil doesn't stay in long enough to get old, just keep topping it up.

So very true... lmao

Posted: Mon Jun 02, 2008 3:42 pm
by lilzook
raqmup wrote:just cruizin' wrote:Mine doesn't need oil changes, oil doesn't stay in long enough to get old, just keep topping it up.

So very true... lmao

+2


This is a great build-up. im really hanging to see how the camo paint looks!
Posted: Tue Jun 03, 2008 11:20 pm
by cookie monster
Posted: Wed Jun 04, 2008 3:37 am
by JrZook
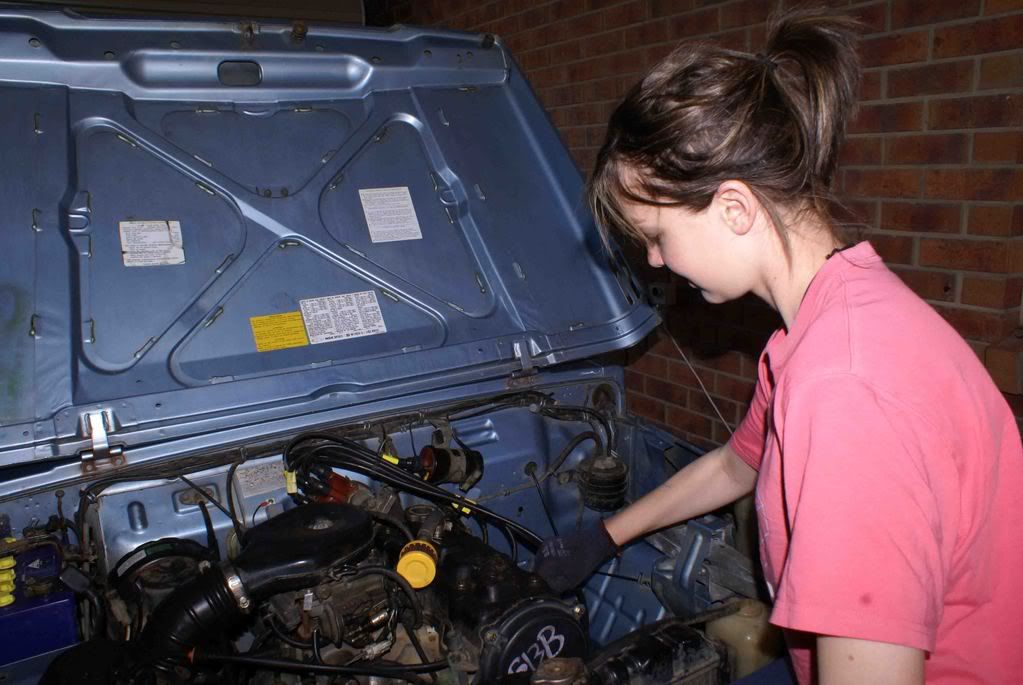
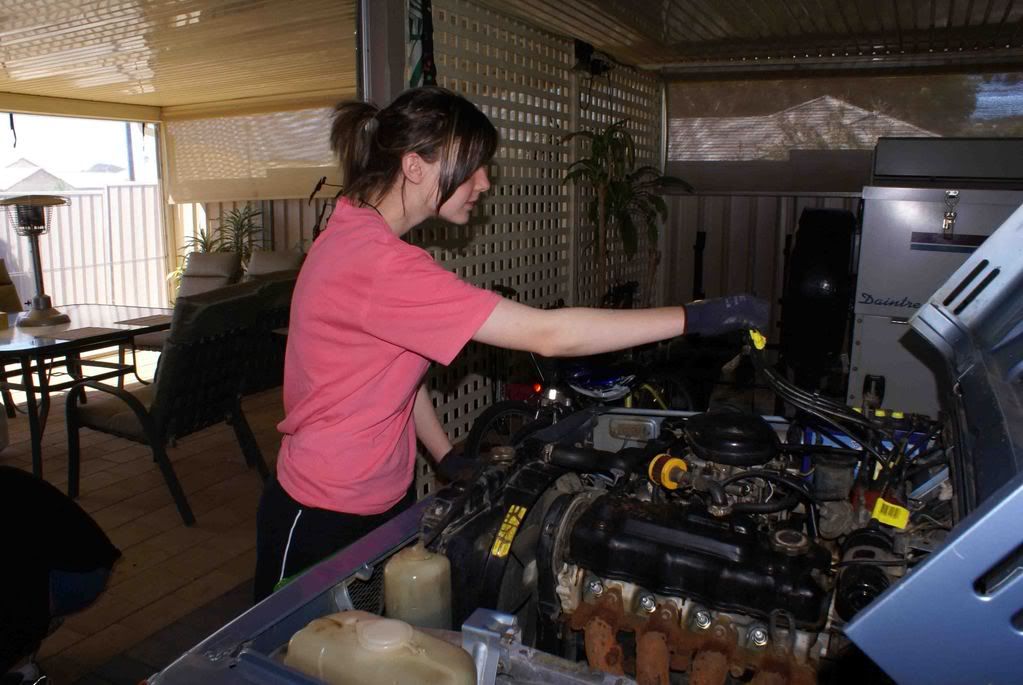
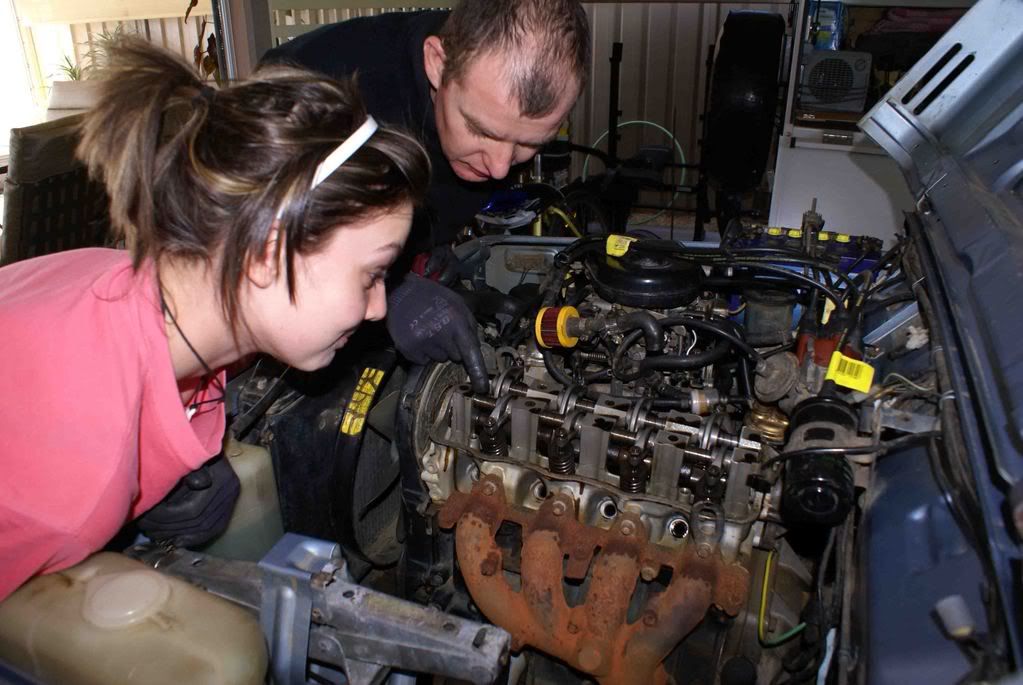
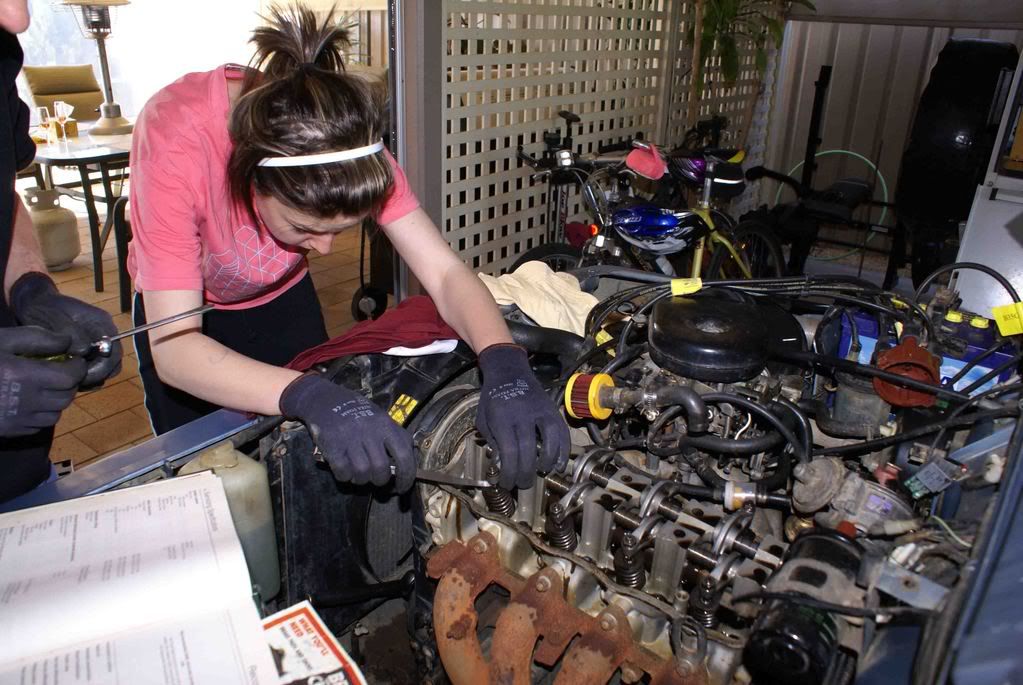
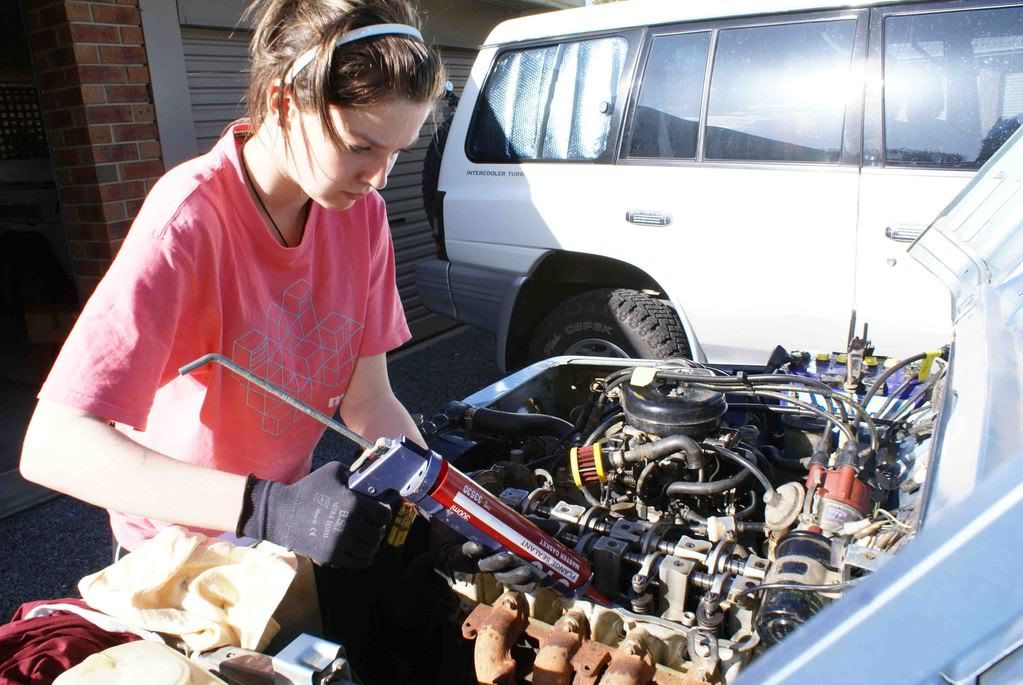
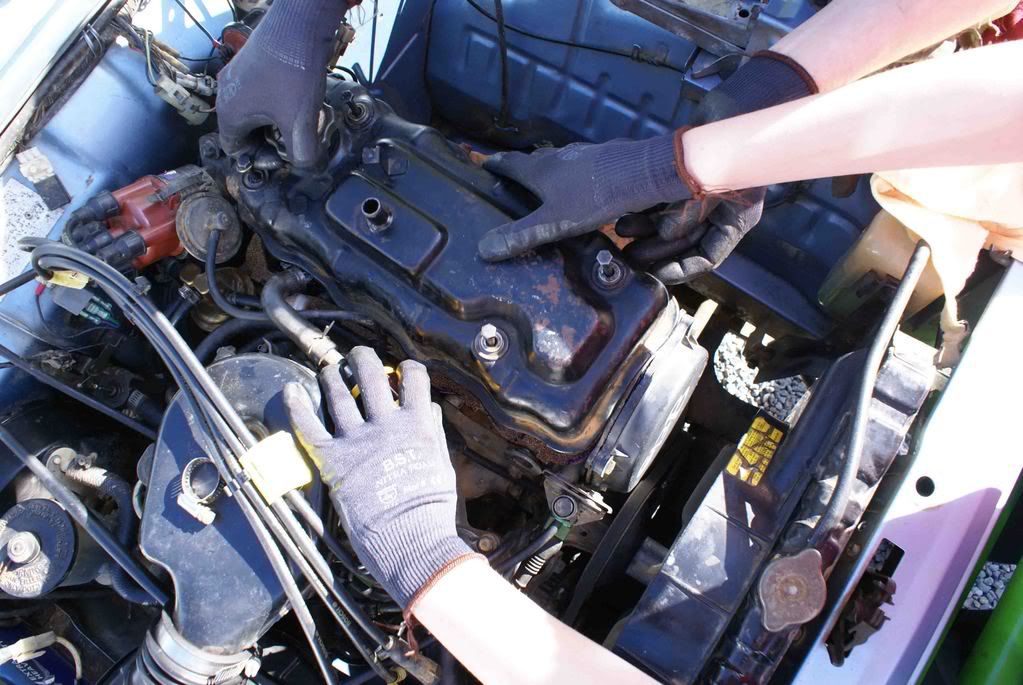
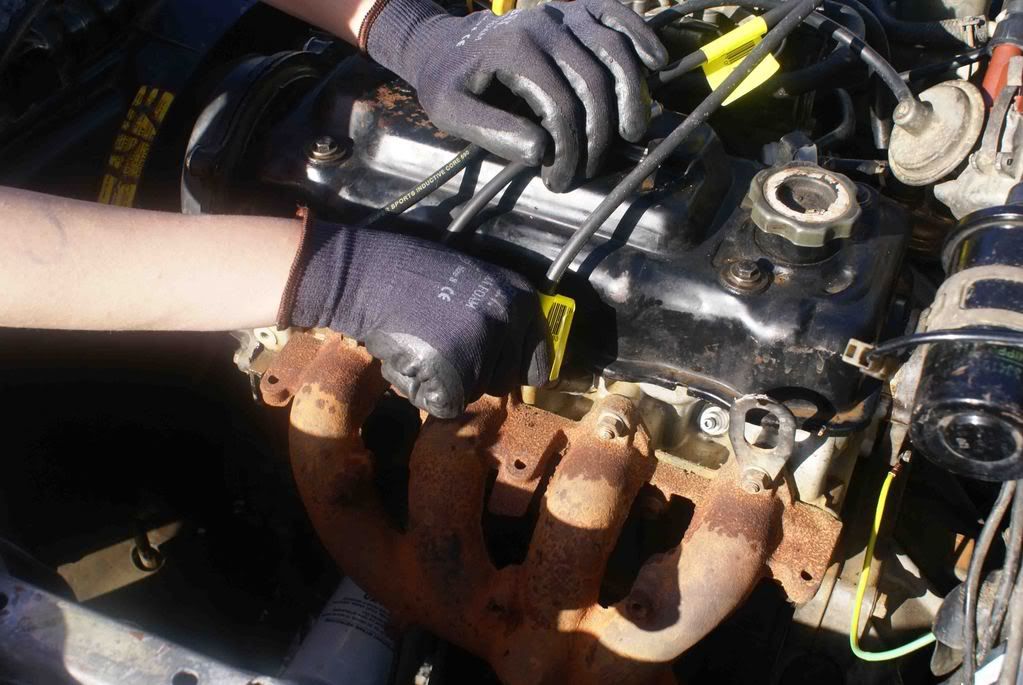
Gees top end on that engine looks nice and clean. Must be in pretty good nick.
Dan
Posted: Wed Jun 04, 2008 8:41 am
by WICKED
That's a Big lunch box..... Oh sorry thats the Hampster house...My bad! hehehe
So when are we going to see the outside colour?
Posted: Wed Jun 04, 2008 9:37 am
by cjdeane10
JrZook wrote:Gees top end on that engine looks nice and clean. Must be in pretty good nick.
Dan
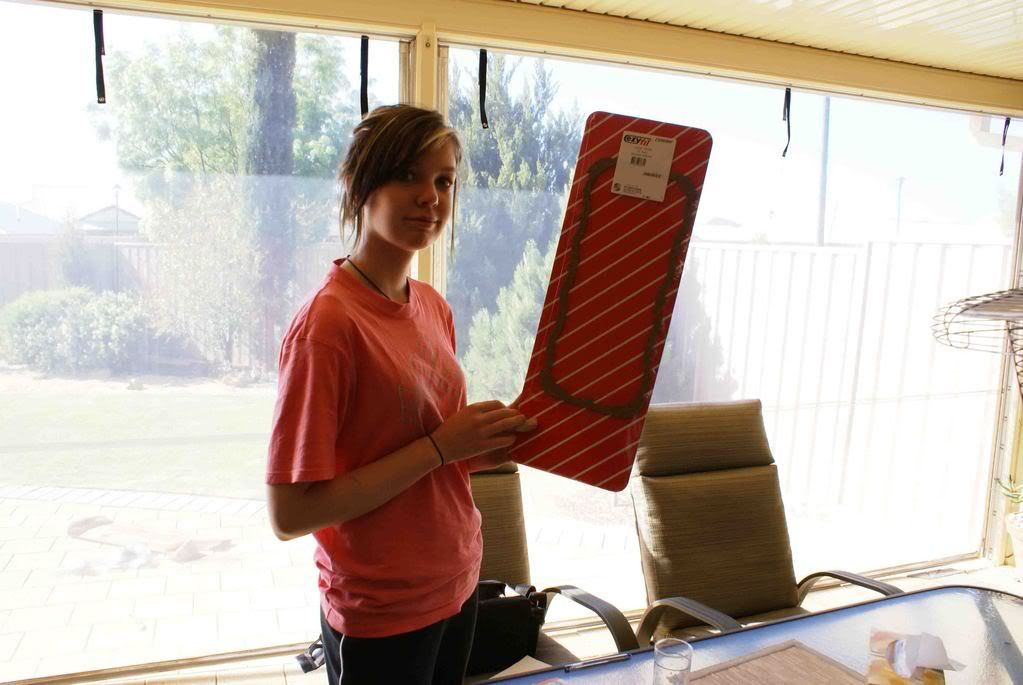
which reminds me - i gotta put a new gasket on mine soon aswell

i think this build is more remindng us old heads of what we 'Should' be doing to our zookz... but arent coz we are too lazy...

Posted: Wed Jun 04, 2008 9:41 am
by lay80n
WICKED wrote:That's a Big lunch box..... Oh sorry thats the Hampster house...My bad! hehehe
So when are we going to see the outside colour?
Jeez Ben, anyone would think you were after some pink cammo ideas for your MQ or somthing.
Top work on the build, Hailey should be proud, and so should you.
Layto....
Posted: Wed Jun 04, 2008 1:29 pm
by WICKED
lay80n wrote:WICKED wrote:That's a Big lunch box..... Oh sorry thats the Hampster house...My bad! hehehe
So when are we going to see the outside colour?
Jeez Ben, anyone would think you were after some pink cammo ideas for your MQ or somthing.
Layto....
All ways thinking.......

Posted: Thu Jun 05, 2008 5:35 pm
by spamwell

oww wheres the bright pink rocker cover, you know its the rules to paint that when you take it off lol i should have kept my purple one off my old motor you guys could have had lol.
anyways that motor does look clean as, my g13bb does not even look that clean

Posted: Thu Jun 05, 2008 6:05 pm
by ofr57
well tail signs of a street driven seirra

Posted: Thu Jun 05, 2008 7:35 pm
by want33s
ofr57 wrote: well tail signs of a street driven
seirra 
Huh

Does that translate to??: Tell tale signs of a street driven S I ERRA
Posted: Thu Jun 05, 2008 9:47 pm
by ofr57
want33s wrote:ofr57 wrote: well tail signs of a street driven
seirra 
Huh

Does that translate to??: Tell tale signs of a street driven S I ERRA
meh .. you knew what i meant

Posted: Thu Jun 05, 2008 9:52 pm
by want33s
It took a while to work it out..
Why don't you take two seconds to proof read the stuff you've written so you don't come across as illiterate?

Posted: Thu Jun 05, 2008 9:58 pm
by ofr57
want33s wrote:It took a while to work it out..
Why don't you take two seconds to proof read the stuff you've written so you don't come across as illiterate?

my writing seems to make sense when you haven't slept for 3 days

and trying to do 10 things at once as well

Posted: Thu Jun 05, 2008 10:20 pm
by Santos
the oil breather is screaming out to me.
Why not go for an oil-air seprator catch can thingy, that way when the cops pull her over she still complies witht the stock emissions.
(alternatively you you could mount the oil breather IN the airbox out of site

)
Posted: Thu Jun 05, 2008 11:15 pm
by cookie monster
JrZook wrote:Gees top end on that engine looks nice and clean. Must be in pretty good nick.
Dan
According to the seller, the engine had a new head on it not that long ago.
When we took the rocker cover off, it was a nice suprise to see it so clean.
The motors done 260,000km, but runs great and always starts first time. Although i think the carbie is fairly worn.
Sounds like i need to look at the rocker breather as well ! Good job Hailey wont be driving it for another 10 months or so !
cookie monster
Posted: Thu Jun 05, 2008 11:22 pm
by cookie monster
We've also been looking at fitting an air conditioning compressor as an air compressor.
Looks easy enough to mount, but we would need a twin crankshaft pully to make it all work.
Would say a twin pulley of an older Barina/Swift that uses the G13B engine fit straight onto the Sierra engine ?
This would make the endless air option a real goer.
cookie monster
Posted: Thu Jun 05, 2008 11:28 pm
by Santos
it depends on the motor some have 5 studs other 4. If you look at 1l swifts they all seem to be 4 studs.
Alternatively i think spidertrax does a billet pulley for $50 to suilt.
Autospeed had 2 articles on DIY oil/air seperators

Posted: Thu Jun 05, 2008 11:33 pm
by cookie monster
Thanks for the info.
Ill have to have a look down at Pick A Part and see what i can find

cookie monster
Posted: Fri Jun 06, 2008 10:40 am
by spamwell
cookie monster wrote:We've also been looking at fitting an air conditioning compressor as an air compressor.
Looks easy enough to mount, but we would need a twin crankshaft pully to make it all work.
Would say a twin pulley of an older Barina/Swift that uses the G13B engine fit straight onto the Sierra engine ?
This would make the endless air option a real goer.
cookie monster
my G13bb and my g13ba have had twin crank pulleys look for any early jimny or coily motor because they had air con and power steer as factory options.
Posted: Fri Jun 06, 2008 4:19 pm
by spamwell
i was just speaking to MUD4B he has a spare one of the pulleys you are after

Posted: Sat Jun 07, 2008 8:39 am
by Squik
Fantastic to see girls getting stuck in and getting their hands dirty

Good on you kiddo!
...and you're doing a fantastic job, Dad. Keep it up and she won't need to depend on a guy to fix her Zook

Posted: Sat Jun 07, 2008 9:09 pm
by mroffroader
[quote="spamwell"][quote="cookie monster"]We've also been looking at fitting an air conditioning compressor as an air compressor.
Looks easy enough to mount, but we would need a twin crankshaft pully to make it all work.
Would say a twin pulley of an older Barina/Swift that uses the G13B engine fit straight onto the Sierra engine ?
This would make the endless air option a real goer.
cookie monster[/quote]
my G13bb and my g13ba have had twin crank pulleys look for any early jimny or coily motor because they had air con and power steer as factory options.[/quote]
Get another waterpump pulley and turn in around and bolt it on your bottom crank pulley works a treat

Posted: Tue Jun 10, 2008 6:36 am
by cookie monster
Thanks for the tips on the crank pulley options guys, appreciate it.
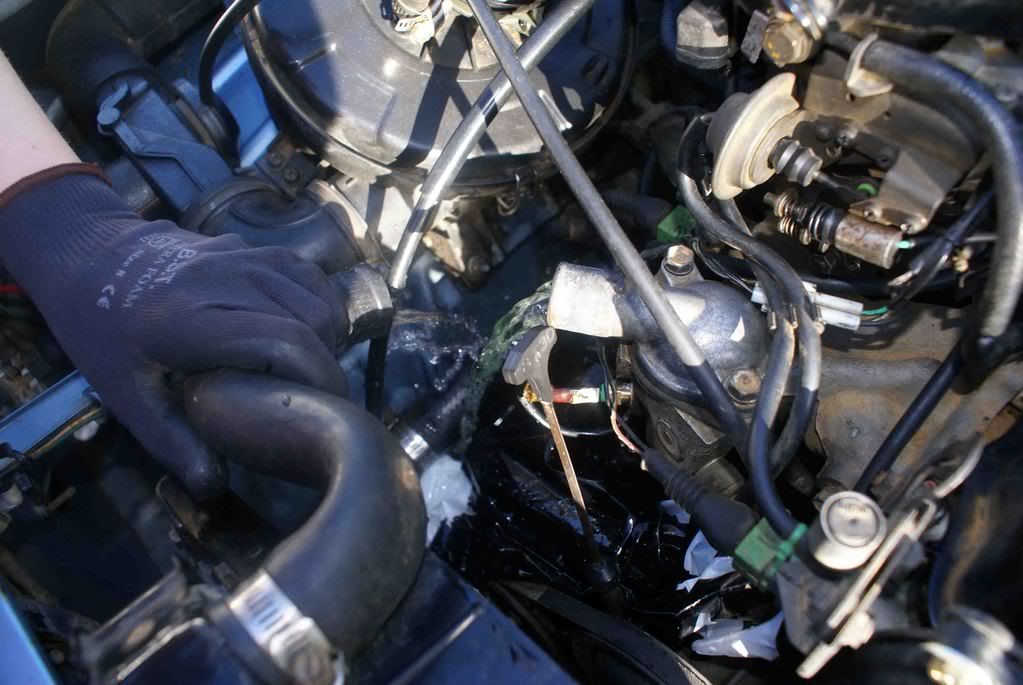
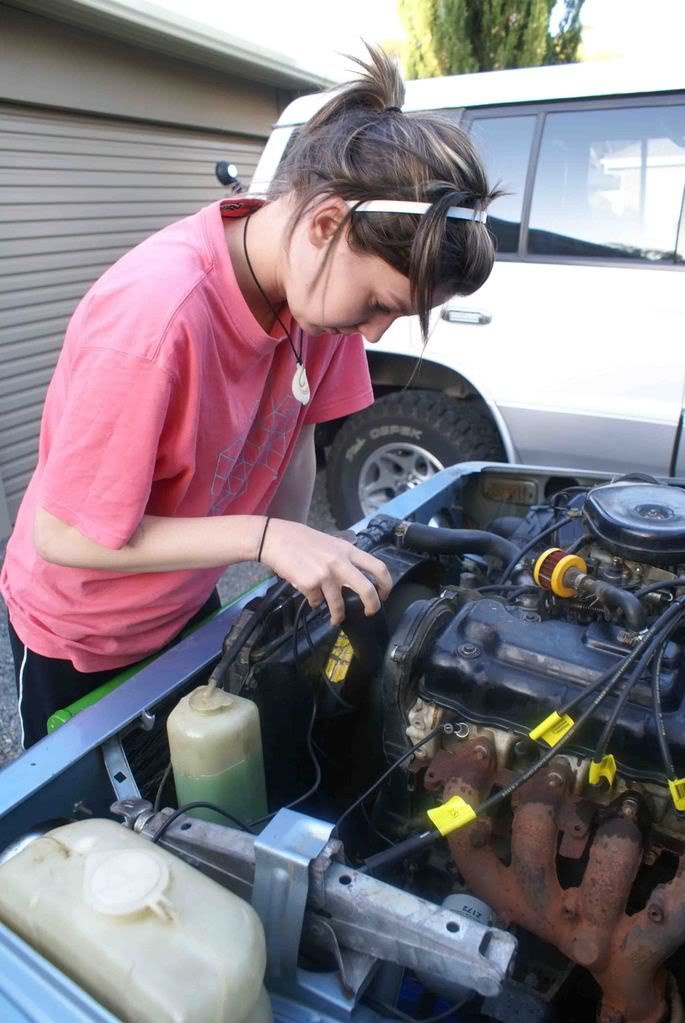
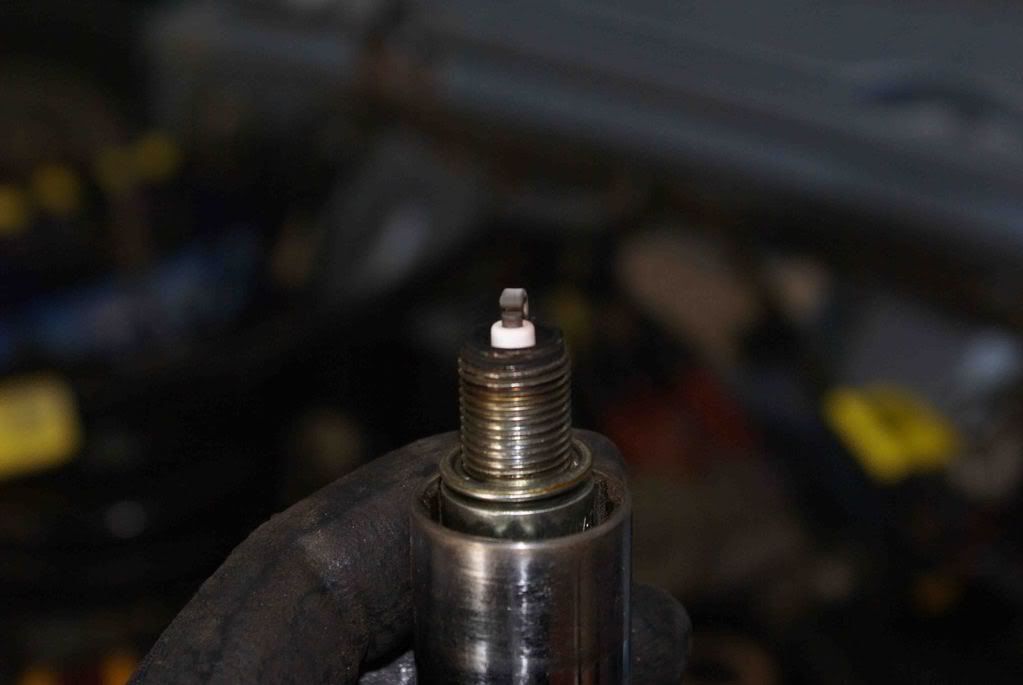
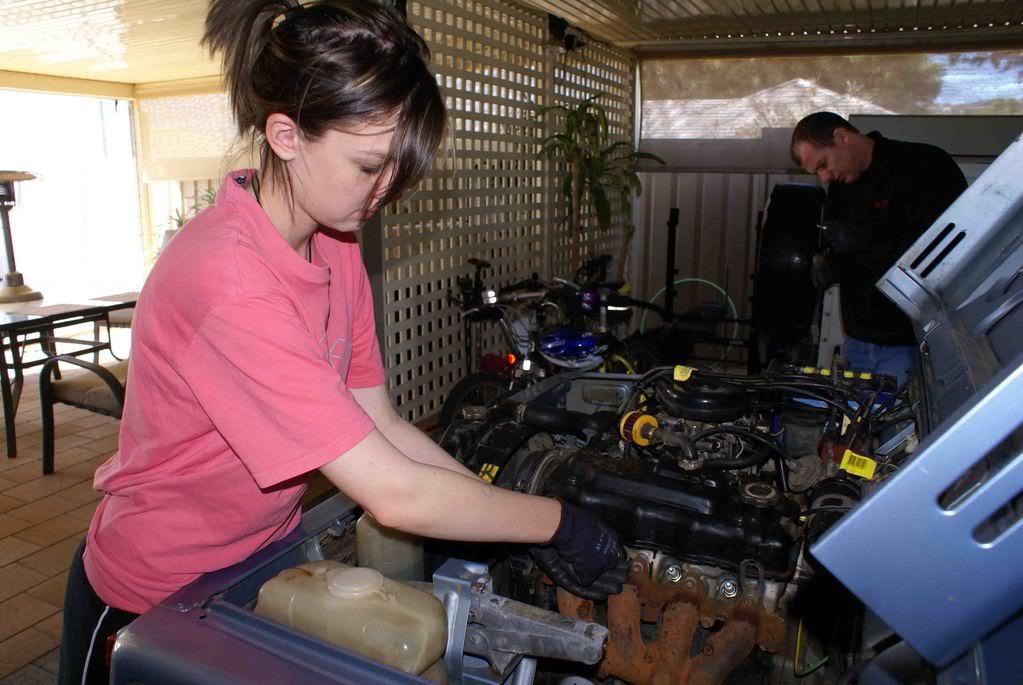
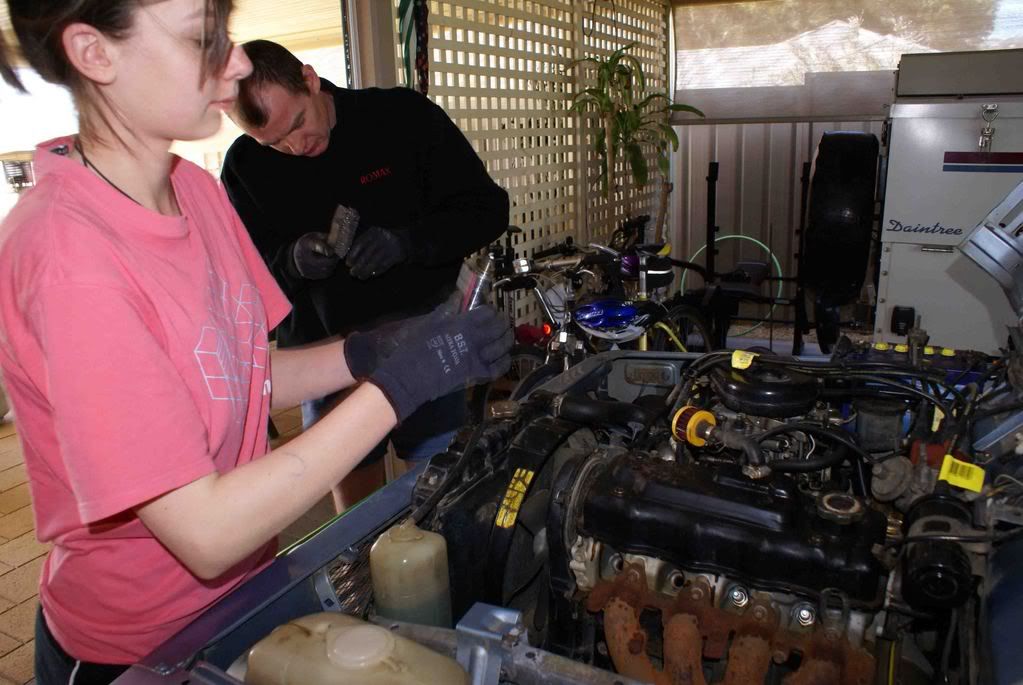
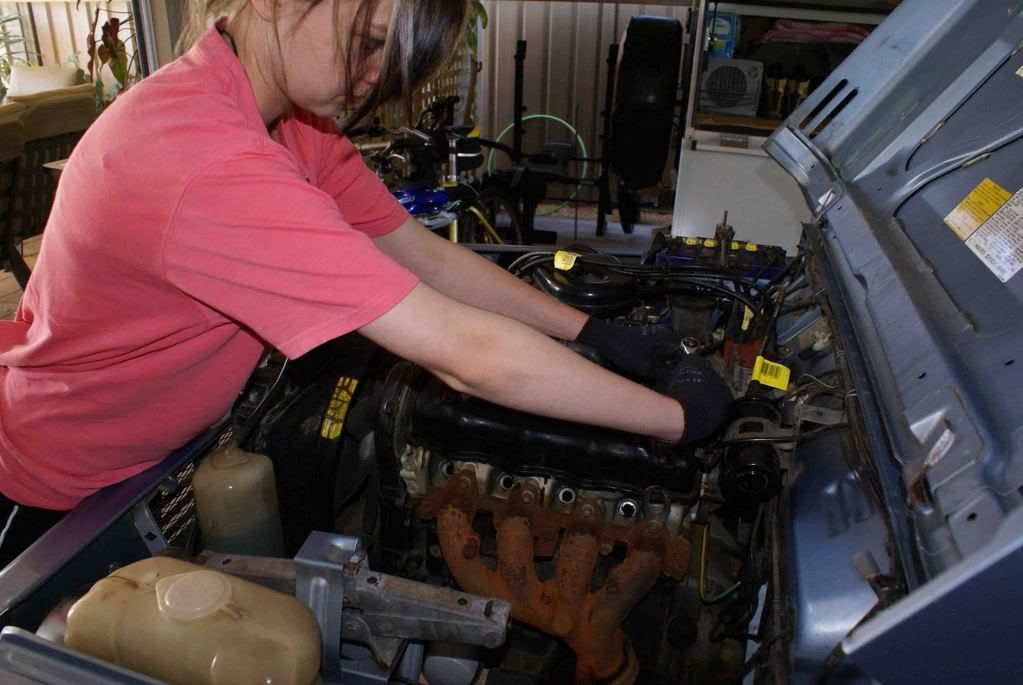
Next up we changed the engine coolant, thermostat(in a bid to getting the temp gauge working) and checked the timing.
The thermostat did the trick with the temp gauge.
Loosening the drain valve
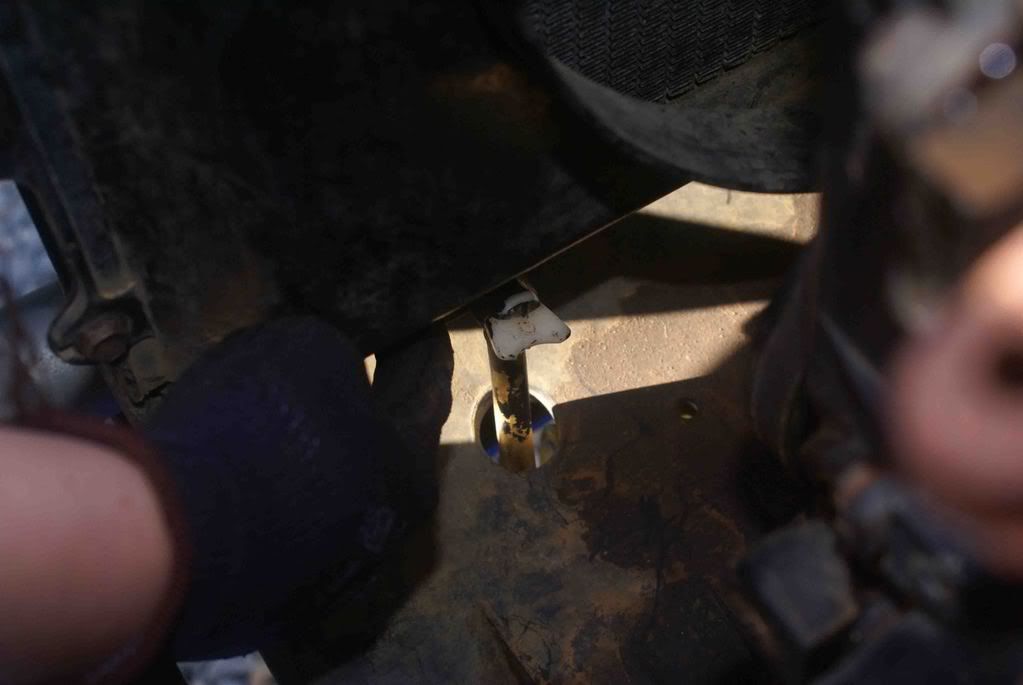
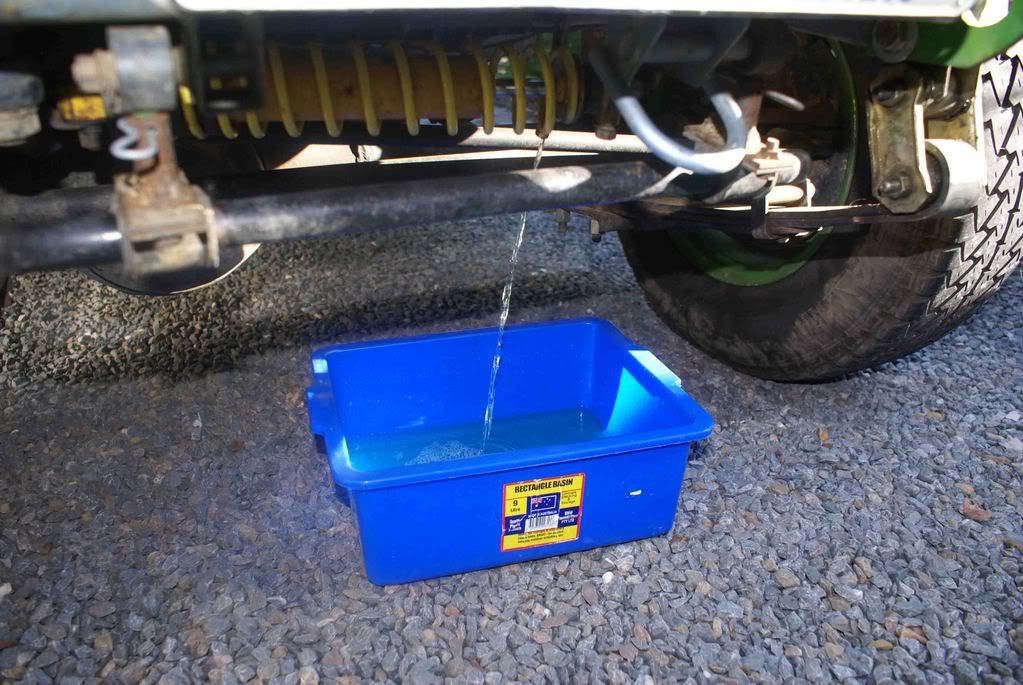
We put a plastic bag over the alternator, before removing the thermostat housing.
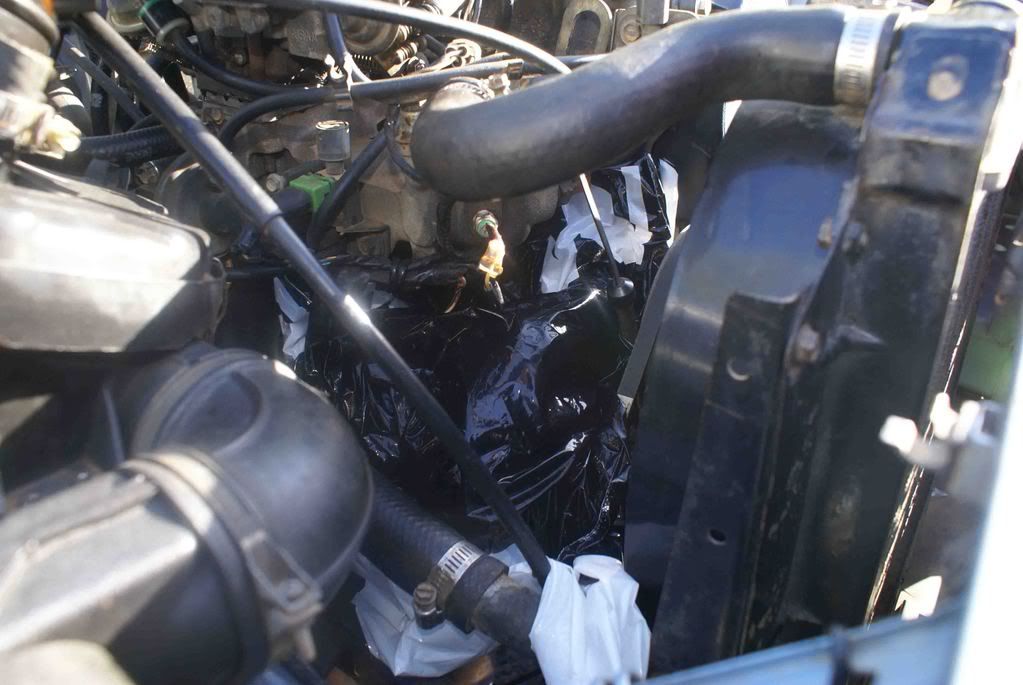
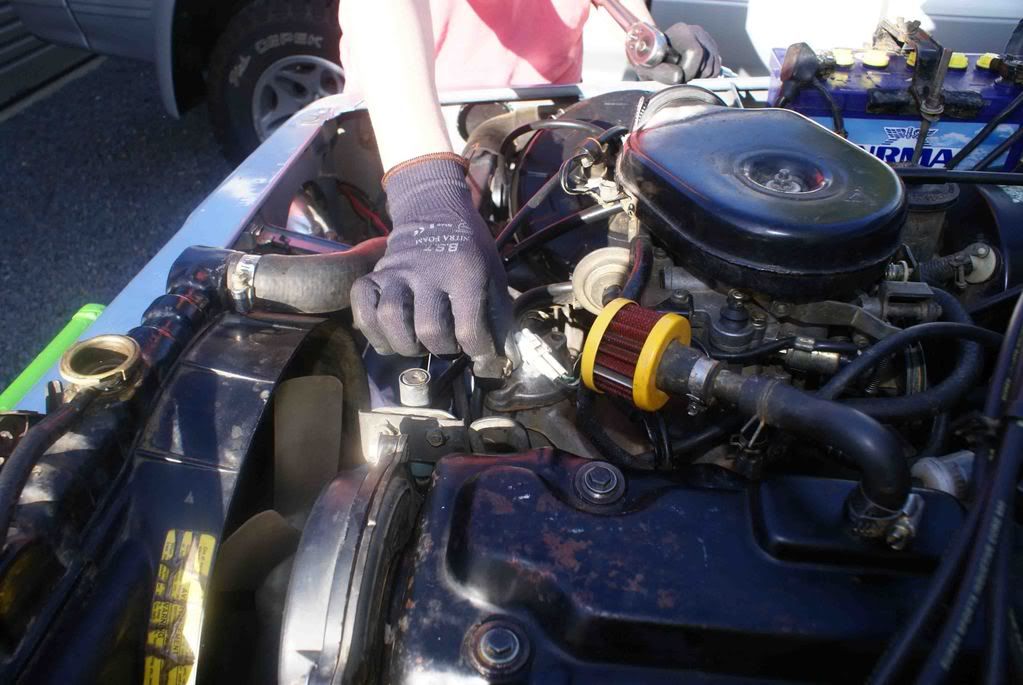
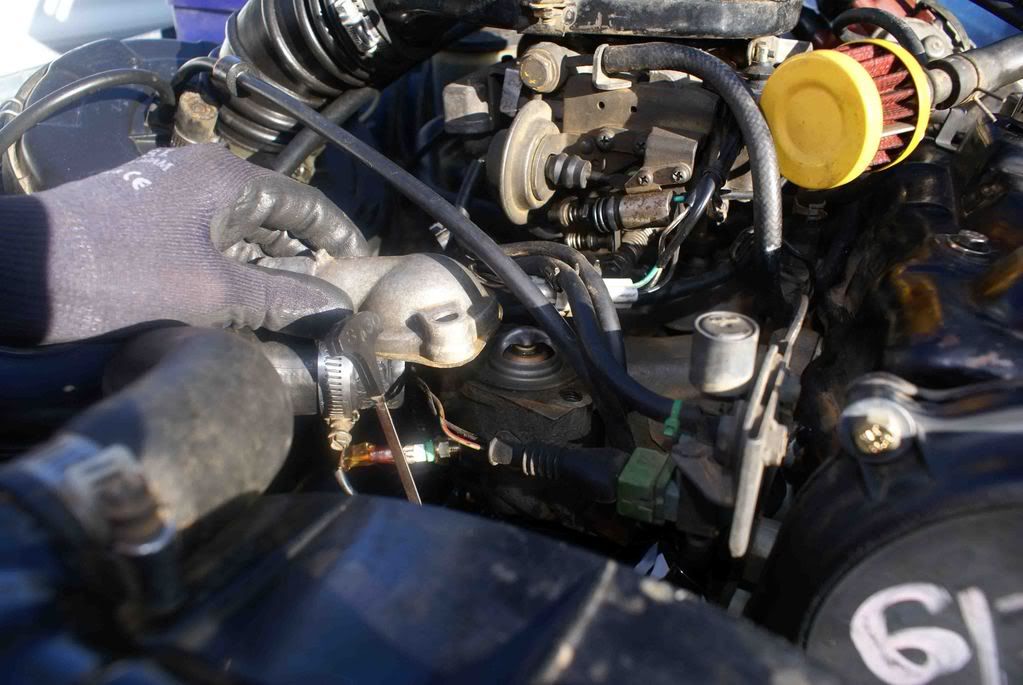
Out with the old
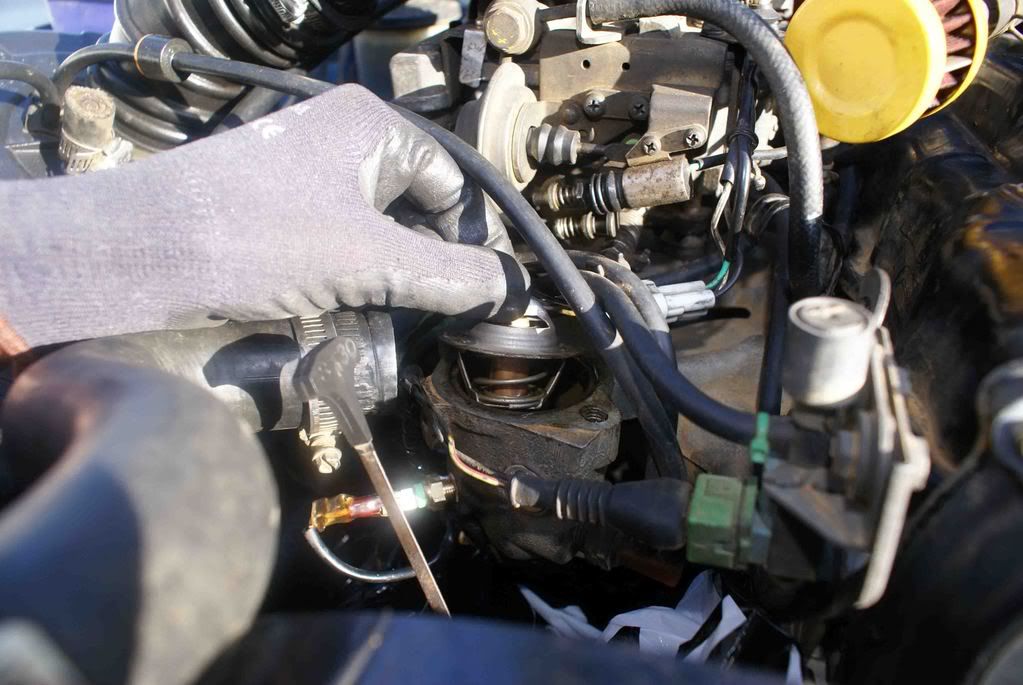
Coolant temp sender
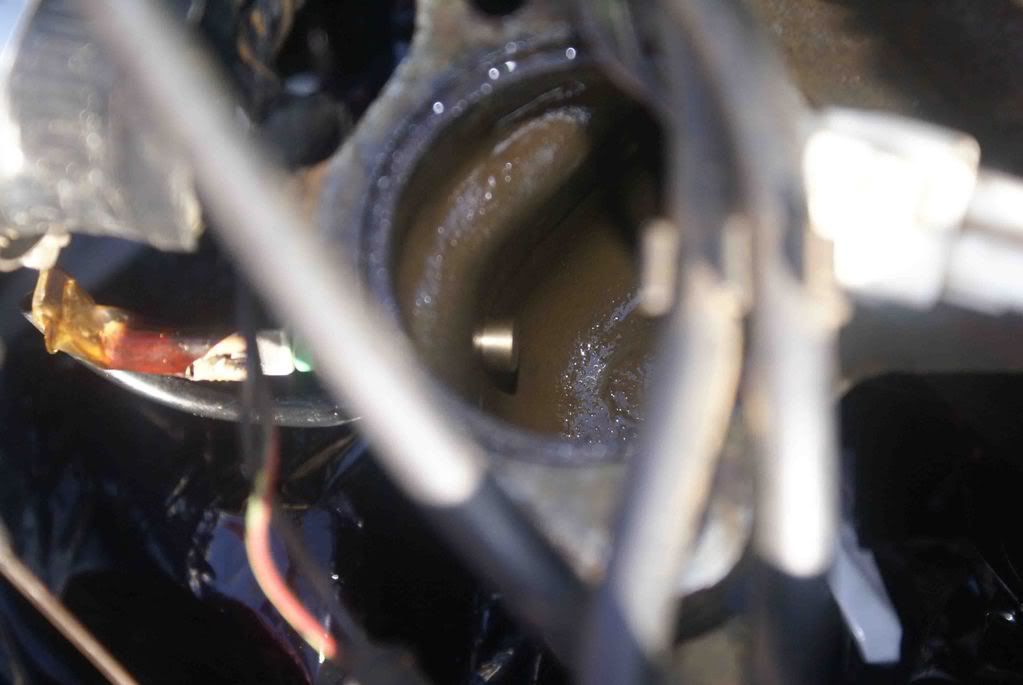
Flushing system
New thermostat
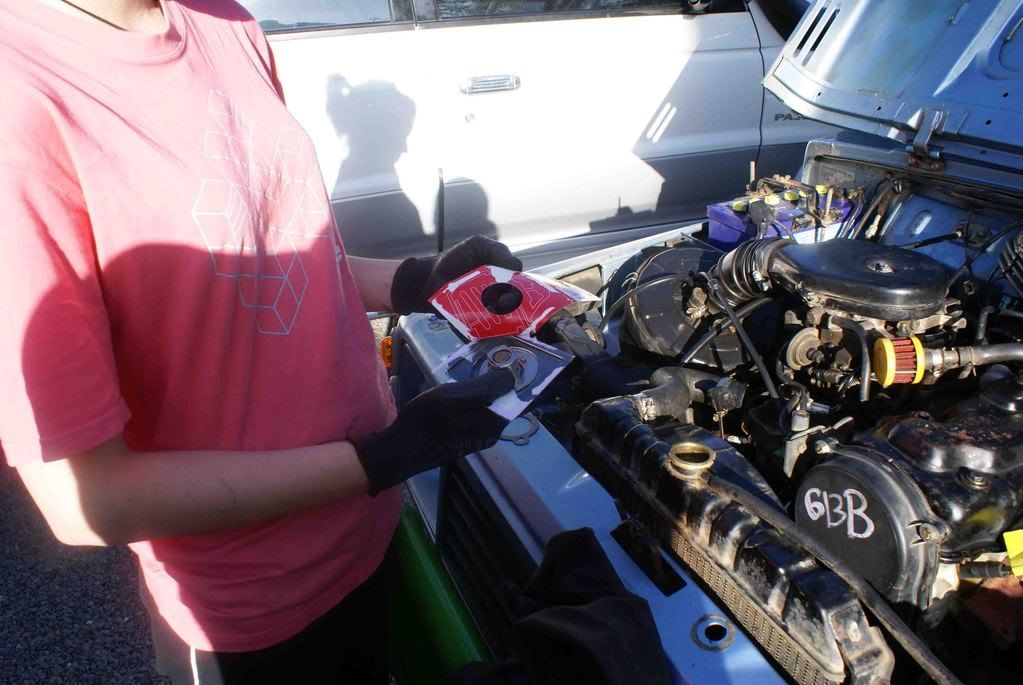
Gasket sealer
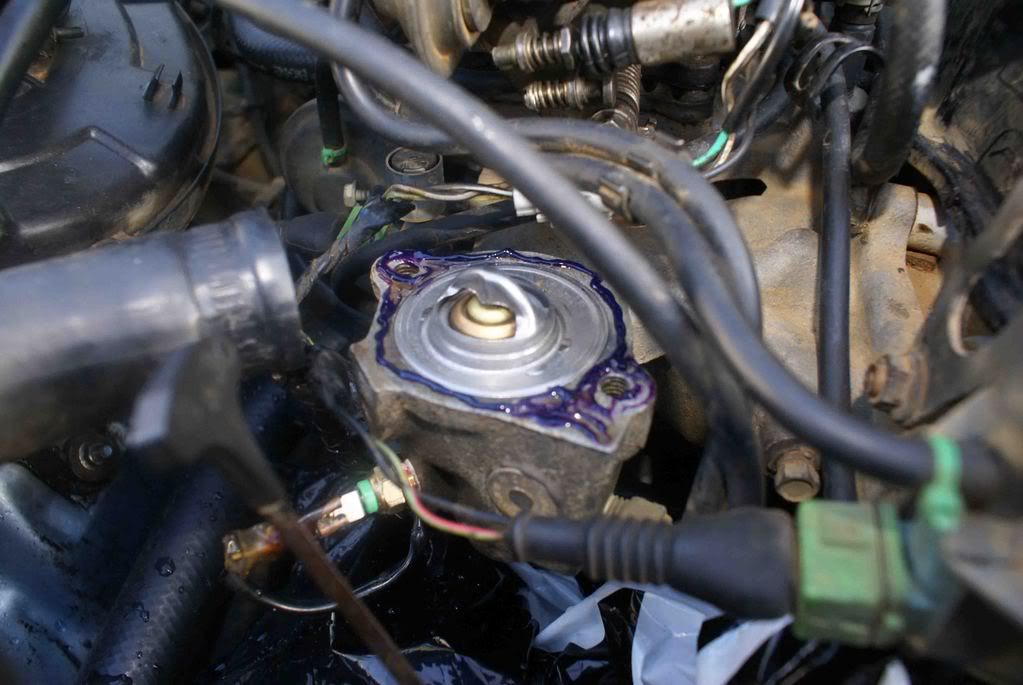
Job done
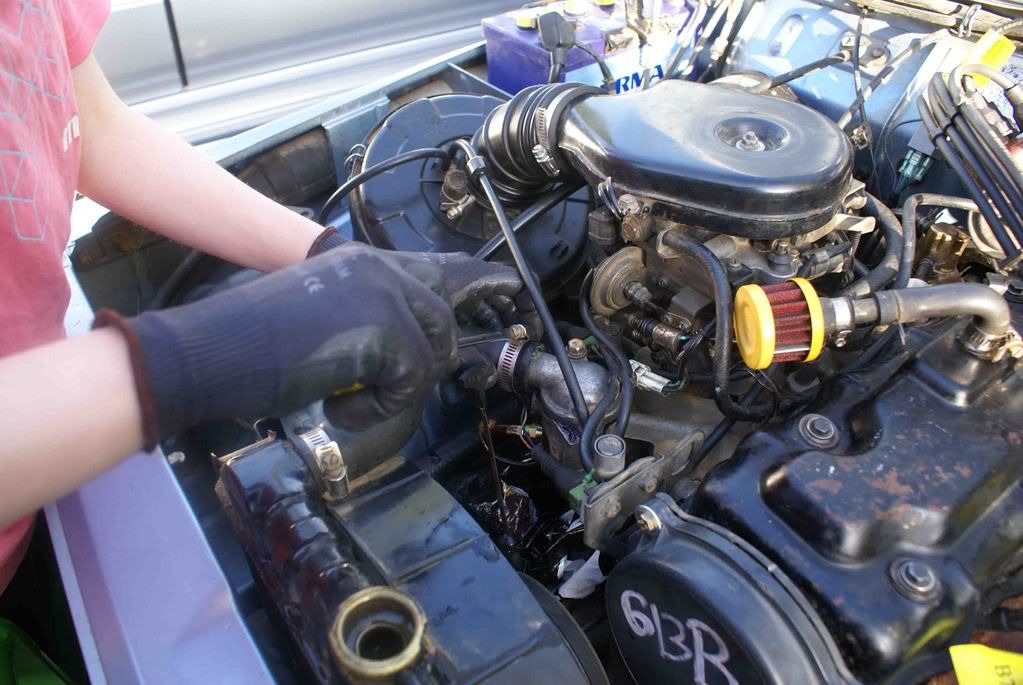
Hailey, checking the timing
A slight adjustment was needed
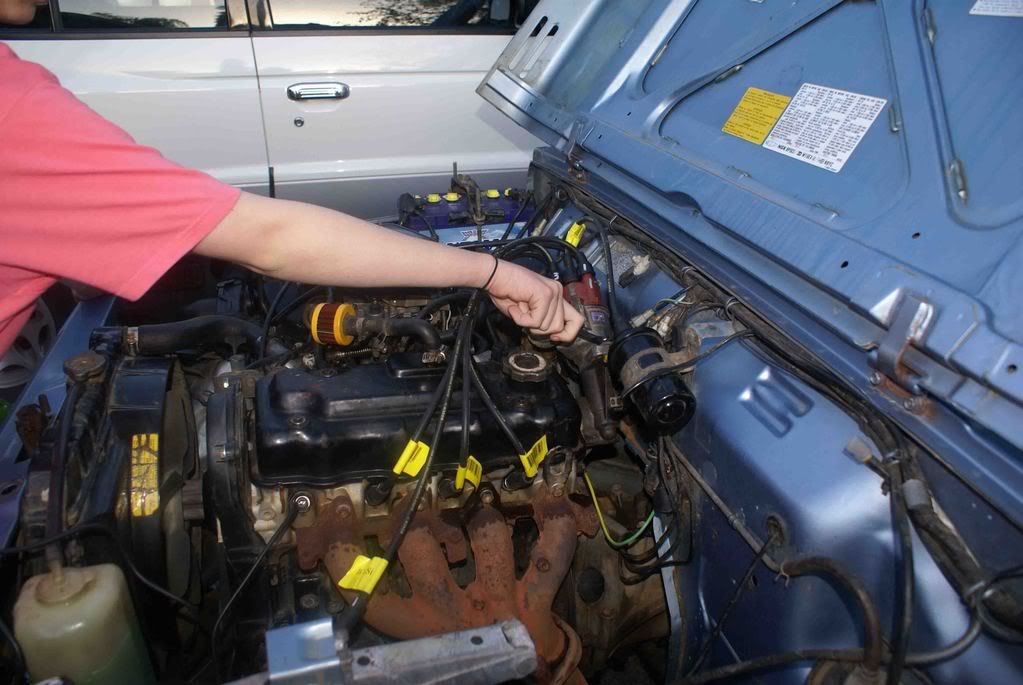
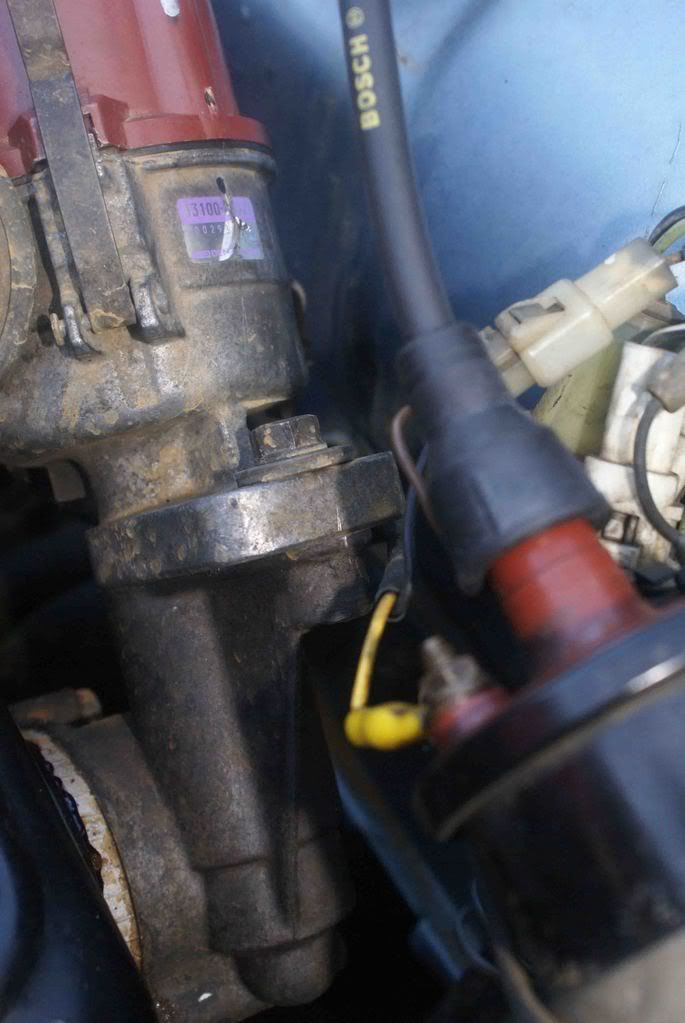
One final check
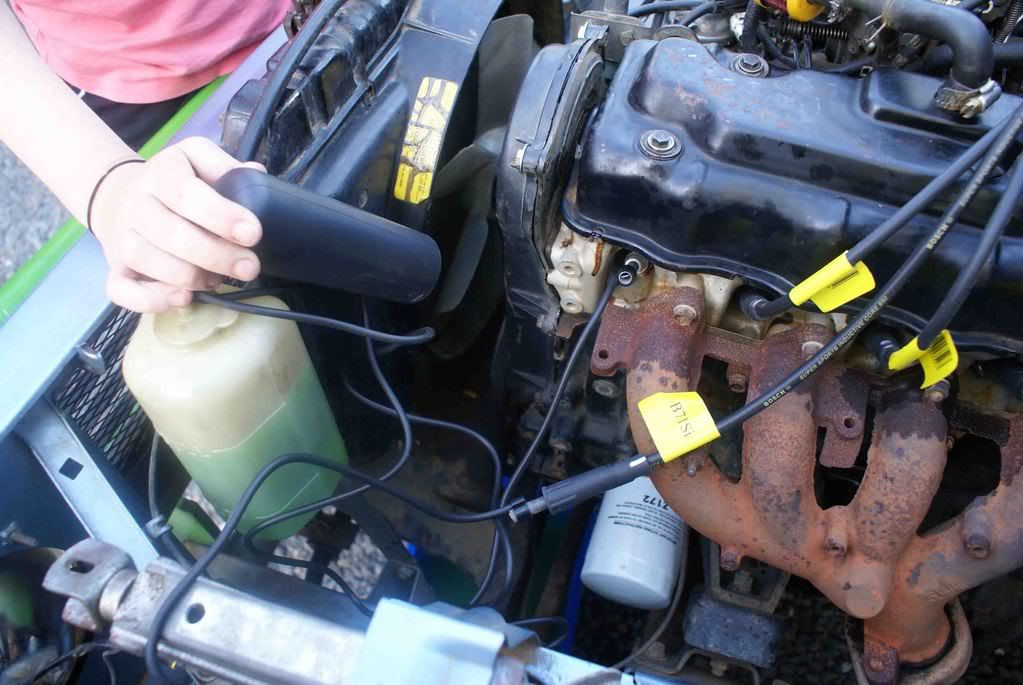
cookie monster
Posted: Fri Jun 13, 2008 7:09 am
by cookie monster
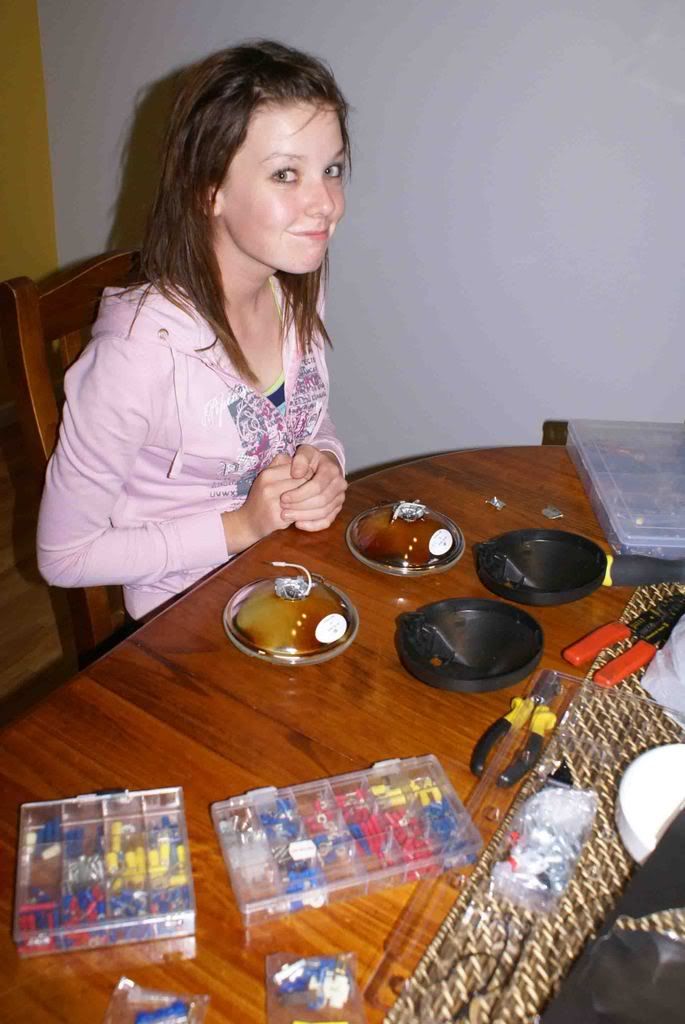
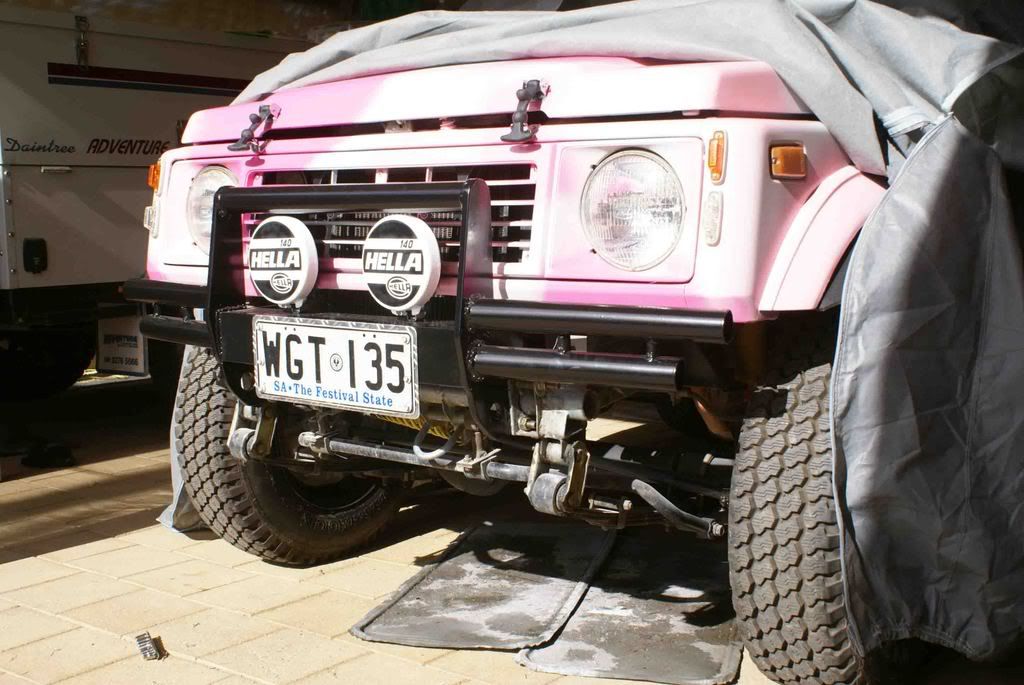
Spot Light Install.
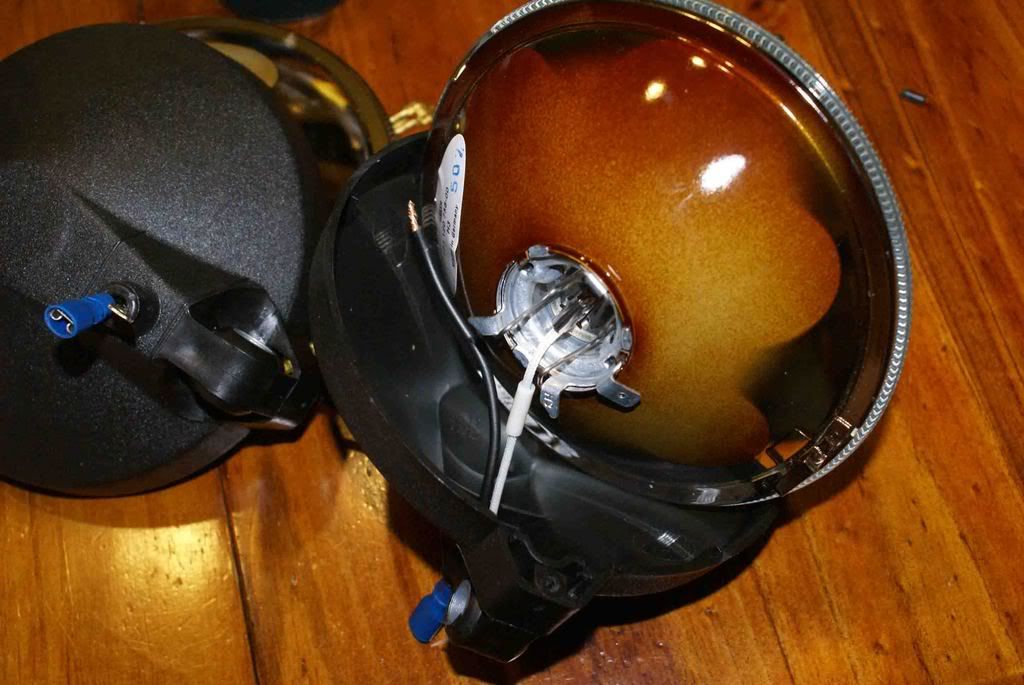
Hella 140 spot light kit
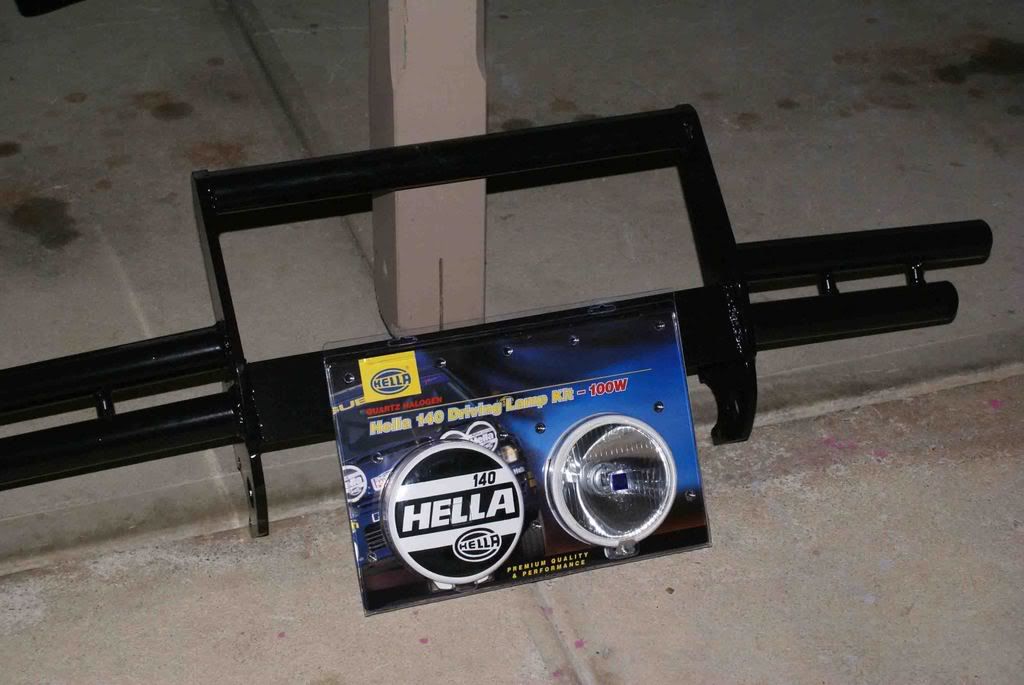
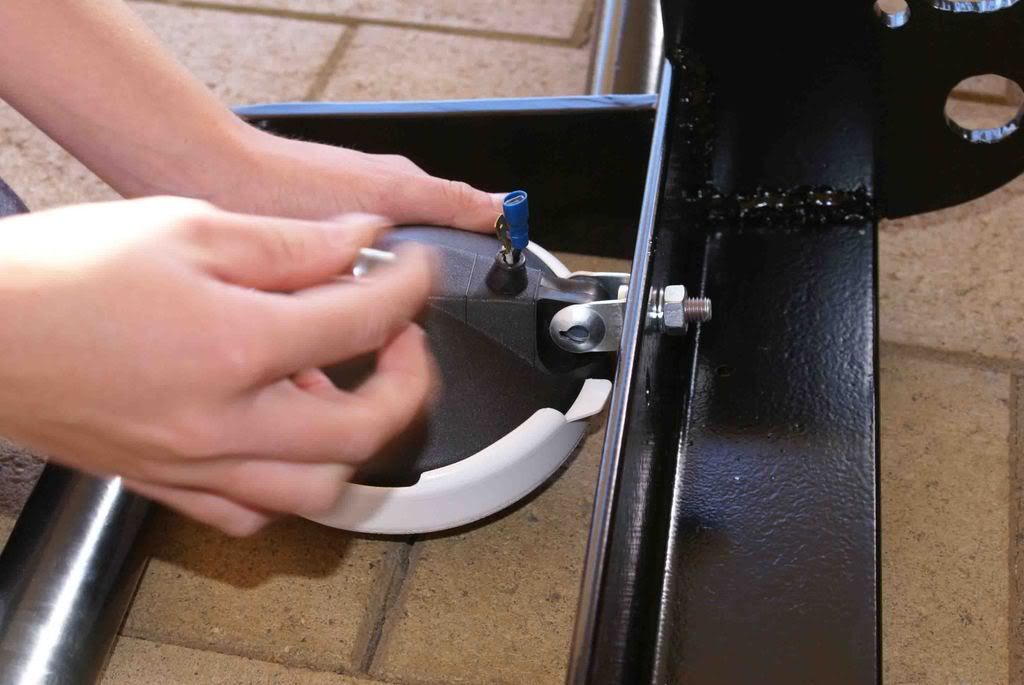
Wiring the individual lamps

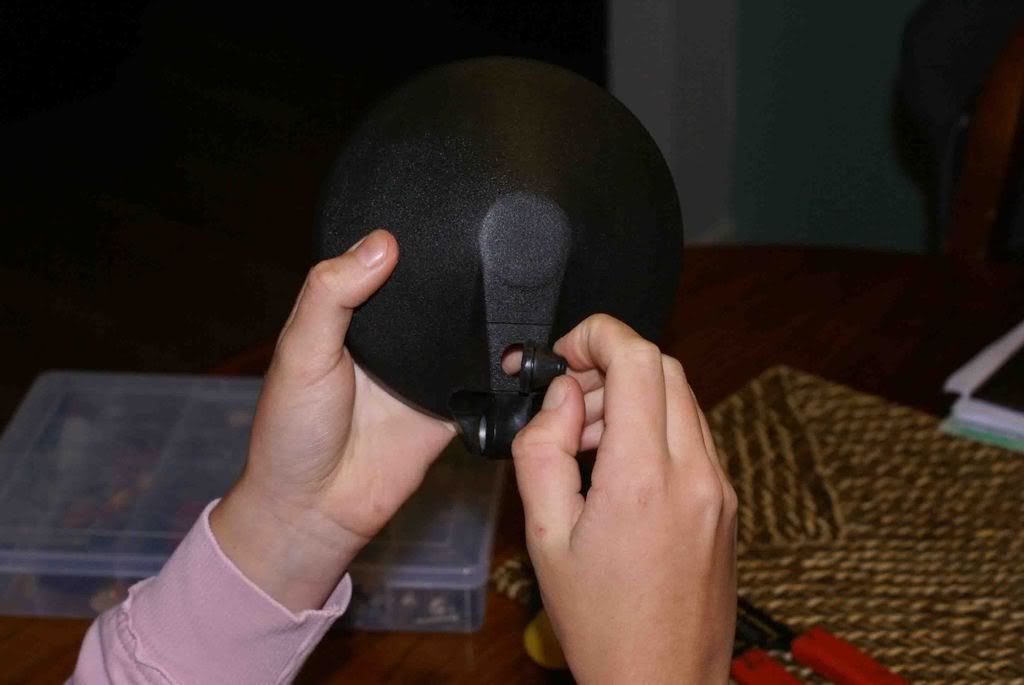
Inserting rubber gland
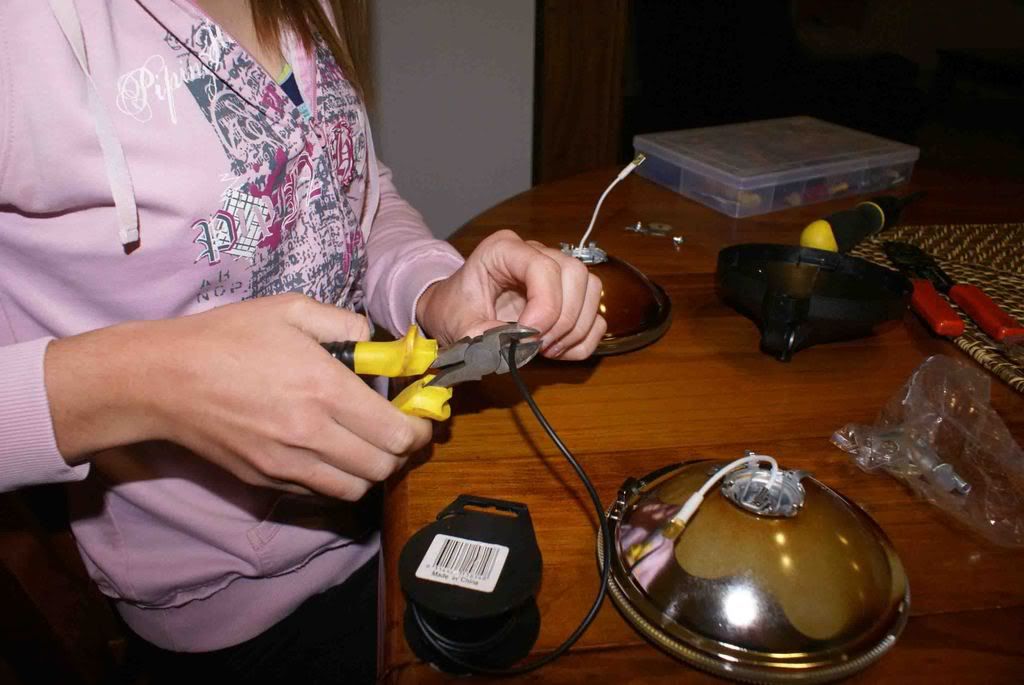
Crimping fitting
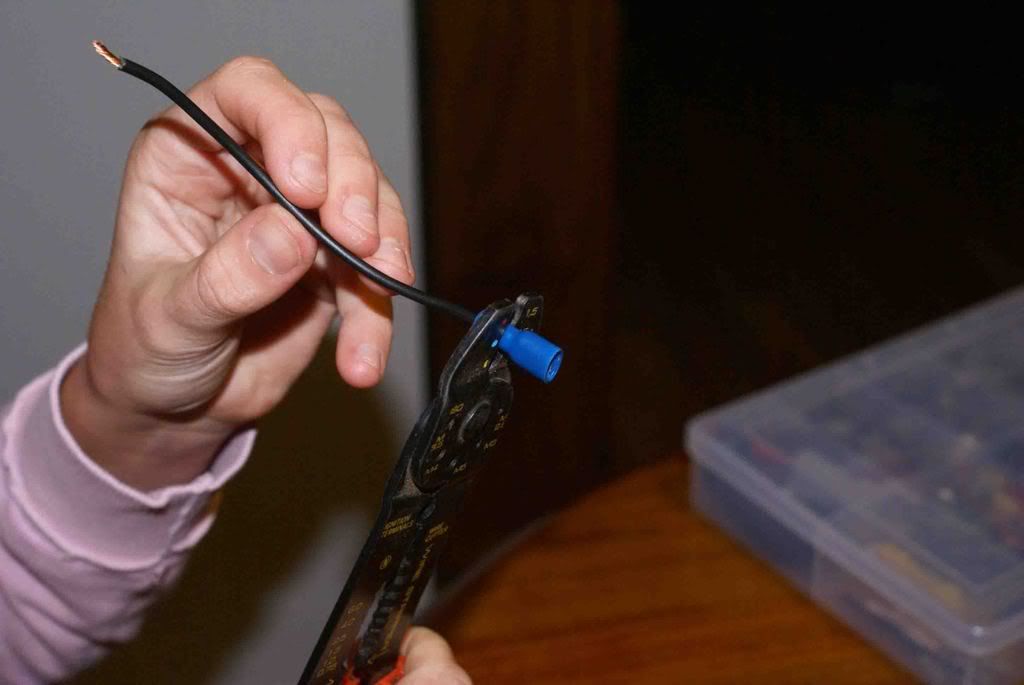
The length of the power wire is a bit short !
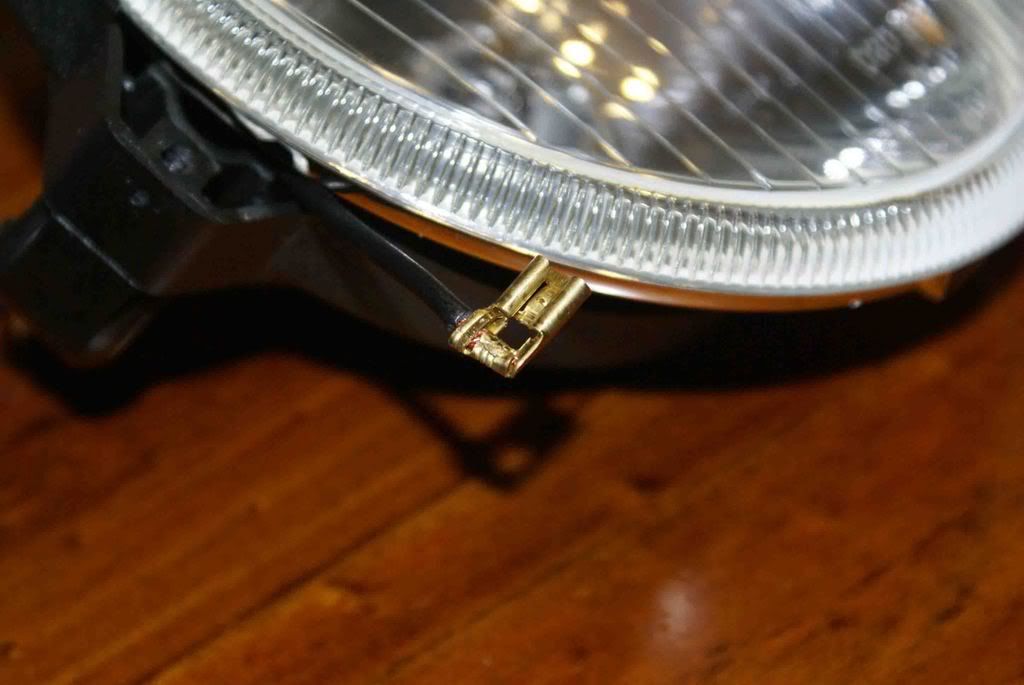
Crimped earth fitting
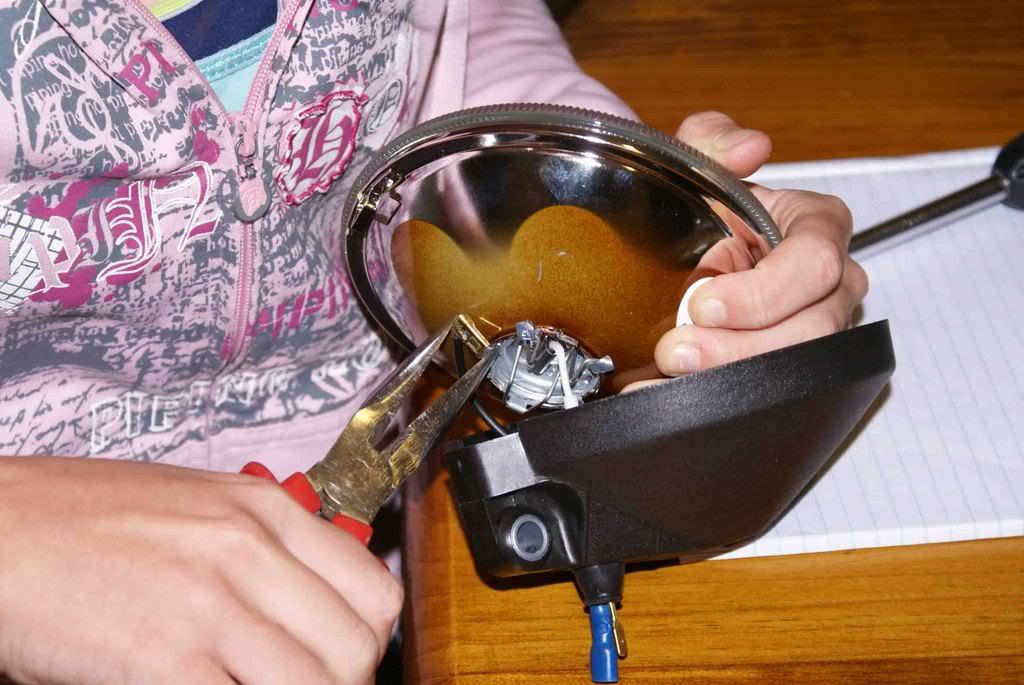
Attaching earth fitting
Re-assembly of lamp
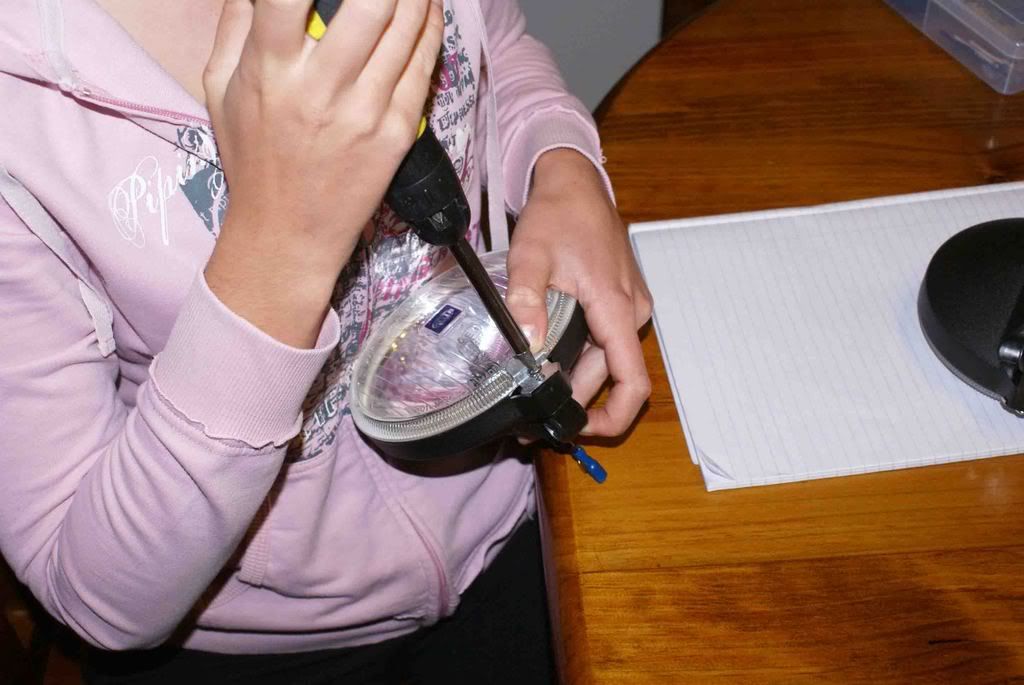
Attaching mounting Brackets
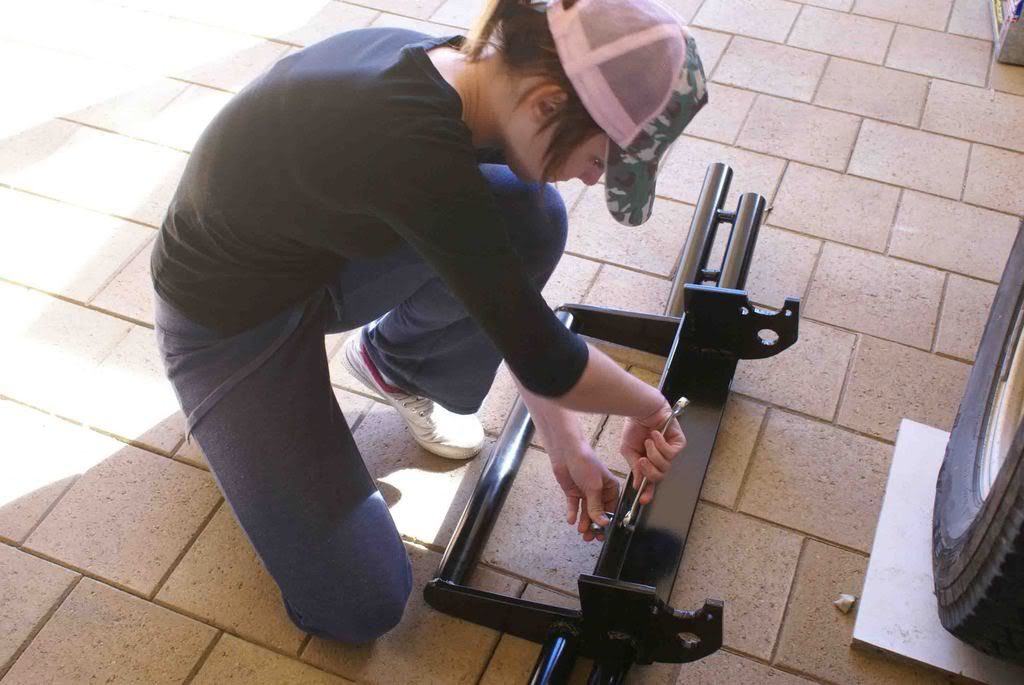
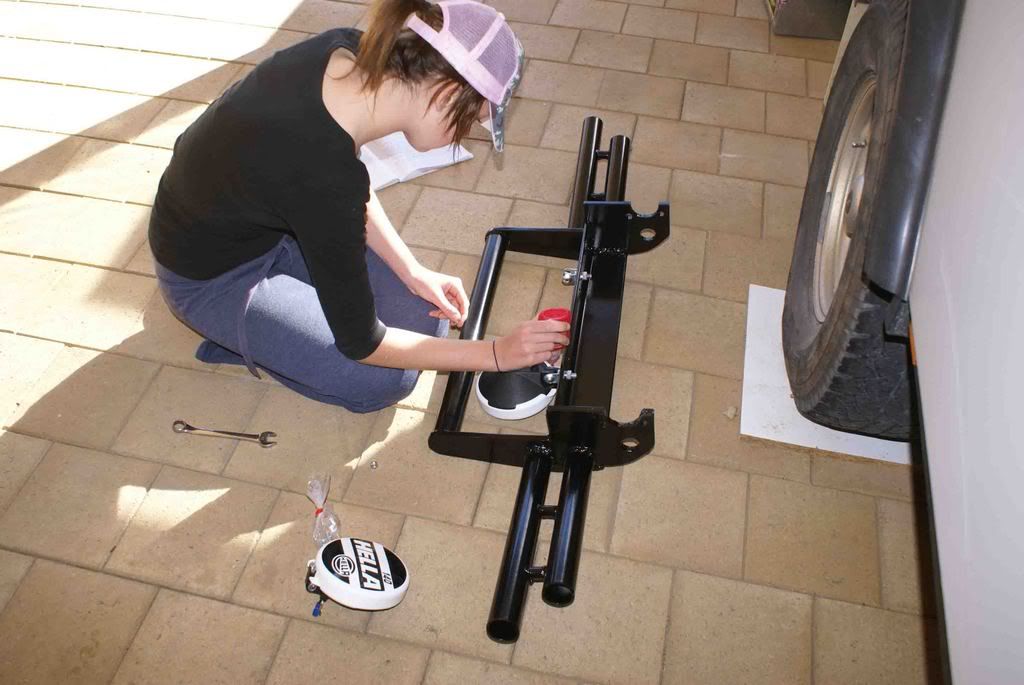
Bolting lamp to bracket
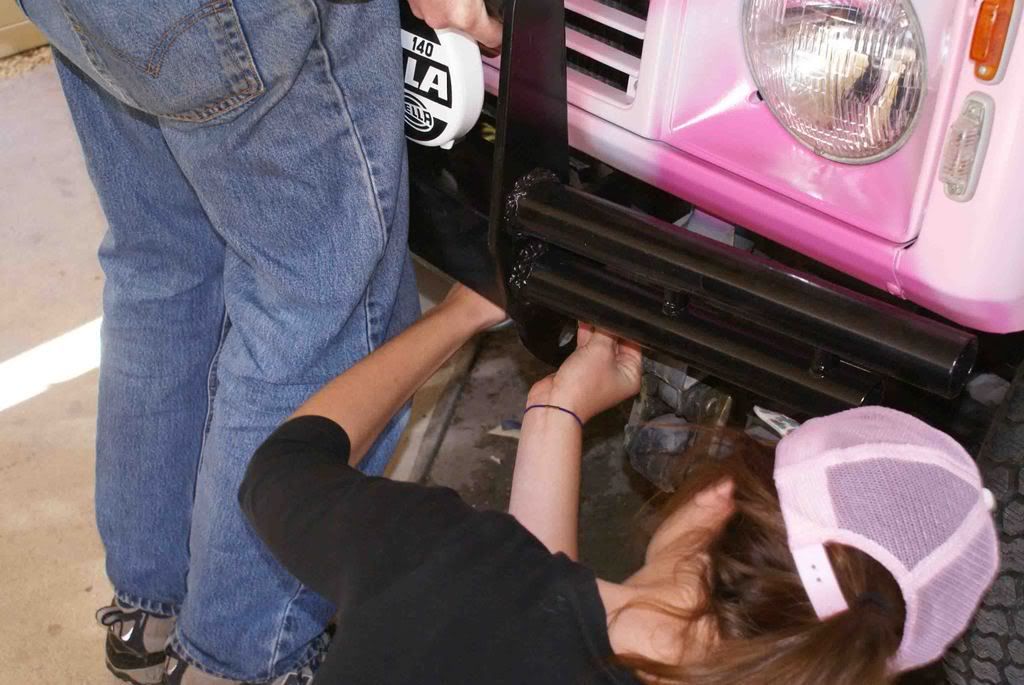
Mounting Bull Bar
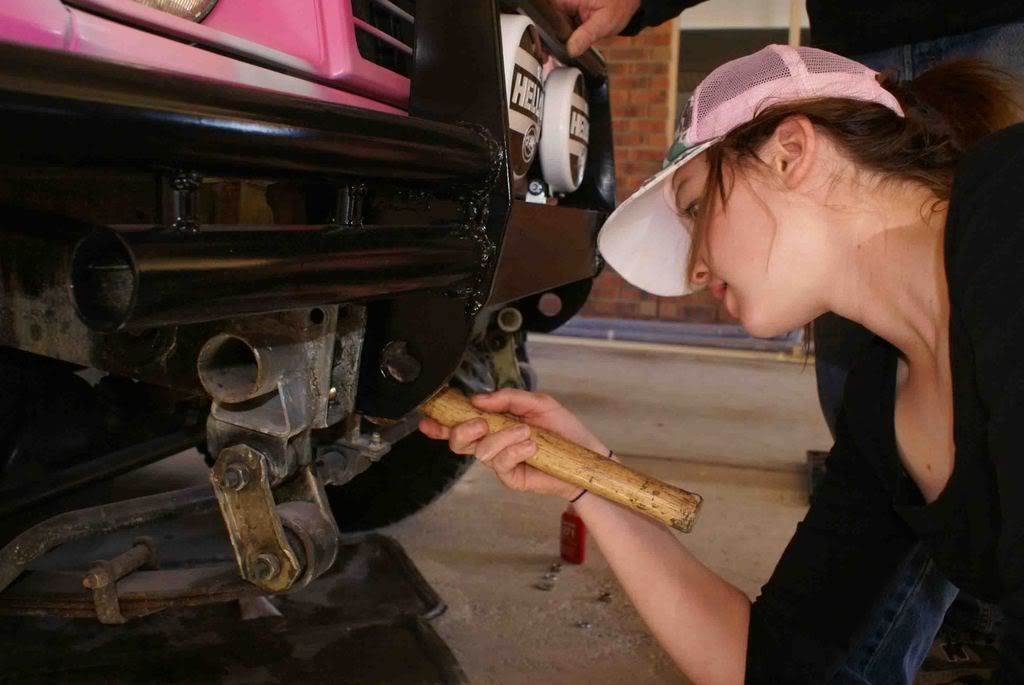
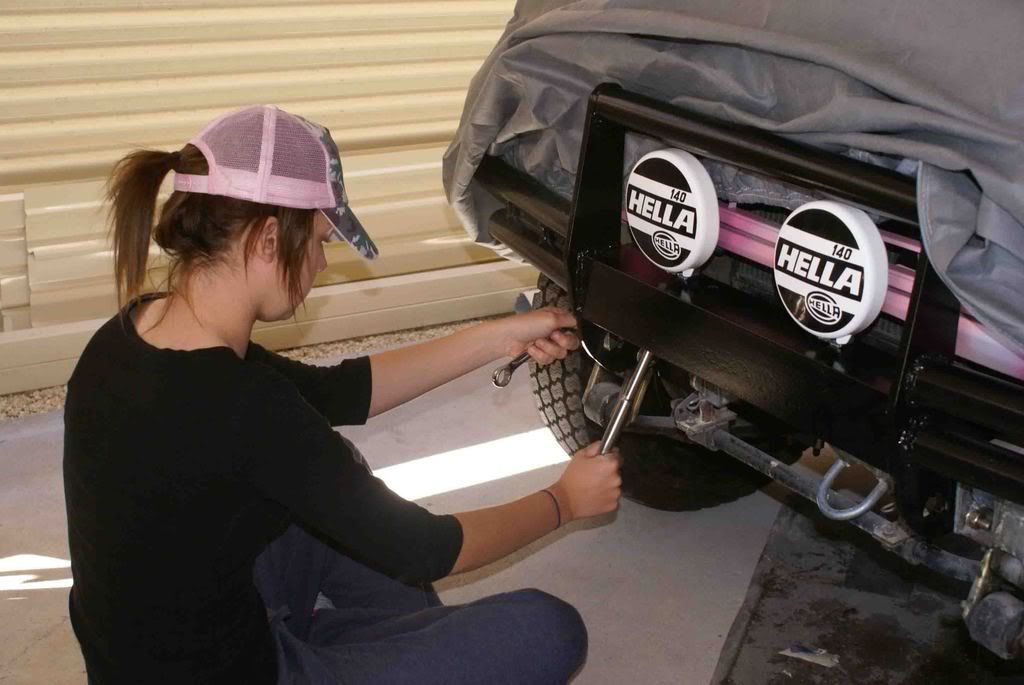
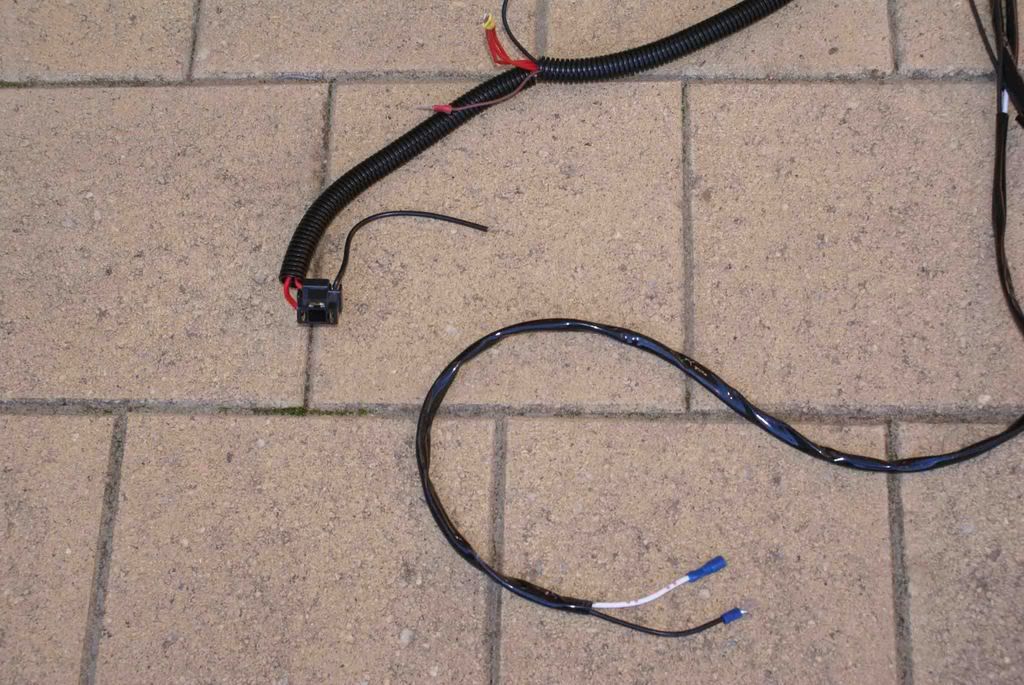
We made a wiring loom up, to upgrade the headlight wiring and to connect the spot lamps. The wiring diagram was was taken from the Suzuki forum on Outers.
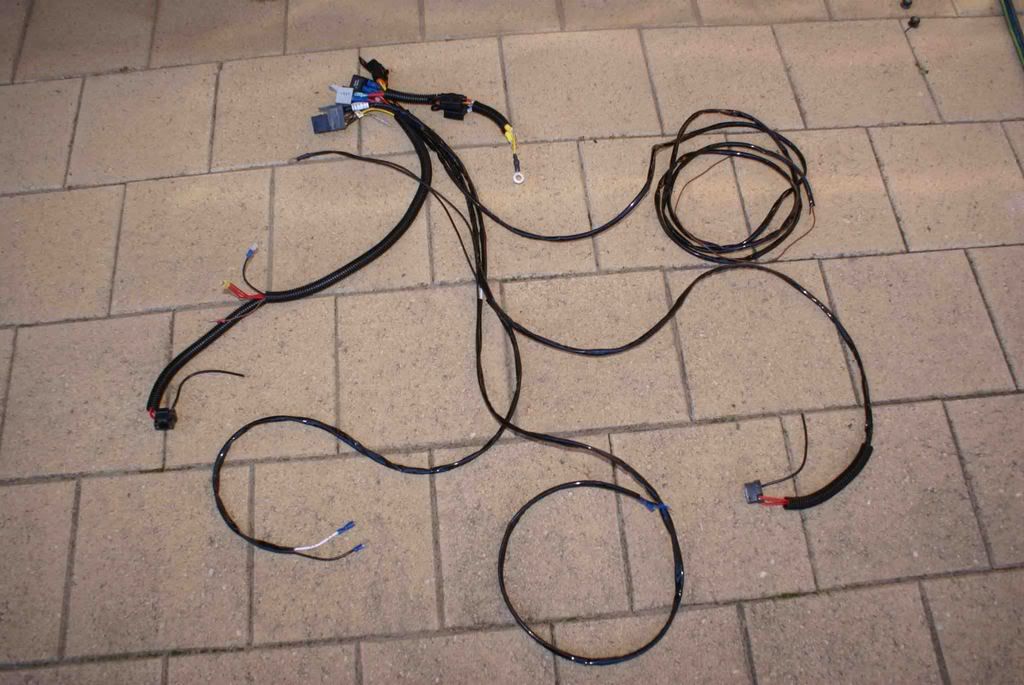
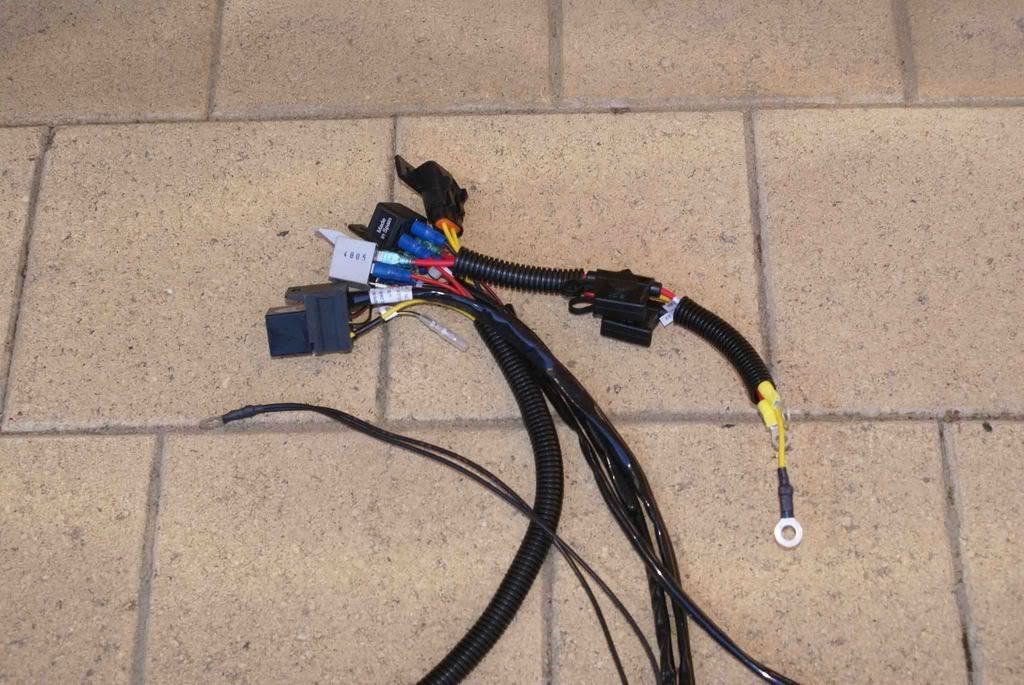
Top wires connect to existing headlamp plug, new headlamp plug on left and spot light wiring on right
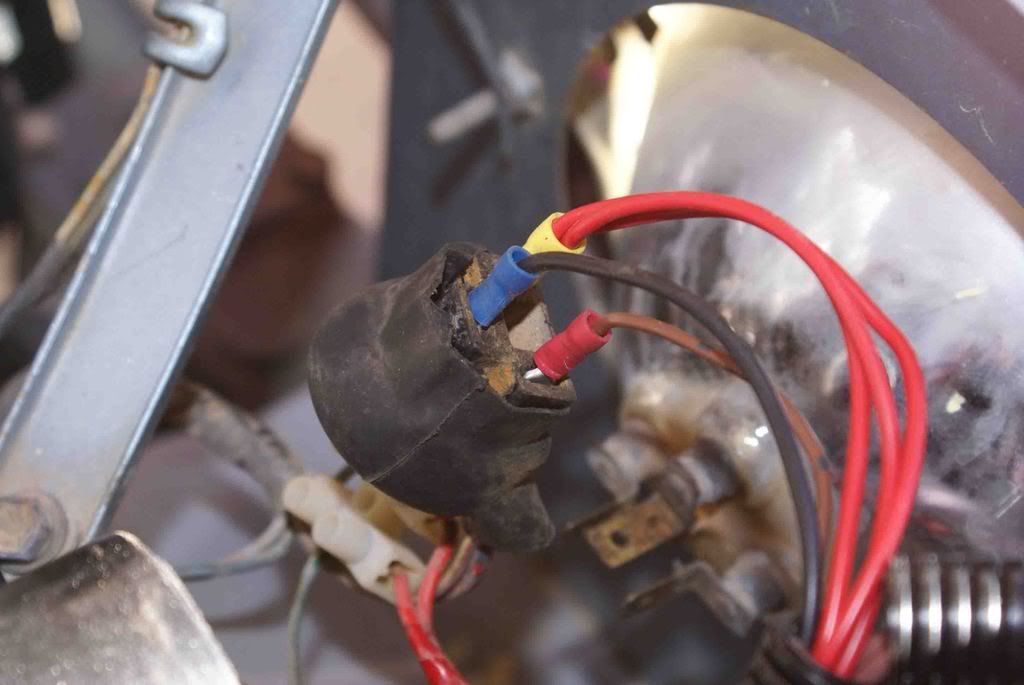
Connecting wires to original headlamp socket
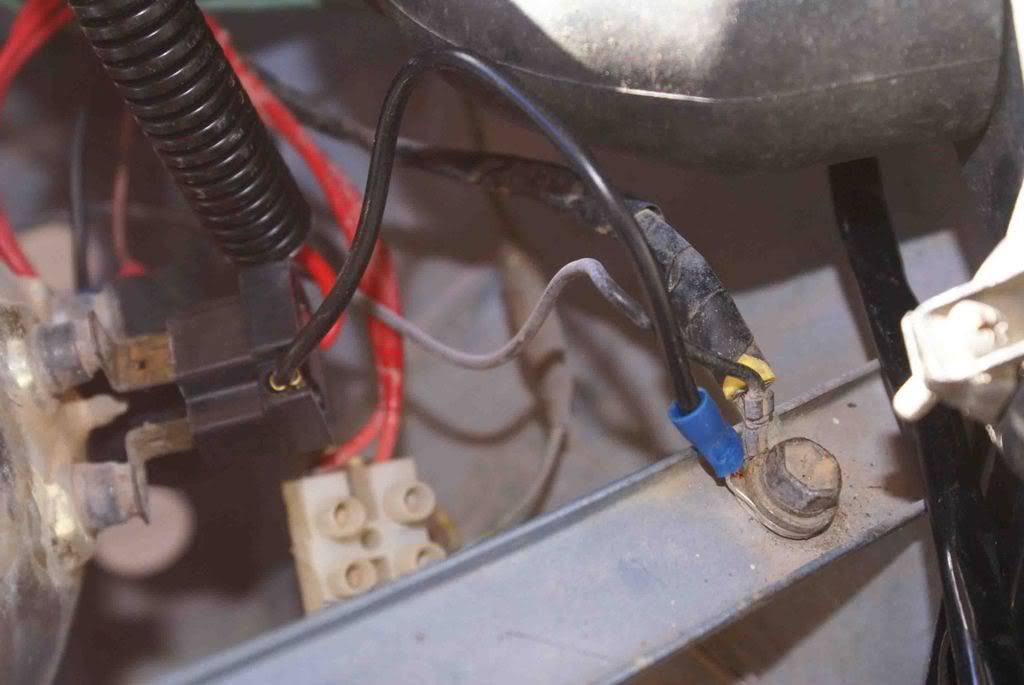
New headlamp socket and earth
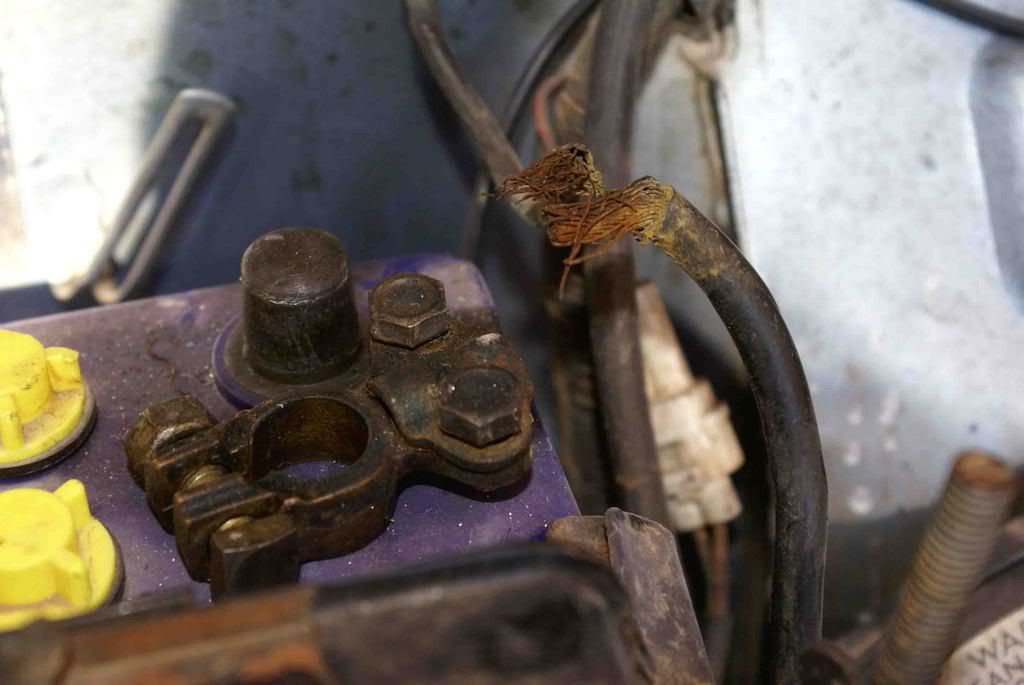
The main earth cable from the engine was a bit suss, so cut and reconnnected.
Ran the cable for the spotlight switch
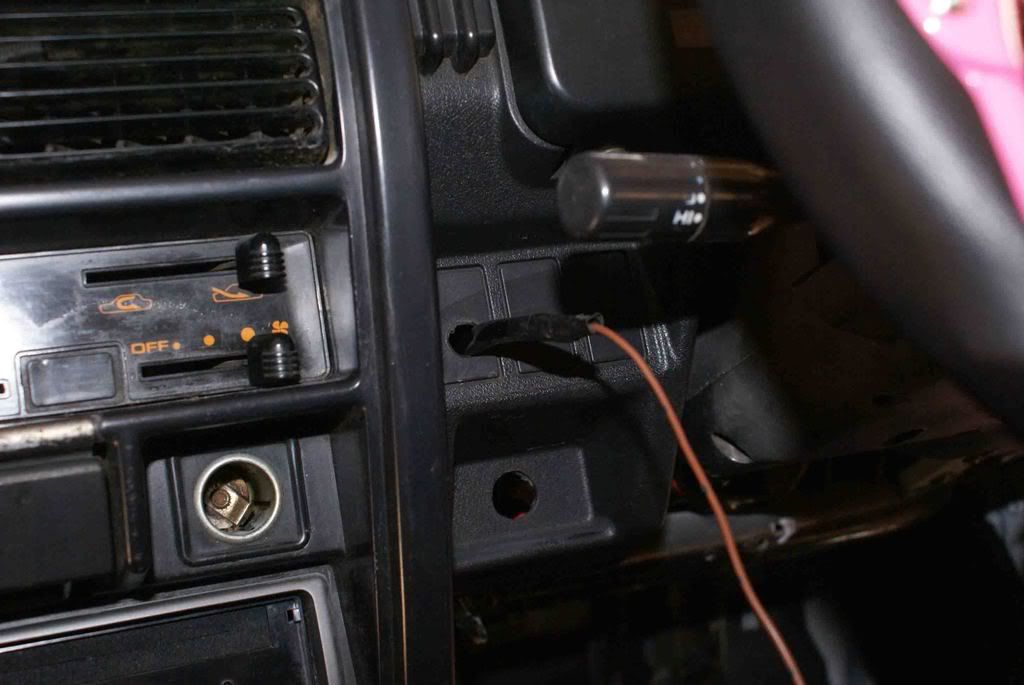
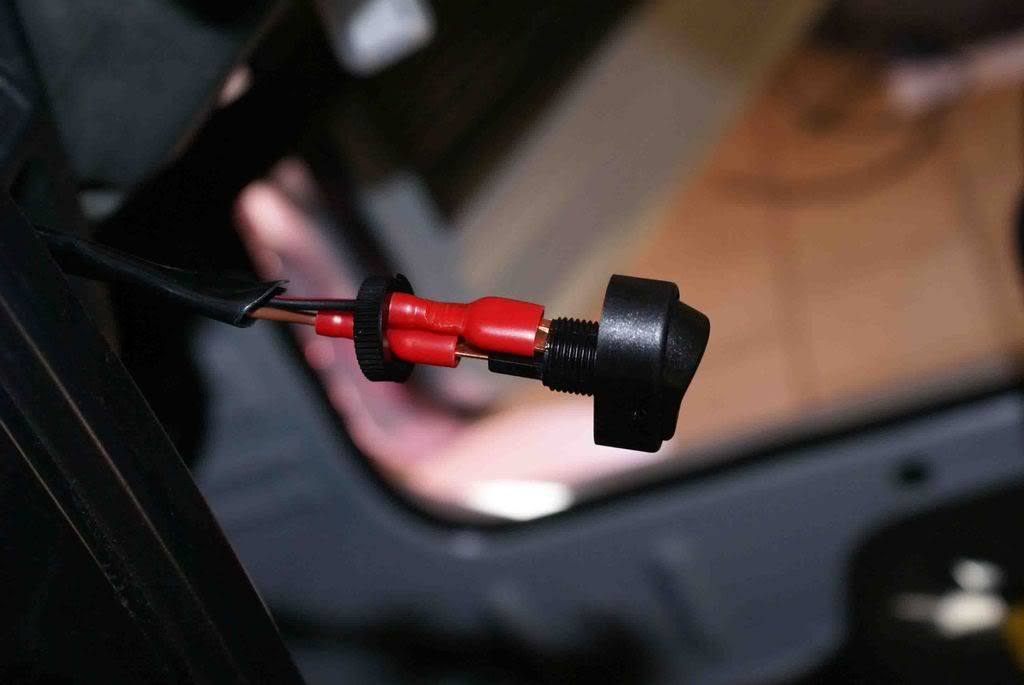
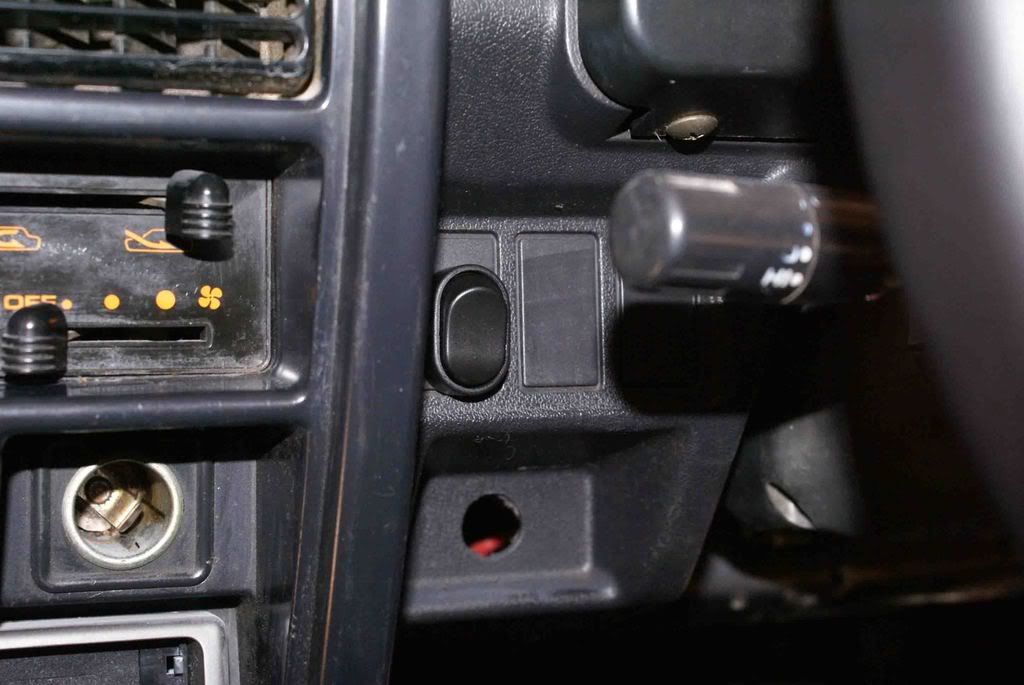
Finished wiring in place, tie wrapped to air intake pipe
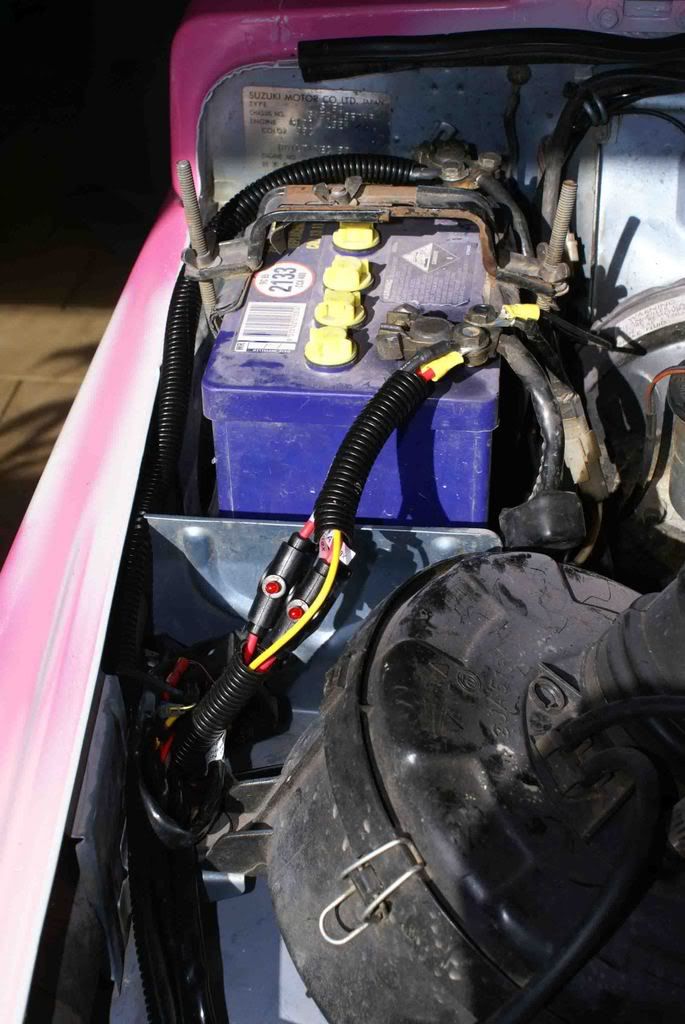
All finished
cookie monster
Posted: Fri Jun 13, 2008 9:26 am
by raqmup
Good work there Hailey & Dad, I see the pink camo is making its way out from behind the 'curtain of mystery'

I used your pics as a guide last weekend to fit my Autotechnica seats, so you're educating some of us as well as doing your own truck build for the school project!
I admire the do it once, do it well approach you seem to have on your rig. Patience and attention to detail is a skill sometimes forgotten by a fair few of the OL blokes on here.
At least when you're old enough to finally 'wheel' the zook, you'll be a gun at trail fixes having pulled it apart and then put it all back together!
We're all hanging to see the painted body work

Mike

Posted: Fri Jun 13, 2008 9:45 am
by Soulsmith
Yeppers, that paint work poking out from under the tarp is looking pretty darn sweet. Fantastic work going on there!
This thread is becoming a "How to.." guide to zook maintenance and upgrading


So very true... lmao
Does that translate to??: Tell tale signs of a street driven S I ERRA


