Page 1 of 1
NH-NL Cargo Barrier Installation
Posted: Fri Jun 22, 2007 3:35 pm
by HotAe92
Hey All,
Just picked up a Milford Cargo Barrier second-hand for only $80!
It appeared to have all the brackets, no bolts were included, nor were instructions.
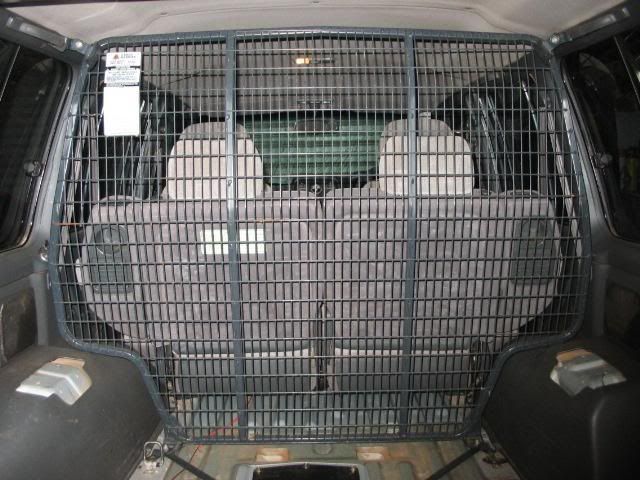
I am about halfway there, though I just want to check I have done it right thus far.
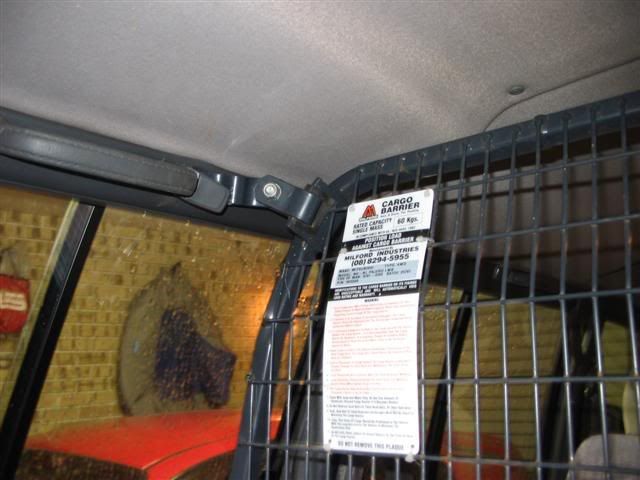
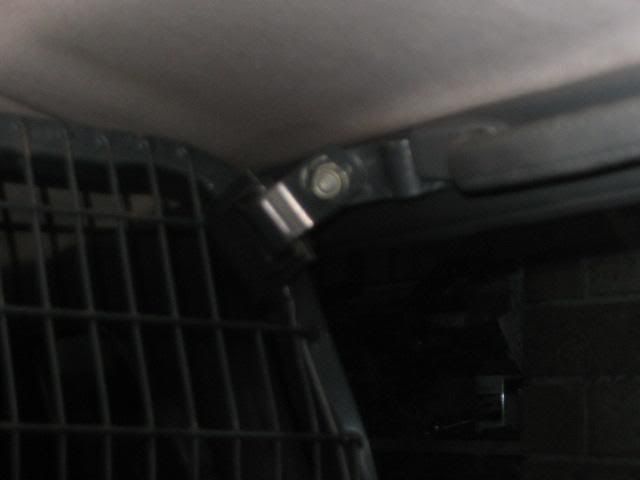
1) The upper brackets bolt to the front screws of the dickie seat handles (up top)
2) The long arms on the bottom (of the barrier) bolt to where the dickie seats would clip if they were to be pulled down
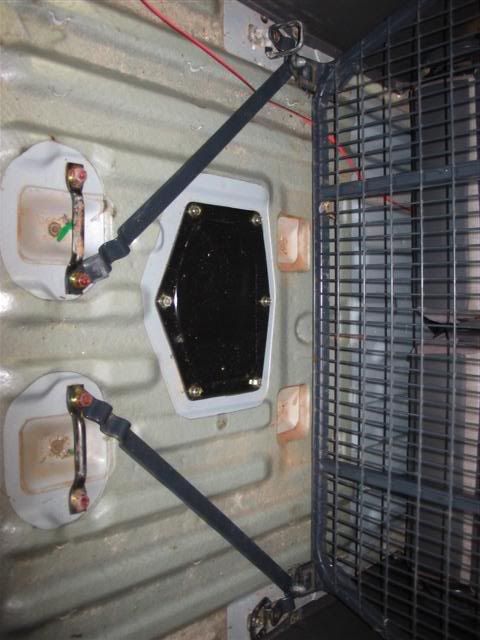
3)I'm not too sure whether the smaller brackets on the bottom (of the barrier) bolt to - do they bolt to the front or rear bolt of the tie down point.
4)What do you do with the carpet? Cut it?
I'll hopefully post up some pics later today to help explain.
Cheers,
Jayden
Posted: Fri Jun 22, 2007 4:01 pm
by HotAe92
Posted: Fri Jun 22, 2007 5:00 pm
by M1S3RY
I think you will find that the long arms are for mounting the barrier behind the drivers/passengers seat and you should only be using the short ones to probably the tie down points. I also think the full install kit uses rivnuts/nutserts or similiar throught holes drilled in the floor.
Posted: Fri Jun 22, 2007 6:47 pm
by -Scott-
HotAe92 wrote:
NO!!!!

Those grab handles are not designed to take the load which a cargo barrier is designed to resist. The proper install inserts threaded plates behind the plastic trim. The plates are screwed to the body, the cargo barrier screws to the plates with bolts about M10/M12 size.
As an idea of the forces we're talking about, those concertinas in the arms are designed to pull straight in an accident, to help absorb some of the shock. Do you think the grab handle screws are that strong?
The two sets of bottom arms are for two-position mounting; behind the rear seats in their normal position, and again when they're folded forward. The traditional "solution" from Milford is more inserts under the floor in the cargo area. The short arms are used with the barrier in the rear position, the long arms for the front position.
I'm not using the floor points installed in mine - they place the bolt head on top of one of the raised ridges, and stuff doesn't sit flat on the floor. I only use my cargo barrier in the forward position (in a shorty) so I modified the longer arms to use the front bolt of the factory tie-down points, like your short arms would do in your third photo:
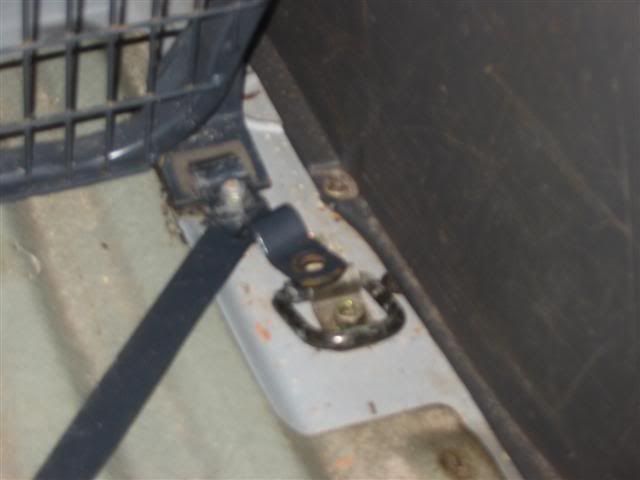
A cargo barrier will only work properly if installed properly! I recommend finding a friendly Milford installer - I had mine installed by an ARB dealer.

Good luck,
Scott
Posted: Fri Jun 22, 2007 7:26 pm
by HotAe92
Shite
Cheers Scott,
The brackets just happened to coincide with the position of the handrails, so I just put 2+2 together - obviously not, lol. I'm glad you pointed that out before I have some weight behind there.
Well off to an installer then.
Cheers,
Jayden
Posted: Fri Jun 22, 2007 10:12 pm
by Zute
Nice buy for $80 bucks.
Posted: Sat Jun 23, 2007 8:27 am
by glenn_c
It would of came with plates with three holes in them (all tapped i thimk), two are used to bolt the plate to the floor and the middle one for the cargo barrier. You have to have to drill a large hole with a smaller hole either side . O .(someting like 21mm) so you can fit the plate throught the hole and it is held in place by the two bolts throught the two small holes. Then you have a plate behind the metal with a large hole though which you bolt your cargo barrier. I am sure I kept the instructions if you want them PM me with your details (email or fax mumber) and I will send you a copy. Please don't rush it wait until you know how to install it correctly.
Scott if you can think of a way of putting the installation instructions online?
Regards Glenn
Posted: Sat Jun 23, 2007 10:15 am
by -Scott-
The only way I could do it would be scan the instructions to a .jpg file, and host on photobucket.
Anybody with their own website should be able to stick a pdf online for download, but I have NFI how it's done.
