rear shock absorber replacement on wide track
Posted: Wed Feb 27, 2008 6:09 pm
i found some new monroe gas shockies on e-bay for $25 to replace the stuffed standard ones for the time being till i can lift it a bit. had my camera handy when i replaced them so i thought id do a little story about it  i know most people here could do this job in their sleep but may make it easier for someone contemplating it who hasnt done it before or photos may be good for someone who wants underbody shots of a WT.
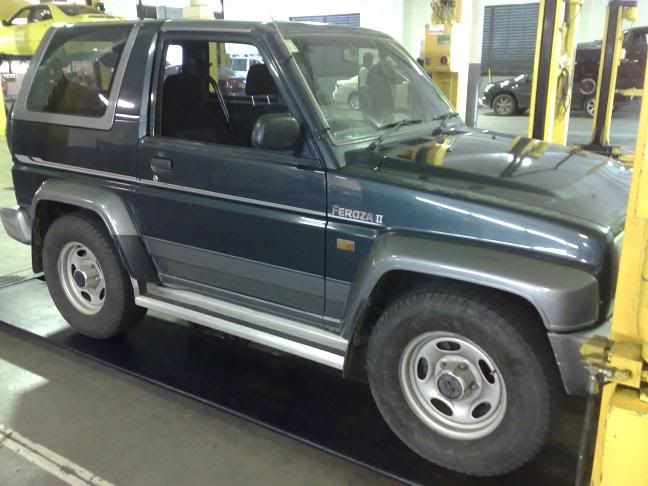
to start with it helps if you have access to a hoist (4 post is the best for this) or workshop however it works just as easily on the ground.
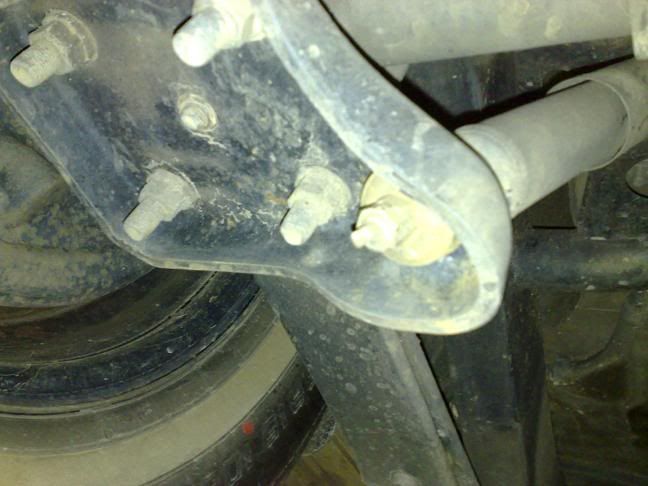
once you can get under the car identify the 2 mounts for the shock absorber; one at the top and one at the bottom (bottom one shown)
undo the nuts at the bottom and the top. (the shock absorber won't fall out as it has a tendancy to expand) a socket can be used for the bottom however space if limited up top so a spanner will have to be used. the nut size should be a 14mm if factory shocks are still fitted.
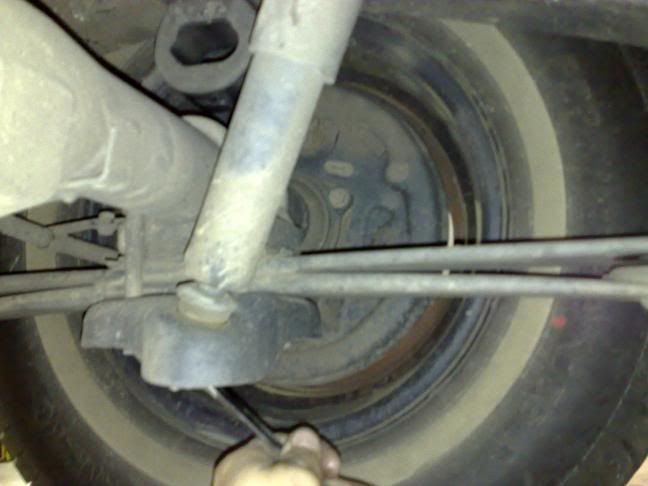
if the shock absorber just spins and you cant get the nut loose there is a tab on the end of the threaded section which you can put something like vise grips onto to hold it still. (sorry bout the blur! as you can see there is rust eating through the mounting point)
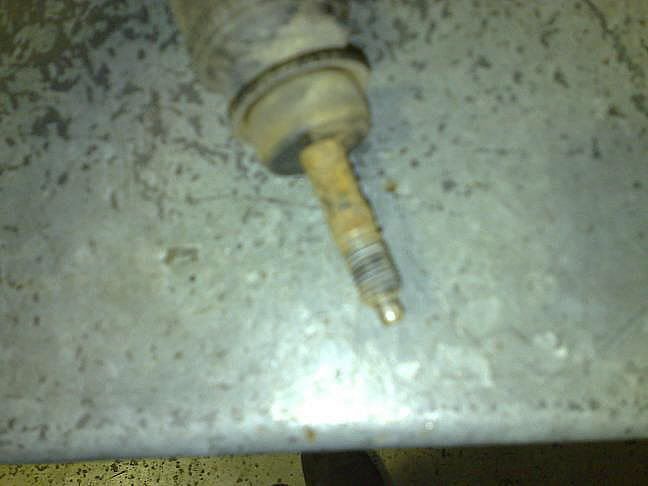
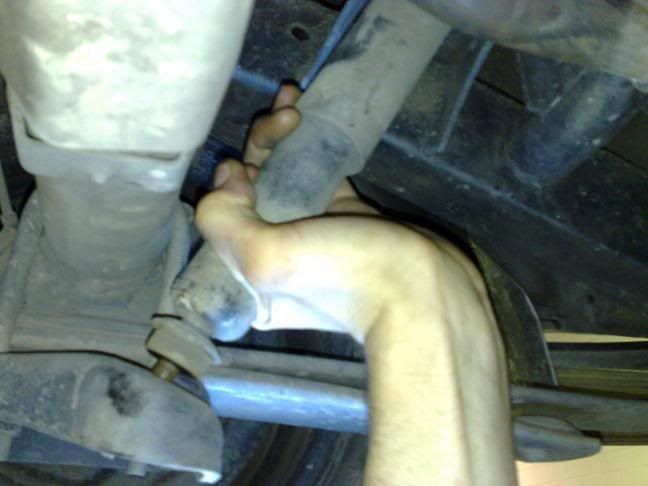
grab the base of the shock absorber and push upwards making sure you have a good hold and solid footing. once you have compressed it past the mounting point pull it sideways and let it expand and remove it.
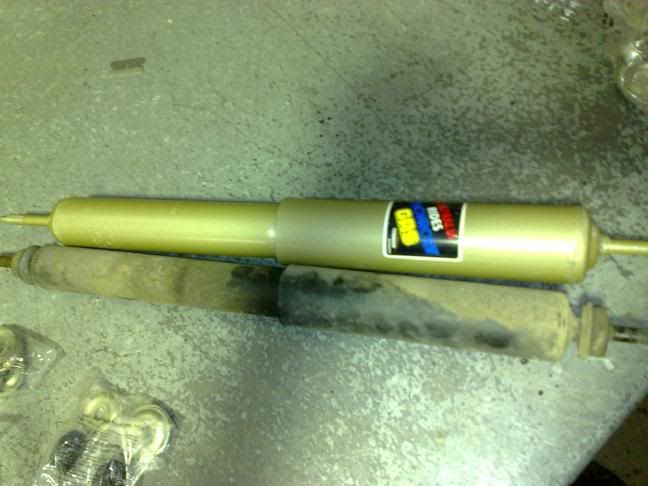
once you have one removed check it against the new part to make sure its correct as its easier to check now then getting under the car and seeing it doesn't fit, getting back out and swearing when its the wrong part.
Make sure when fitting the new shock absorbers the new bushes are fitted with the bush cups having the correct orientation. its easier to fit them before getting under the car. (they will stay on as they fit snug on the mounting shaft).
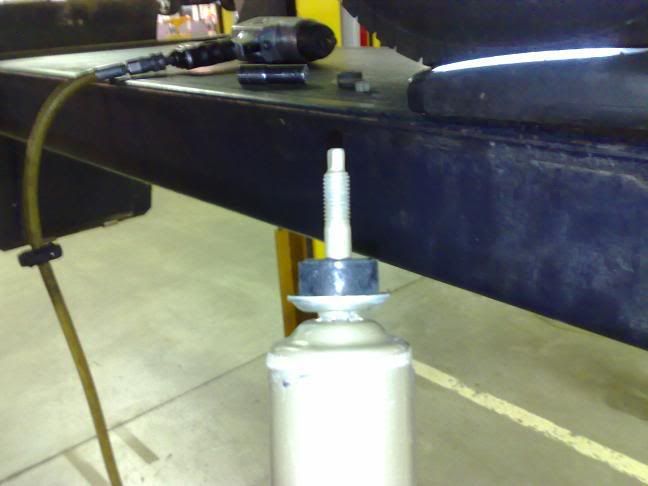
fit the new shock absorber the same way as you took the old one out; by fitting the top first and compressing up against the top mount. Move the shock absorber into position and let it expand into place. make sure you have fitted it the right way up!
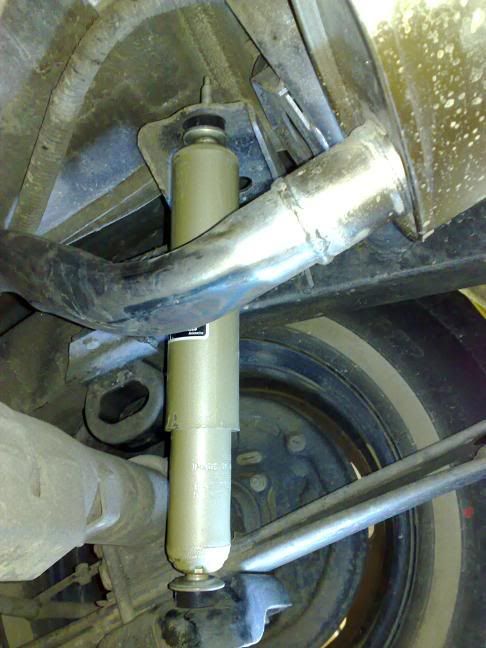
fit the outter bushings on the shock absorber mounts and tighten with new nuts. nylock nuts should be used to reduce the chance of them becoming loose. make sure the bushing cup is fitted before the nut is installed. Be careful not to over tighten the nuts as this can increase the chance of the bushes splitting. make sure there is firm, slightly compressed contact between the bushings and the cups and the locking nut will keep in position.
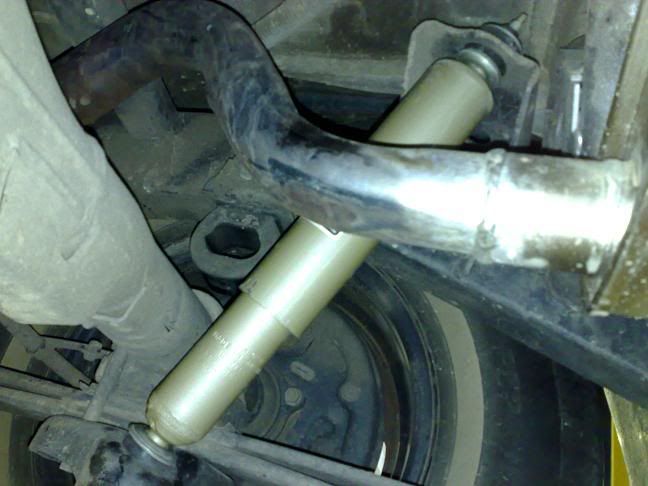
and now one side is done!!! get stuck into doing the other side and make sure your careful of brake and fuel lines !
while i still was taking photos so here is a couple of photos of the new 2' exhaust (will get the cat forward done when the motor rebuild is done so i dont clog a new cat with oil residue)
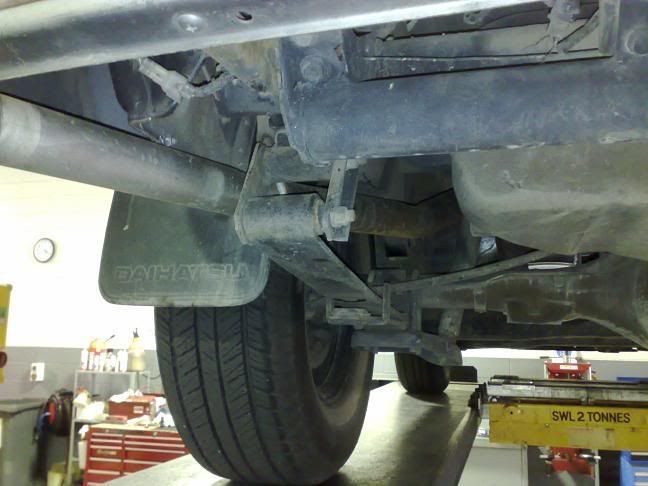
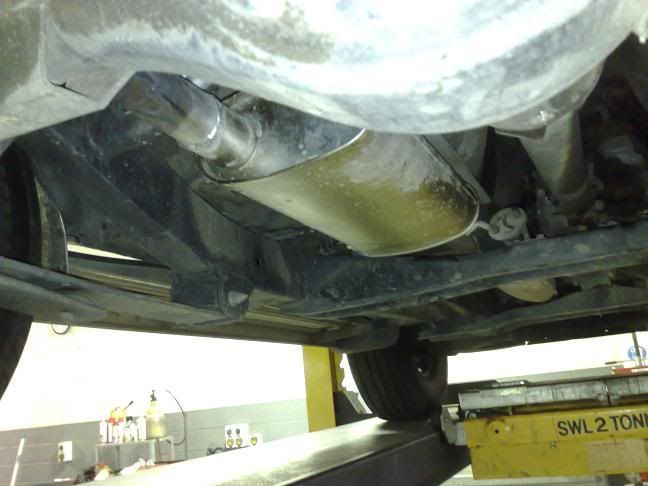
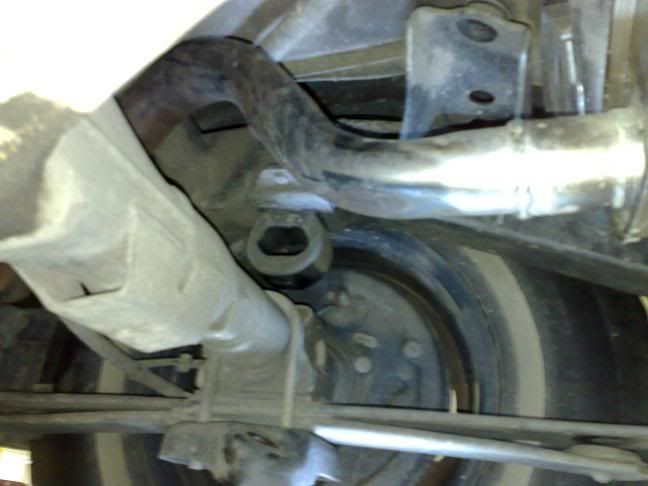
to start with it helps if you have access to a hoist (4 post is the best for this) or workshop however it works just as easily on the ground.

once you can get under the car identify the 2 mounts for the shock absorber; one at the top and one at the bottom (bottom one shown)

undo the nuts at the bottom and the top. (the shock absorber won't fall out as it has a tendancy to expand) a socket can be used for the bottom however space if limited up top so a spanner will have to be used. the nut size should be a 14mm if factory shocks are still fitted.

if the shock absorber just spins and you cant get the nut loose there is a tab on the end of the threaded section which you can put something like vise grips onto to hold it still. (sorry bout the blur! as you can see there is rust eating through the mounting point)

grab the base of the shock absorber and push upwards making sure you have a good hold and solid footing. once you have compressed it past the mounting point pull it sideways and let it expand and remove it.

once you have one removed check it against the new part to make sure its correct as its easier to check now then getting under the car and seeing it doesn't fit, getting back out and swearing when its the wrong part.

Make sure when fitting the new shock absorbers the new bushes are fitted with the bush cups having the correct orientation. its easier to fit them before getting under the car. (they will stay on as they fit snug on the mounting shaft).

fit the new shock absorber the same way as you took the old one out; by fitting the top first and compressing up against the top mount. Move the shock absorber into position and let it expand into place. make sure you have fitted it the right way up!

fit the outter bushings on the shock absorber mounts and tighten with new nuts. nylock nuts should be used to reduce the chance of them becoming loose. make sure the bushing cup is fitted before the nut is installed. Be careful not to over tighten the nuts as this can increase the chance of the bushes splitting. make sure there is firm, slightly compressed contact between the bushings and the cups and the locking nut will keep in position.

and now one side is done!!! get stuck into doing the other side and make sure your careful of brake and fuel lines !
while i still was taking photos so here is a couple of photos of the new 2' exhaust (will get the cat forward done when the motor rebuild is done so i dont clog a new cat with oil residue)


