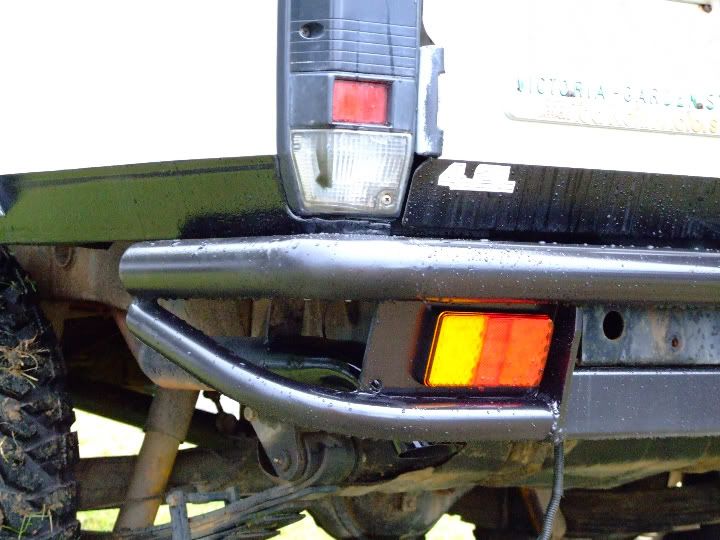
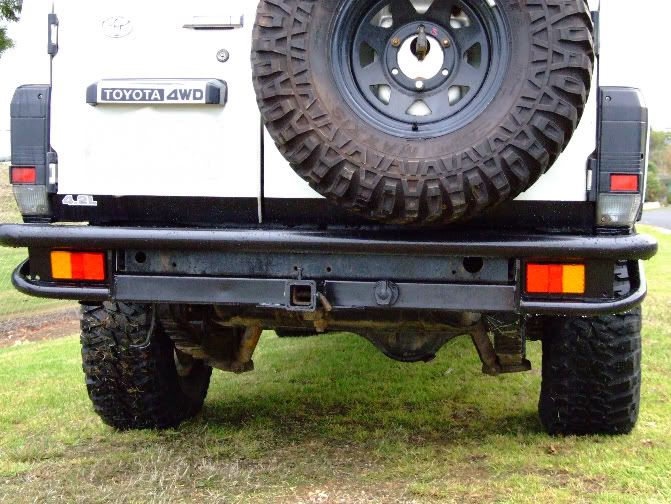
Troopcarrier QTR Chop and rear bar completed
Posted: Fri Mar 21, 2008 6:00 pm
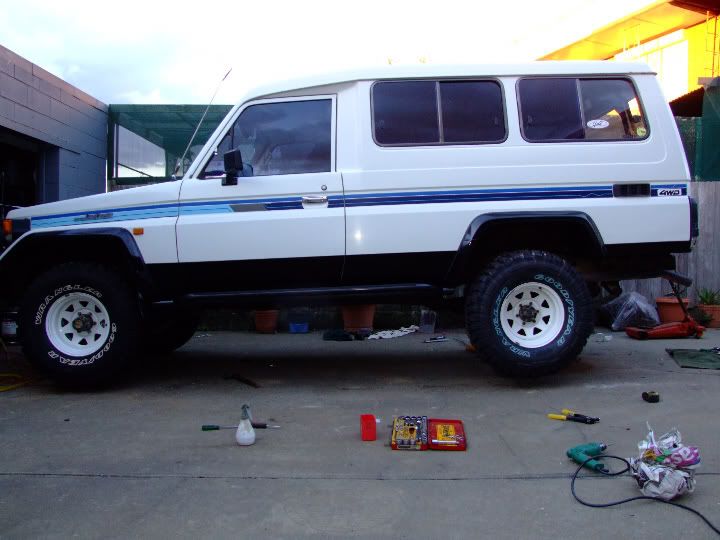
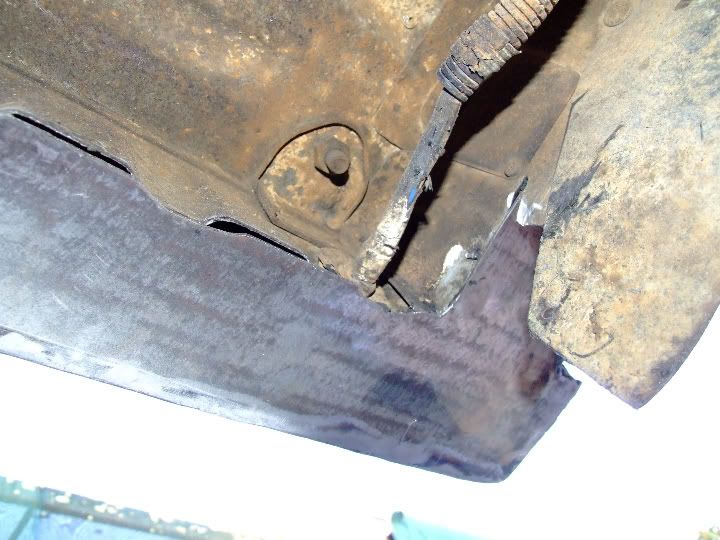
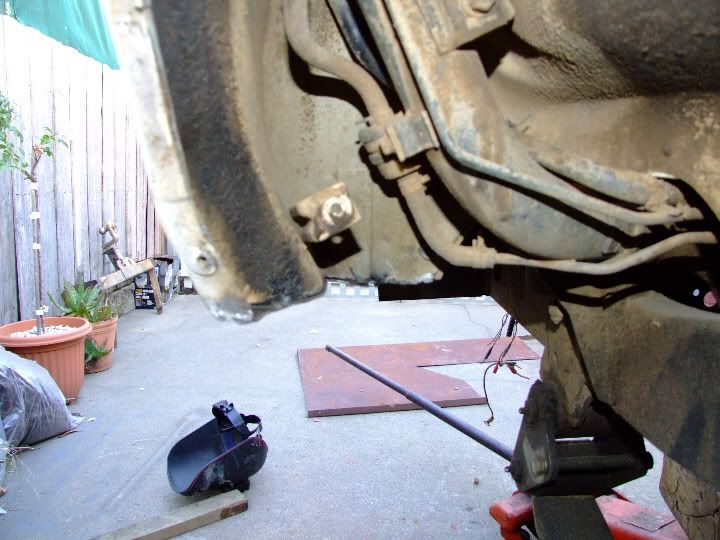
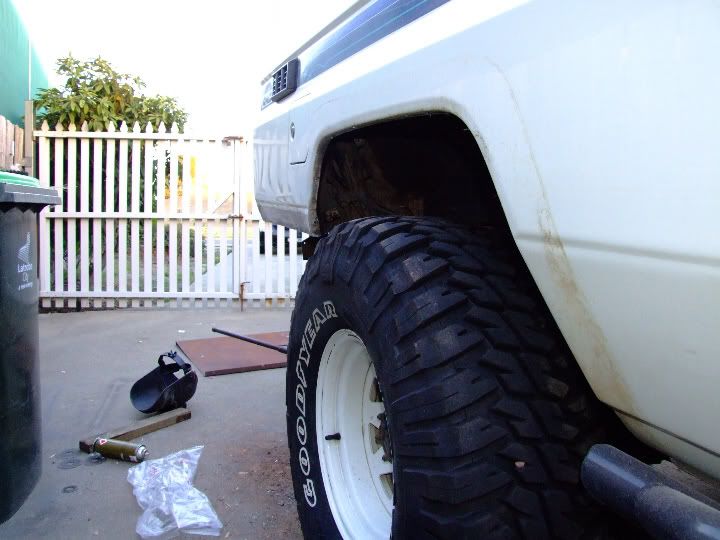
G'day all, On Tuesday 18/3 I started a rear 1/4 chop on my Troopy after denting the rh side on the Tassie Trip, also there was a little bit of white ants creeping in so what better time to do it. No pics of the cutting cos the camera battery was flat, but some of the progress so far. Cheers Gaz
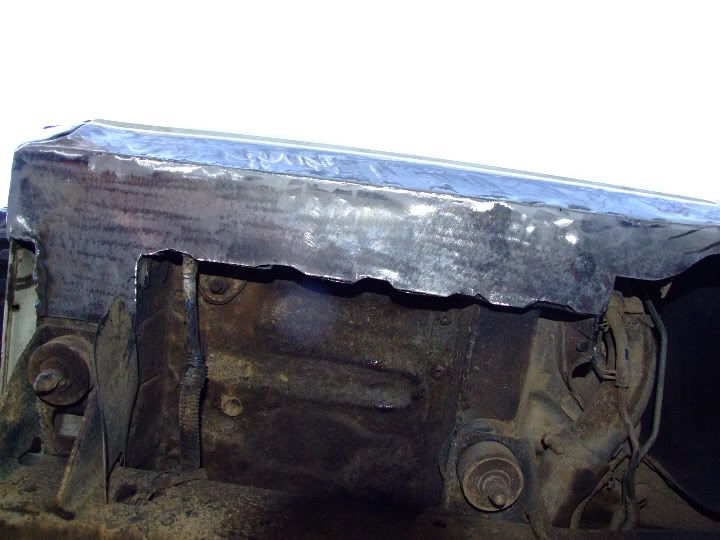
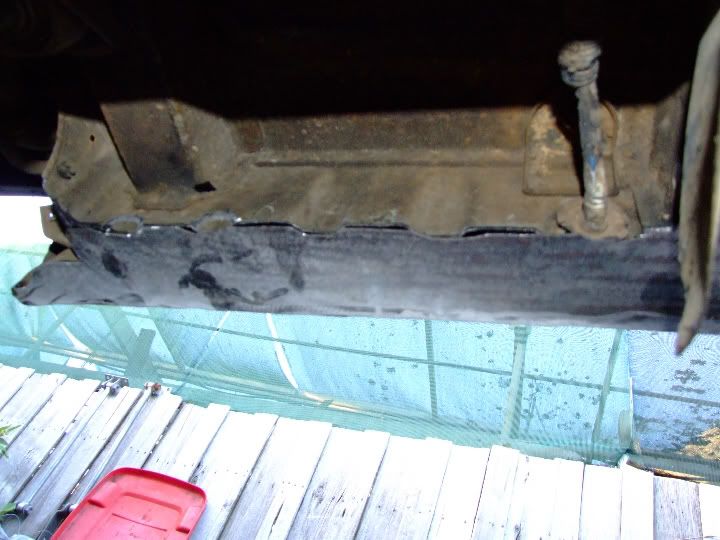
G'day all,
I started at 10.30 Wednesday morning on the LH side and finished it at 2.45, much easier doing the 2nd side . Except for the welding cos the exhaust is in the way. Some pics from start to finish. Cheers Gaz...
Note: Well its finished except for a bit of bog and paint..
1st pic . Cut on this line
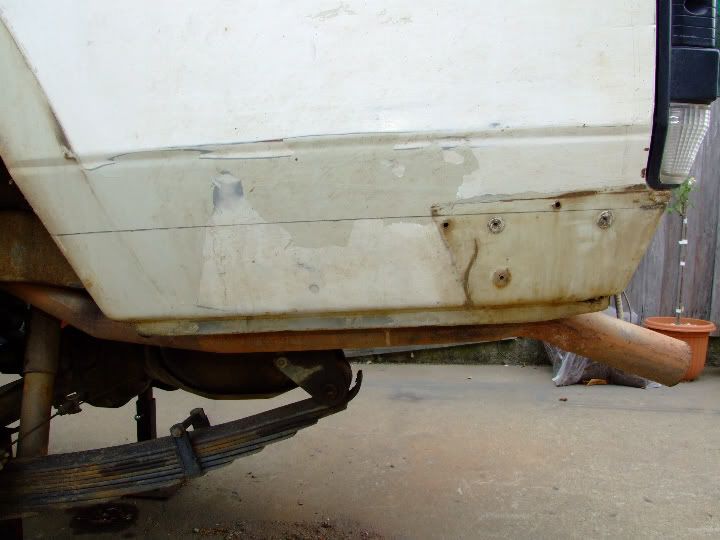
2nd pic. Section removed by cutting along Qtr panel line and then cutting the section out by following the inner support panel.
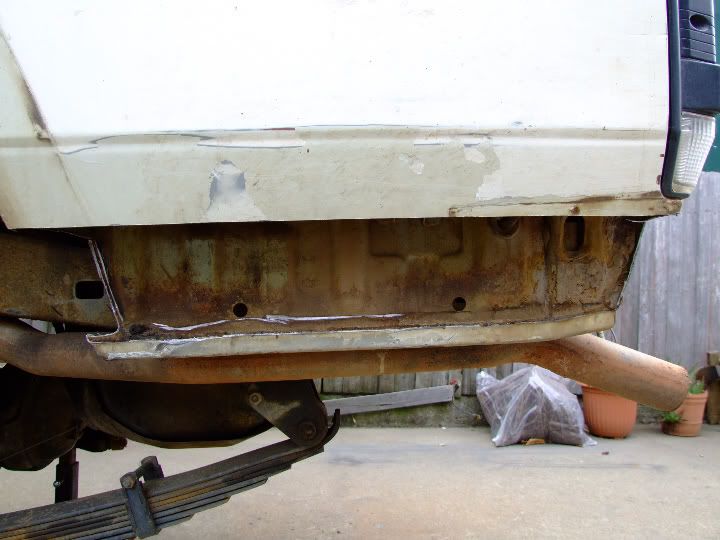
3rd pic. Same as above but looking from rear.
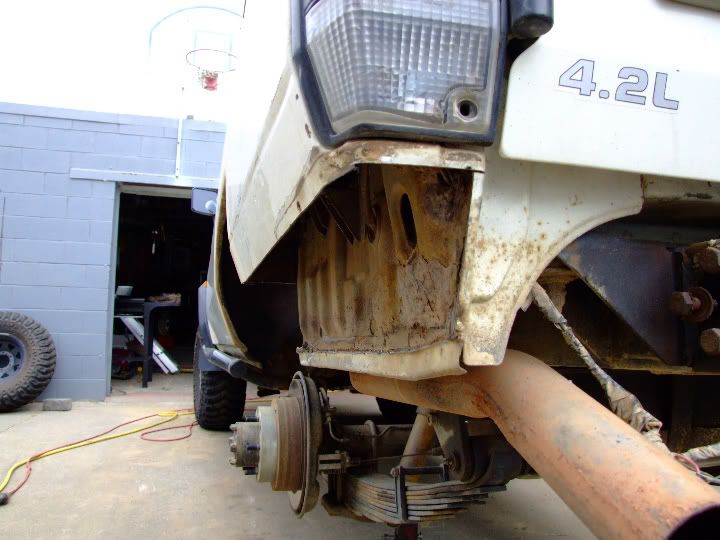
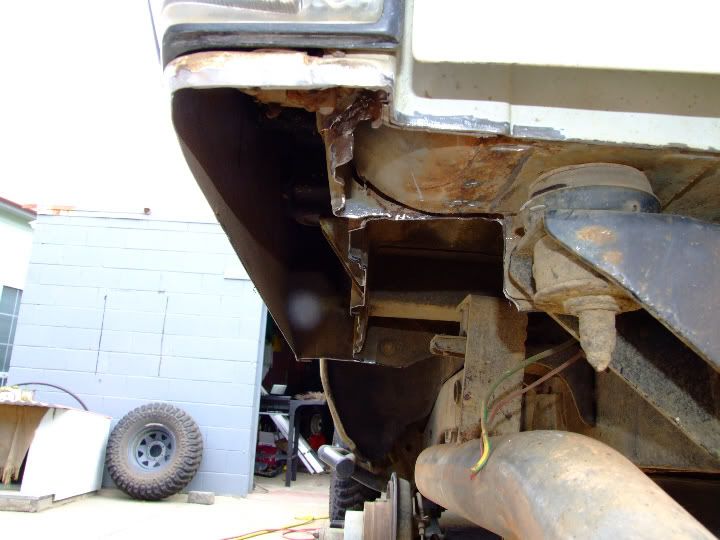
4th pic. This pic shows the inner support panel and other bits removed. This is probably the most time consuming part of the job and is made easier by using an air chisel in the hard to get to places.
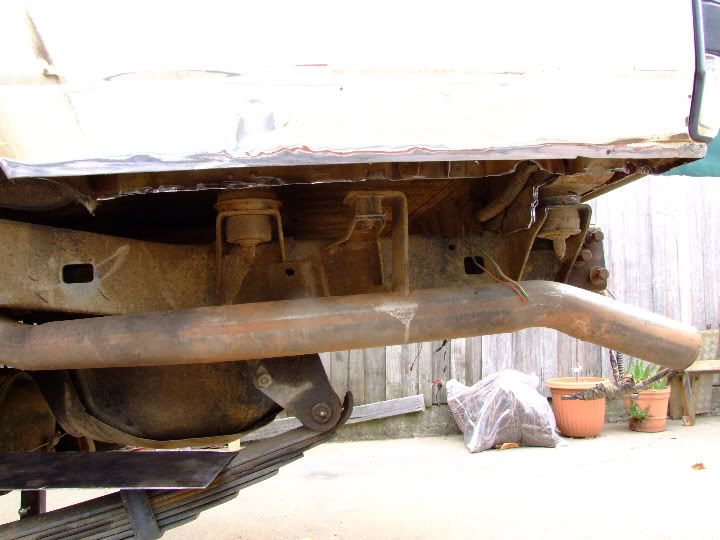
5th pic. Same as above but rear view
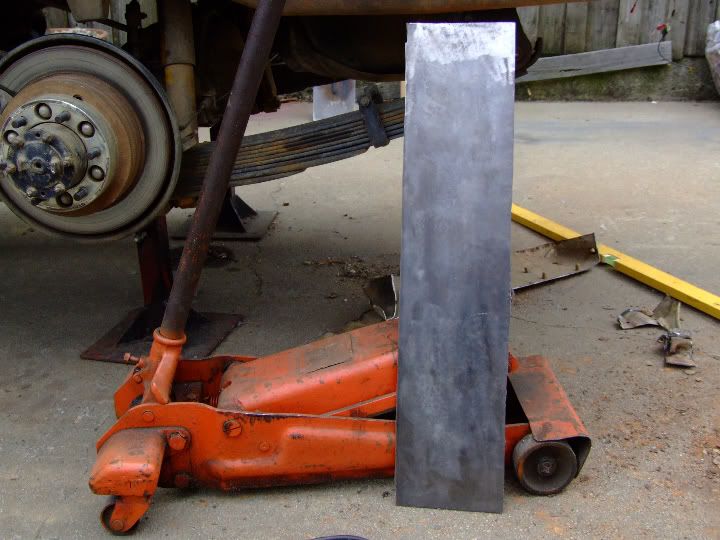
6th pic. New section of plate before marking and cutting to shape.
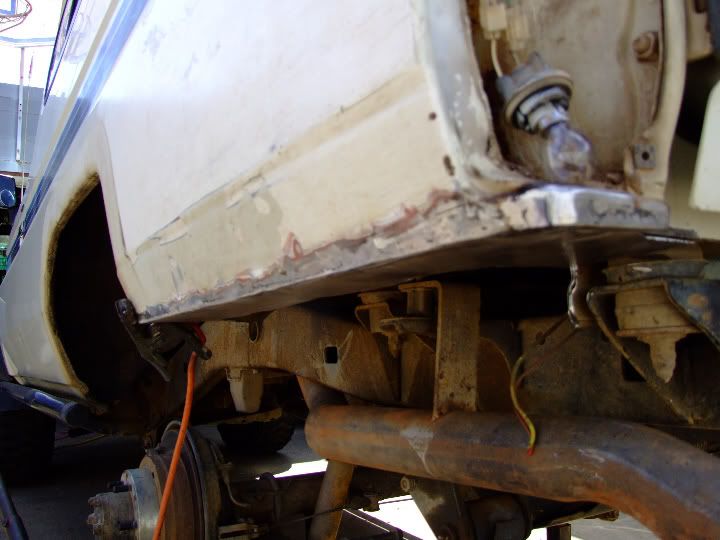
7th pic.Tacked in place and outside welded.
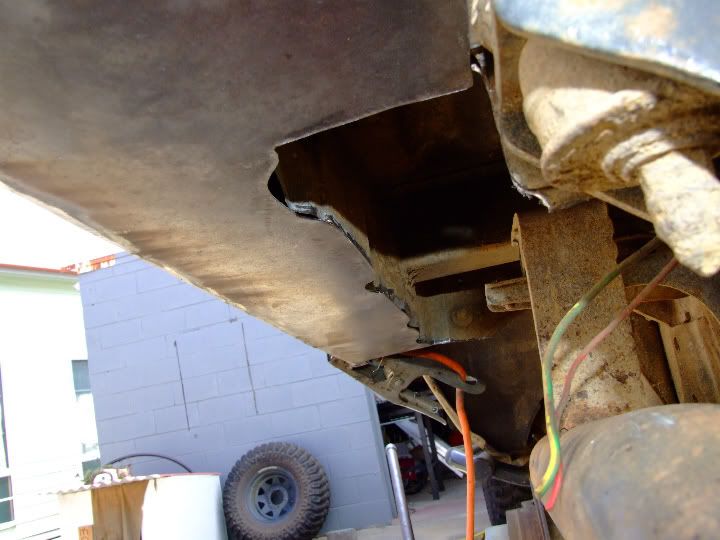
8th pic.Inside ready to be welded.
9th pic. Fully welded,Zinc coated and Body deadener applied to inner guard.
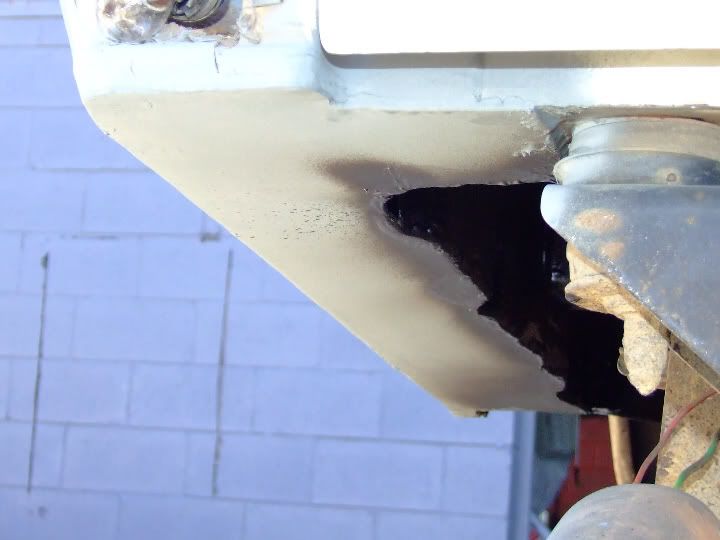
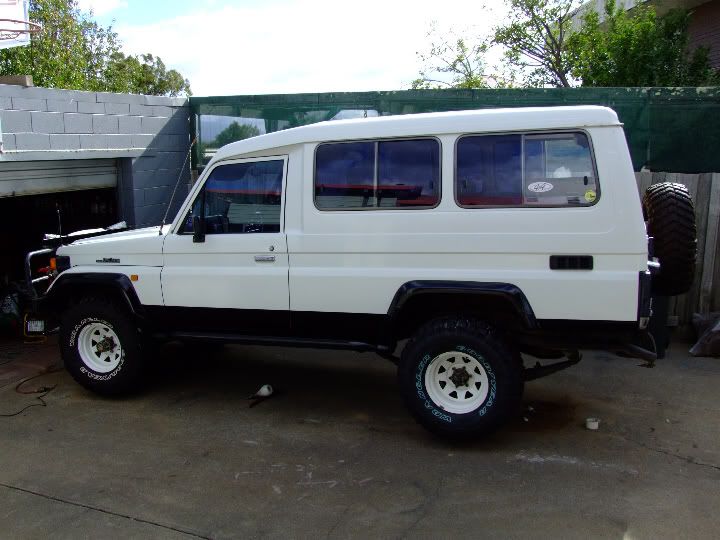
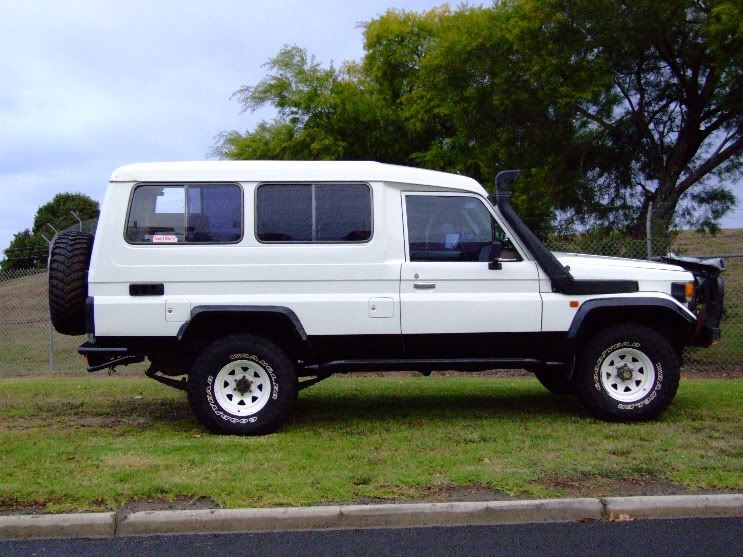
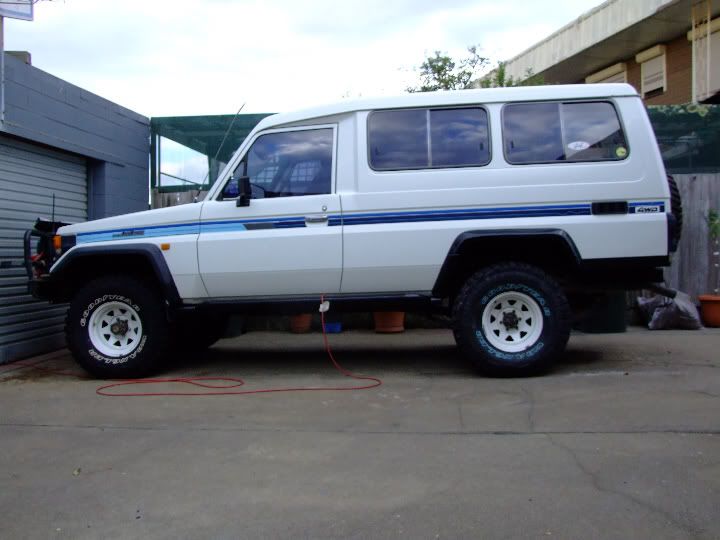
10th pic. Finished view from side.
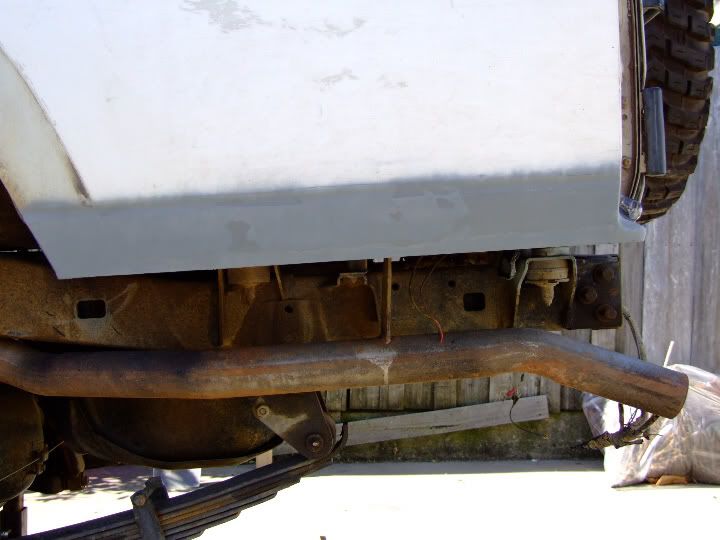
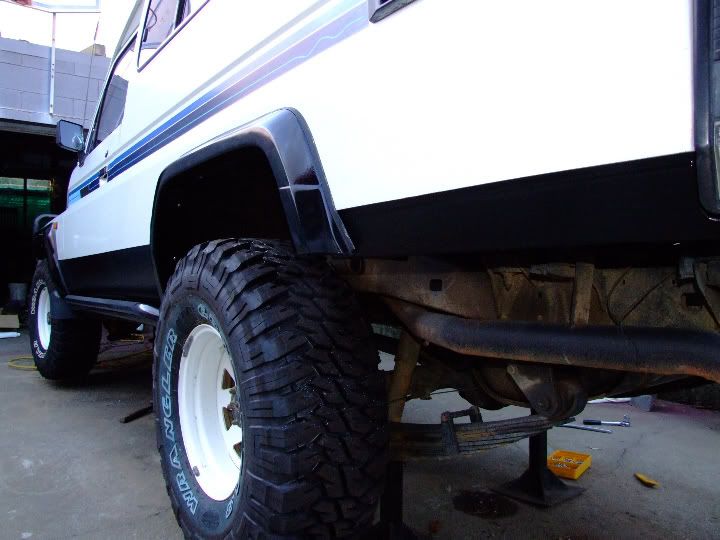
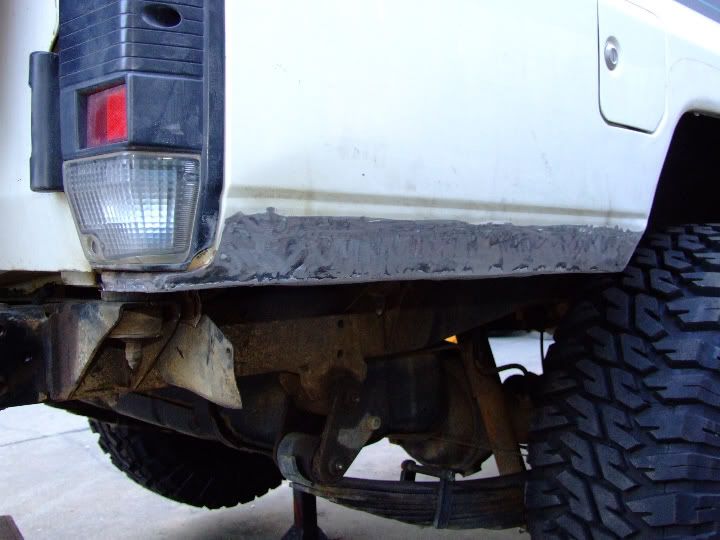
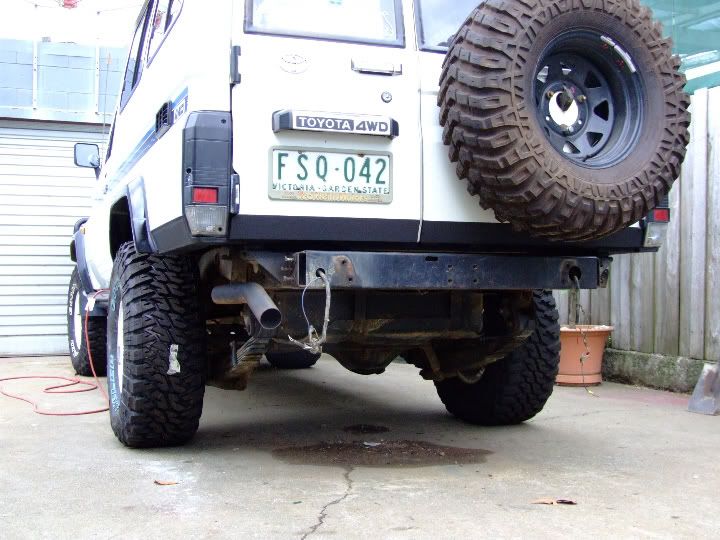
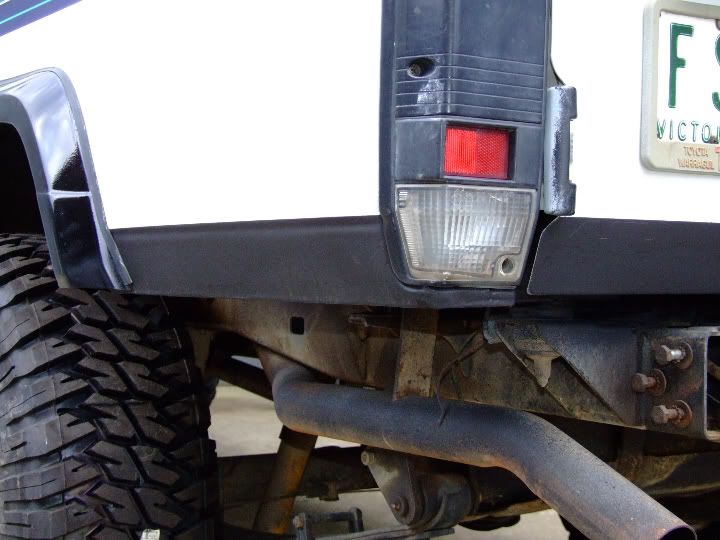
G'day all, well i finished the qtr chop yesterday (Thursday), I never ended up putting any bog on it as it's wasn't really worth the effort.
It is after all a vehicle that gets used for it's intended purpose and the welded bottom area will be hidden by the tube bar when it goes on.
I did use some stone guard to take most of the roughness away and it looks fine.Here's a couple of pics.
Cheers Gaz
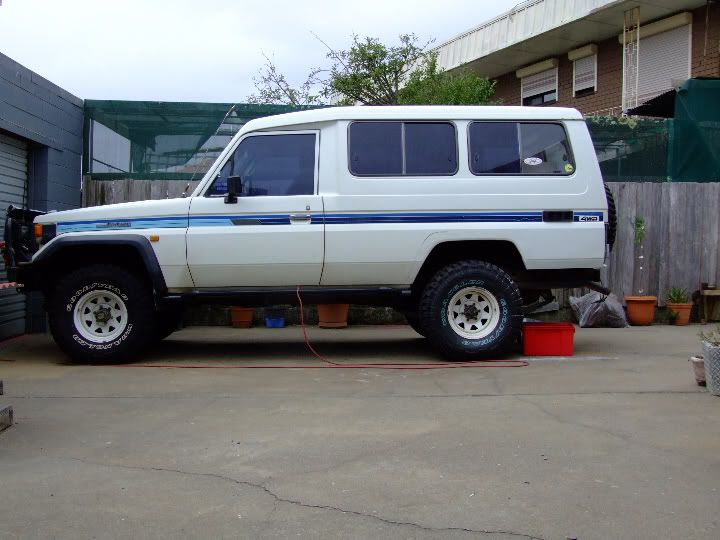
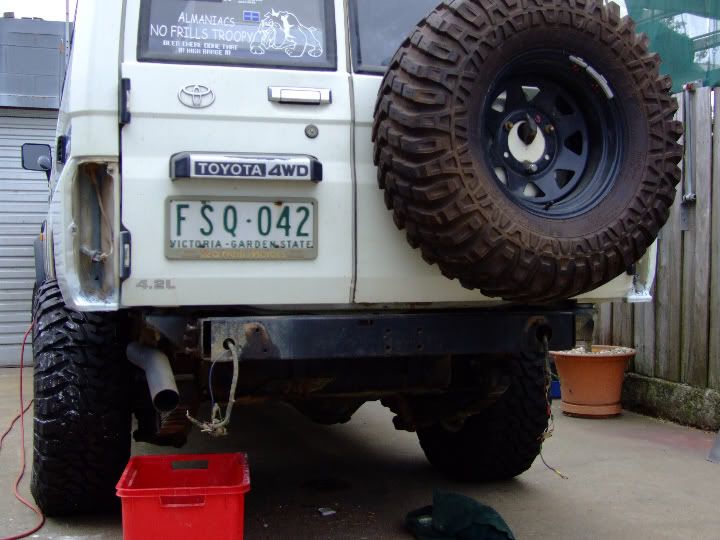
Today (Friday) I had a bit more of a play around and decided to do from the lower bodyline on the vehicle in stone guard and then paint over it in gunmetal grey. This will be happening early next week. All I did today was cut the rear flares to size and fit them up, and recoat the chop area with another coat of stoneguard. And give it a long overdue wash..


G'day all,
I started at 10.30 Wednesday morning on the LH side and finished it at 2.45, much easier doing the 2nd side . Except for the welding cos the exhaust is in the way. Some pics from start to finish. Cheers Gaz...
Note: Well its finished except for a bit of bog and paint..
1st pic . Cut on this line

2nd pic. Section removed by cutting along Qtr panel line and then cutting the section out by following the inner support panel.

3rd pic. Same as above but looking from rear.

4th pic. This pic shows the inner support panel and other bits removed. This is probably the most time consuming part of the job and is made easier by using an air chisel in the hard to get to places.

5th pic. Same as above but rear view

6th pic. New section of plate before marking and cutting to shape.

7th pic.Tacked in place and outside welded.

8th pic.Inside ready to be welded.

9th pic. Fully welded,Zinc coated and Body deadener applied to inner guard.

10th pic. Finished view from side.

G'day all, well i finished the qtr chop yesterday (Thursday), I never ended up putting any bog on it as it's wasn't really worth the effort.
It is after all a vehicle that gets used for it's intended purpose and the welded bottom area will be hidden by the tube bar when it goes on.
I did use some stone guard to take most of the roughness away and it looks fine.Here's a couple of pics.
Cheers Gaz


Today (Friday) I had a bit more of a play around and decided to do from the lower bodyline on the vehicle in stone guard and then paint over it in gunmetal grey. This will be happening early next week. All I did today was cut the rear flares to size and fit them up, and recoat the chop area with another coat of stoneguard. And give it a long overdue wash..


