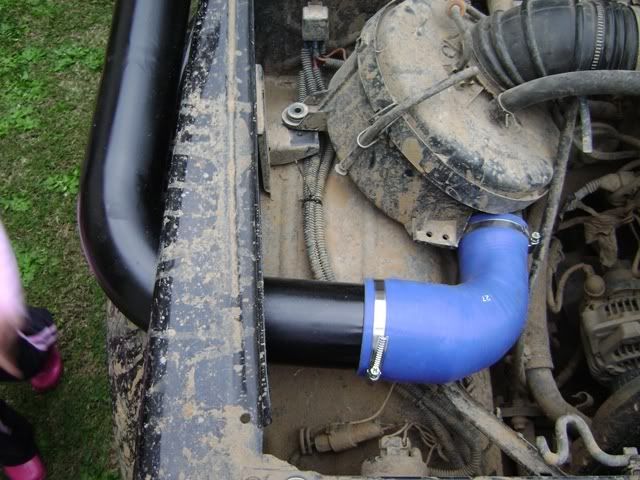
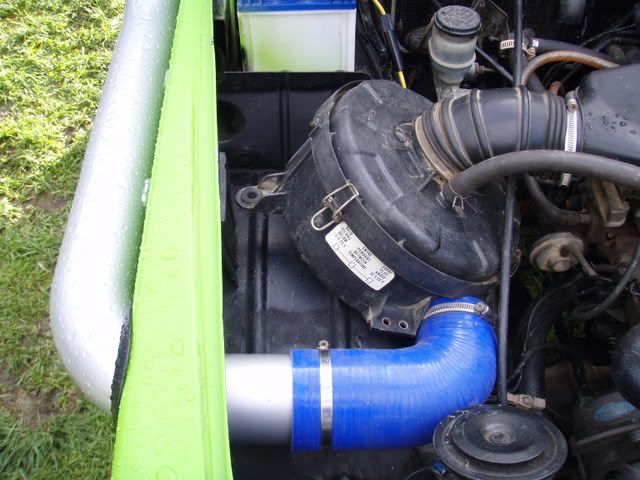
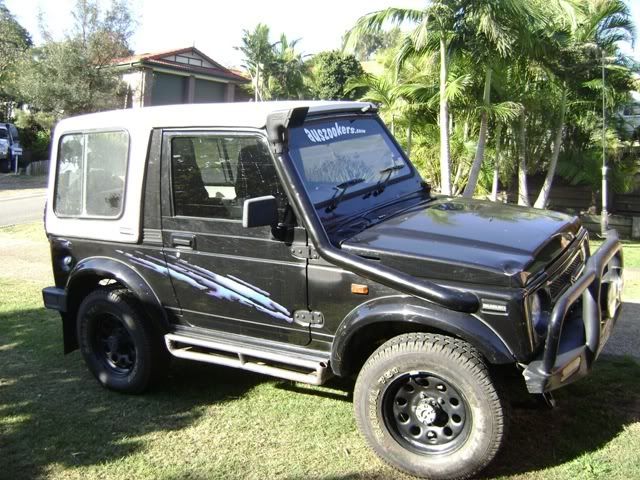
How to make a 3" Sierra Snorkel Build
Posted: Mon Aug 04, 2008 9:24 pm
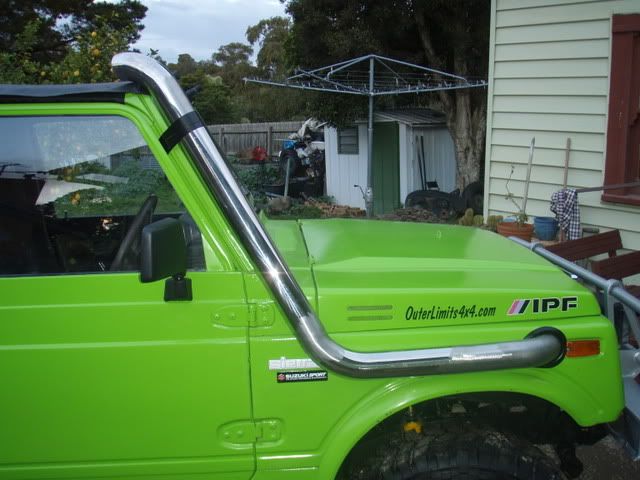
Hey All just made myself a 3" steel snorkel to fit my Sierra and thought I'd do a step by step how to for others to have a go at making their own as the bought plastic ones are so expensive and don't fit very well plus the steel ones are way stronger and look better.
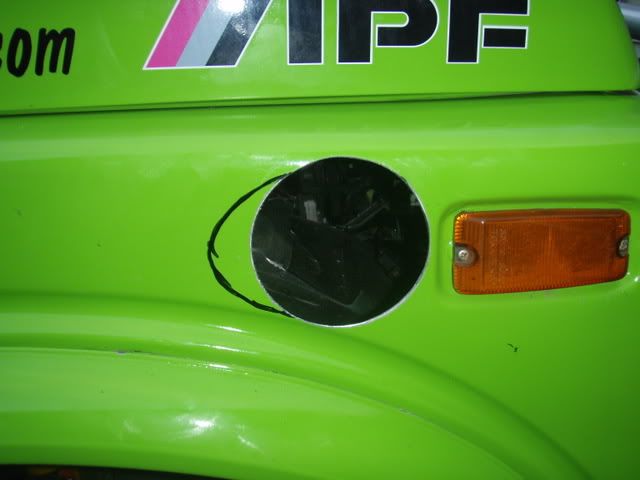
To start I decided where I wanted the hole to go thru the guard and marked it's postion and cut it out with a 3.5 inch hole saw,The holesaw needs to be a little bigger than the snorkel to allow for the pinch mould!like this:
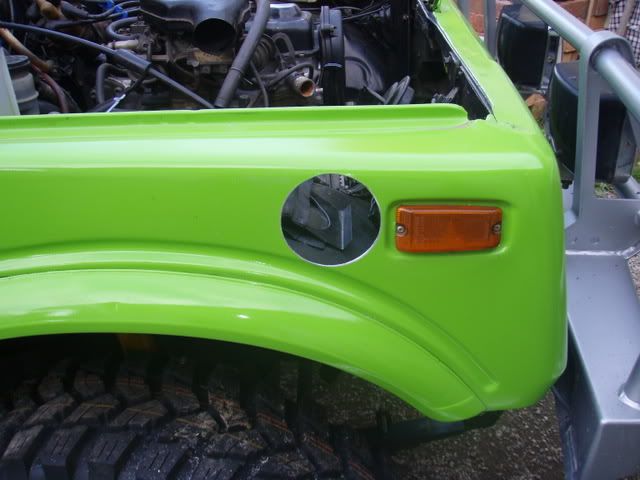
once you've cut hole out you will need to elongate it towards the rear to allow the snorkel to fit closer to the guard:
I cut this section out with a jigsaw with a steel blade see how it fits snug up against the guard? :
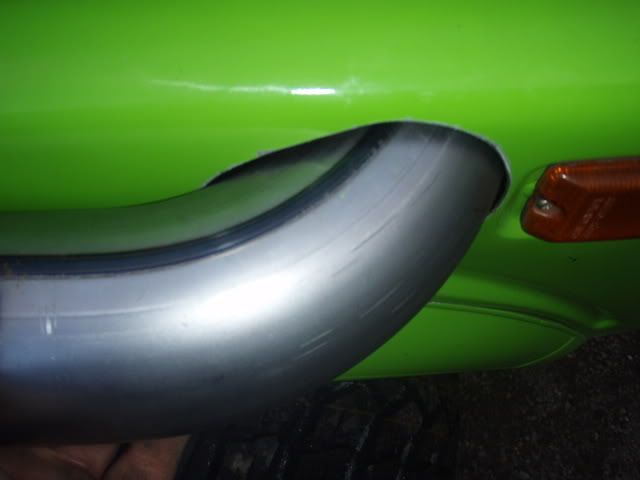
When your happy with the fit file and rust proof all edges to protect from rust etc.. ,when dry place pinch mould around the hole to cover the sharp edges once complete you will then need a 90 degree 3" steel tube or if preffered stainless steel tube bend,place this thru the hole and tape in position:
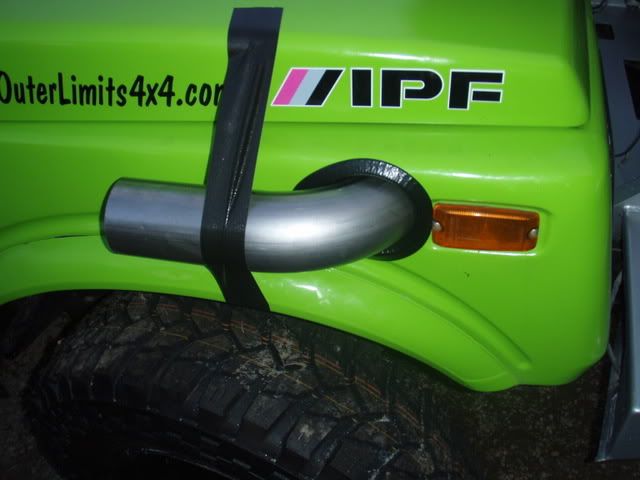
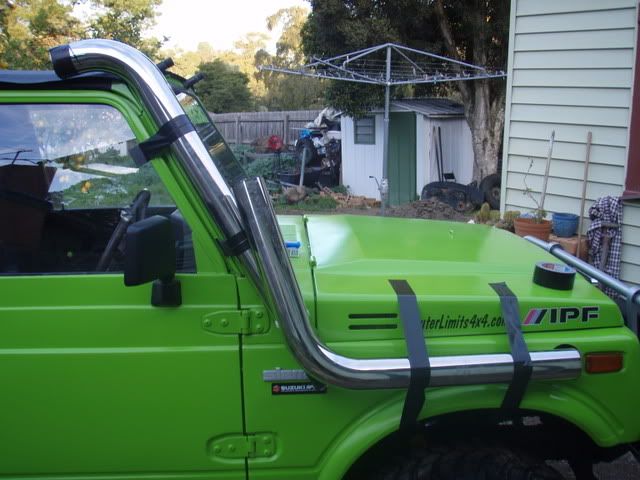
You will then need a long length for the pillar section it will need a bend at the top if tuff truck style is wanted other wise use a straight piece if using a snorkel head. Place it on the pillar being sure to clear roof height and any other things like windscreen hinge,door,bonnet when opened etc... and tape in place also (try to follow the line of the pillar from all angles as this looks best) I faced mine towards the centre of the roof approx 45 degree's roughly.
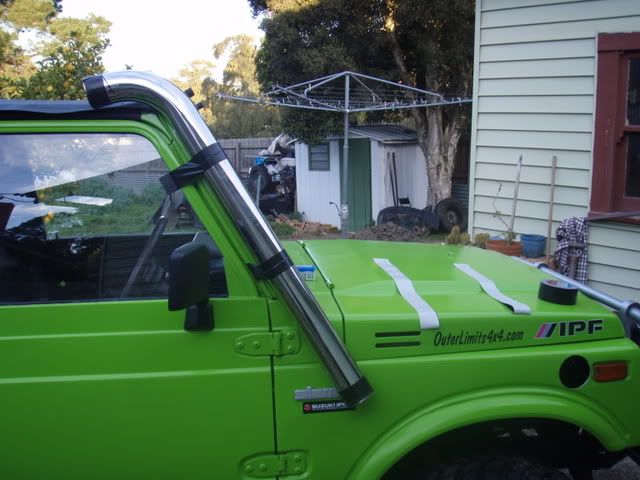
Now that both ends are in position you need to work out the centre section. grab a third length of tube this one will need roughly a 45ish degree bend at one end. Hold up and eye it up with the other two and mark where you need to cut, this is probably easier to do one join at a time (mark then cut and then repeat) I just used a 9" angle grinder to cut mine, be sure to keep all cuts as straight as possible so when welded all gaps will be closed up properly! Note I removed the front section in order to get a better Idea of where to cut for bottom bend.
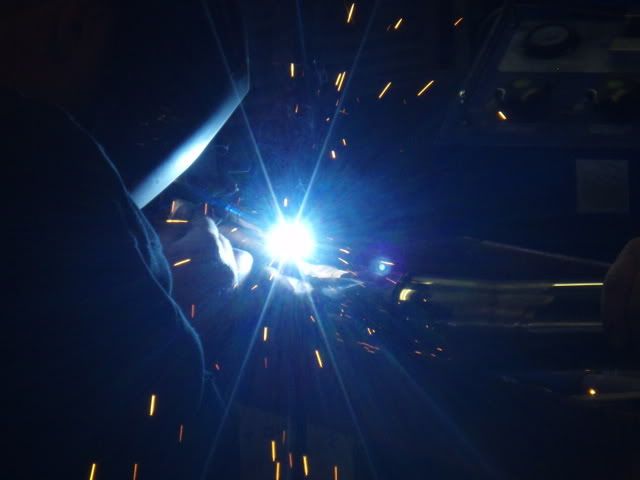
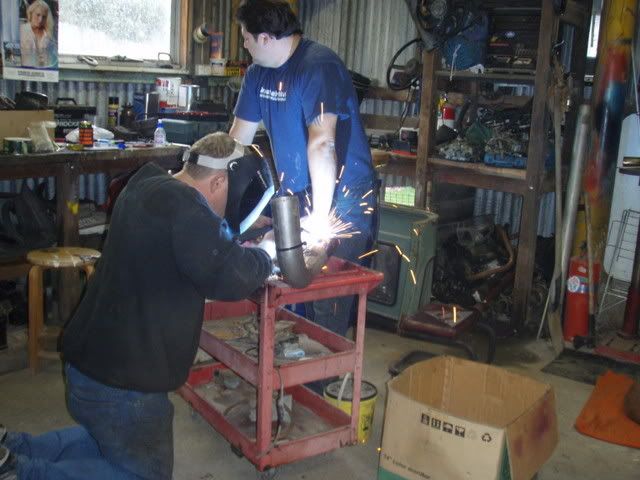
I then used race tape to hold the joints together (sorry no pic) and had a mate of mine weld it up for me:
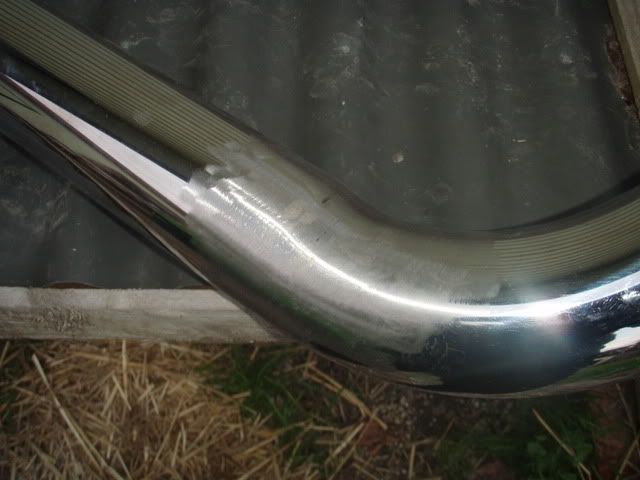
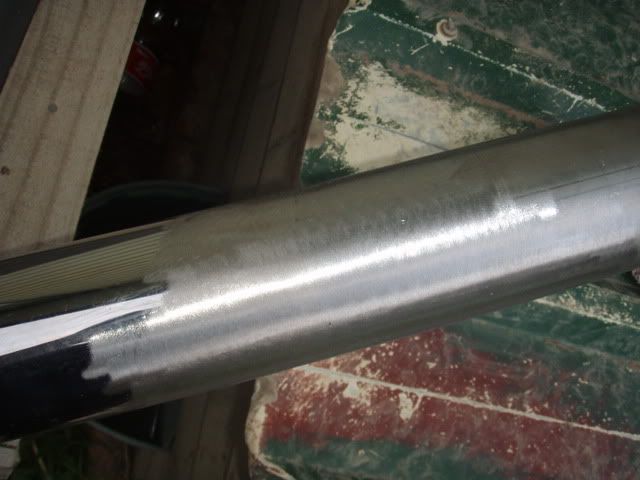
after that you'll need to linish up all welds with a flap wheel or similar try to do a little at a time and only until it is flush! then clean up any sharp edges with a file:
Place welded snorkel thru guard and tape back in place as now you need to workout the mounts:
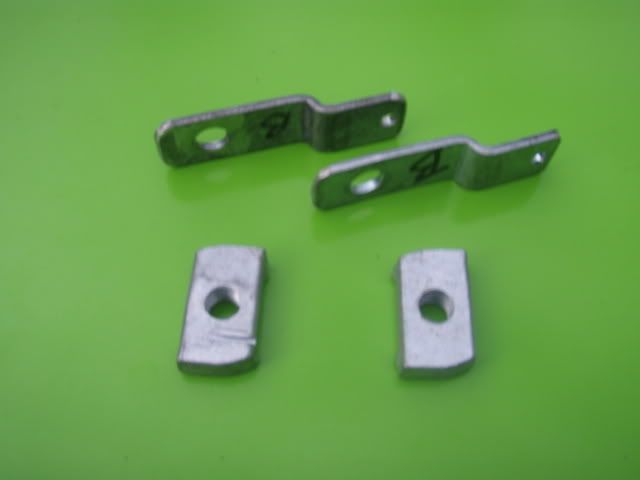
I made up two brackets for the pillar and used two taped plates for along the guard section like these:
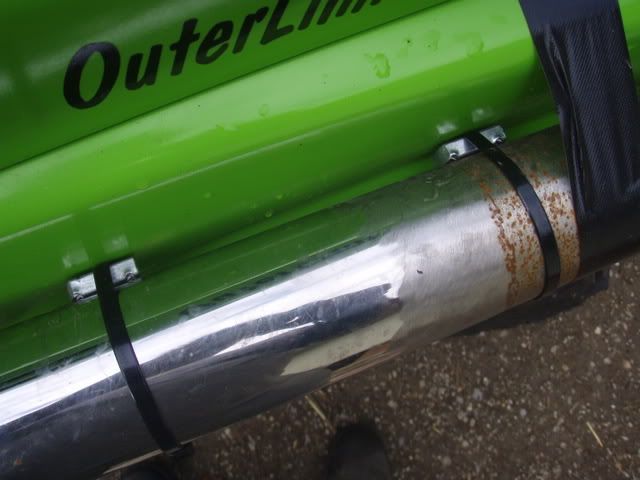
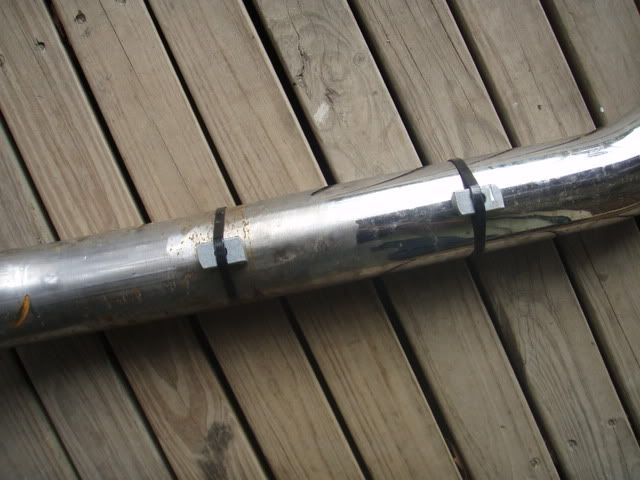
Look inside guard and work out two easily accessed points to mount thru guard and place taped plates between snorkel body and guard (be careful not to place too low!) then cable tie to main snorkel body like this:
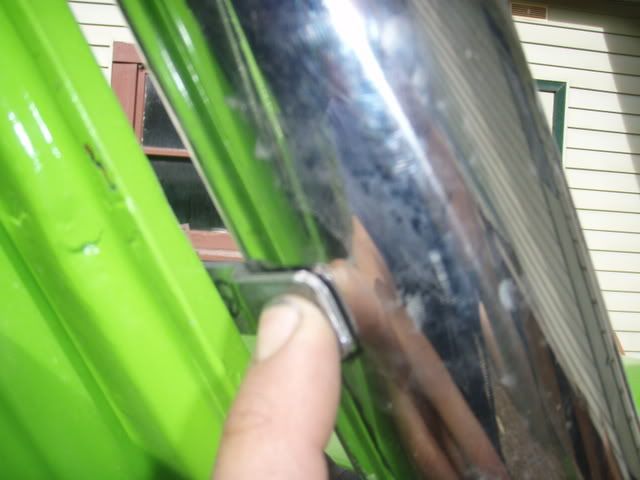
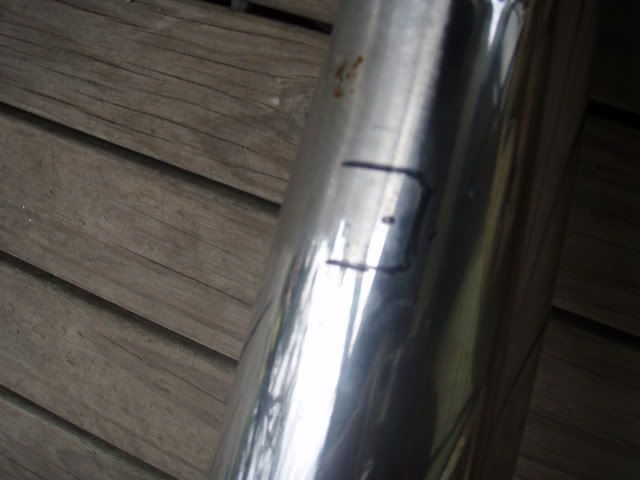
Place top mounts in positon and mark on snorkel with a texta.
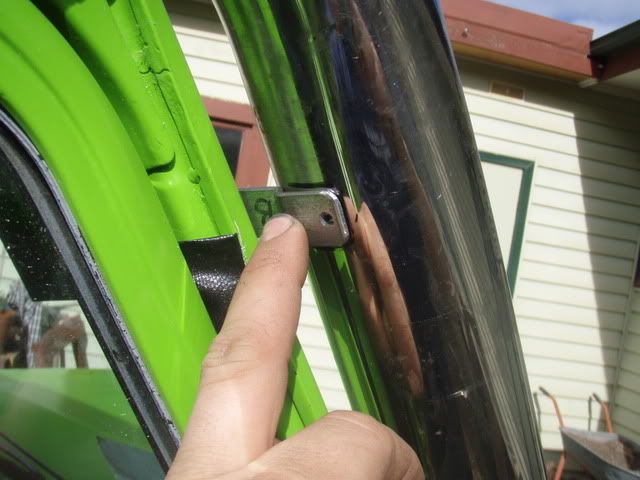
You can now carefully remove the snorkel from the car and weld the mounts to it:
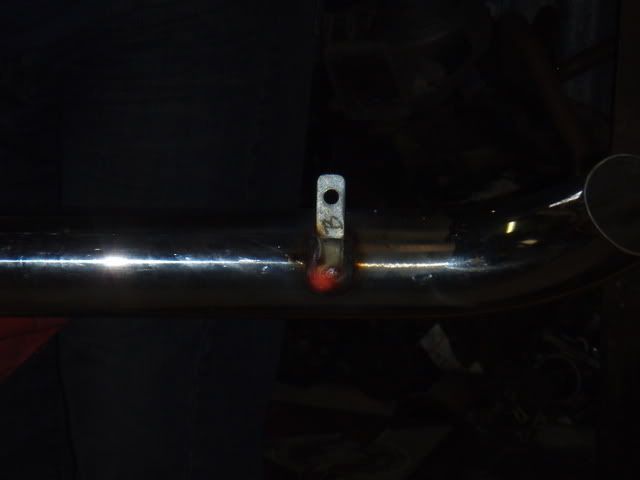
The snorkel can now be fitted up to the pillar and guard, press it up hard against the pillar and make sure it follows the pillar line and guard line
mark the top mounts with a texta or similar remove and drill holes. Pilot drill first then step up in size! I drilled mine out to Half inch and used large nutserts like this:
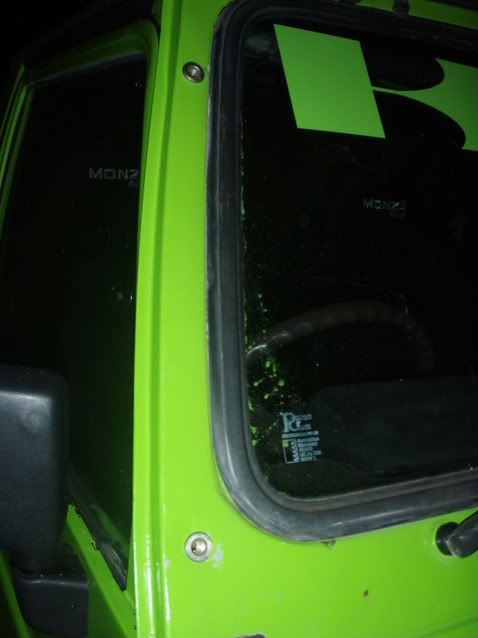
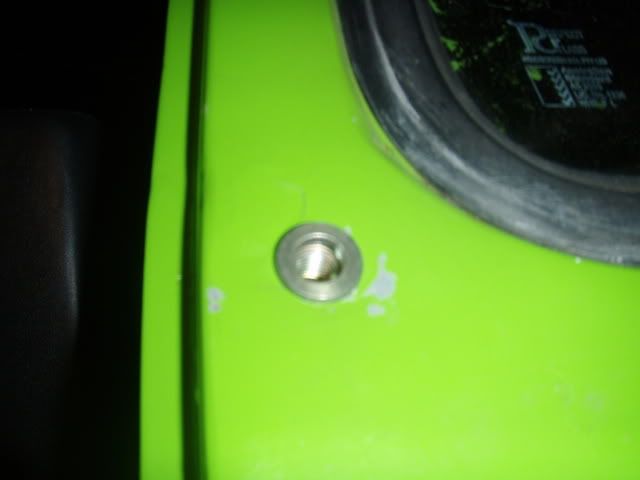
Now bolt to top mounts and mark hole centres for bottom mounts and height for top edge of taped plates:
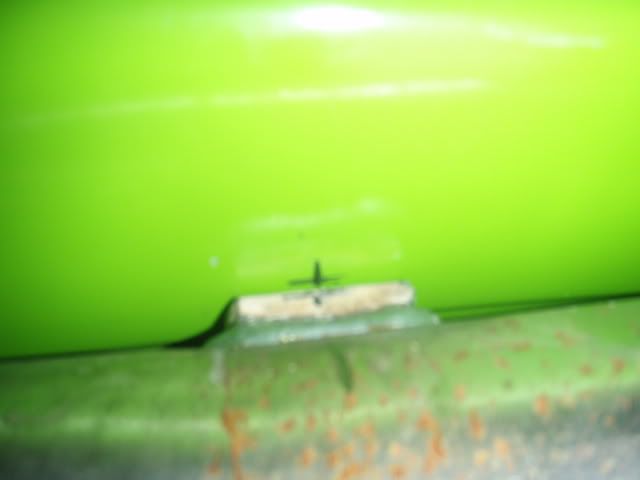
Remove snorkel again and measure down to hole centres on taped plates and transfer this measurement to the vehicle:
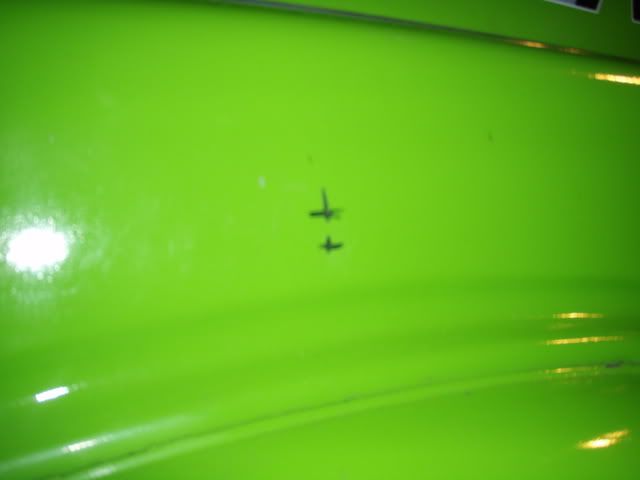
Drill both holes as before.(I drilled mine out to half inch again! NOTE: all holes should be treated with rust proofer or painted etc..
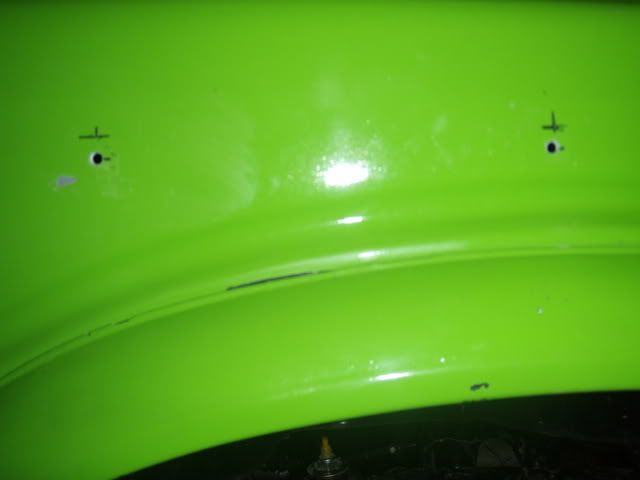
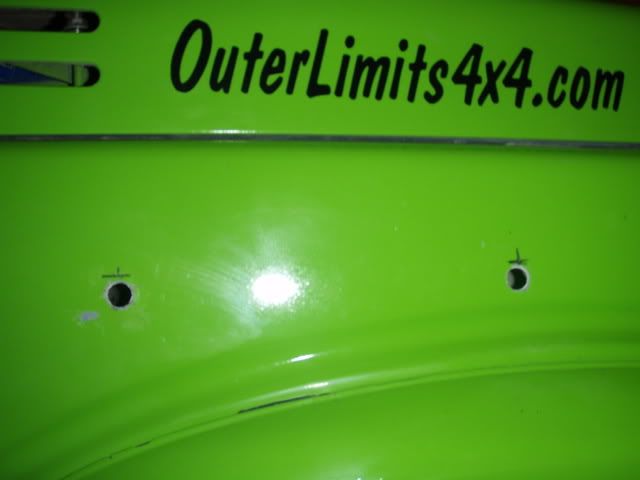
Now snorkel can be checked for final fit:
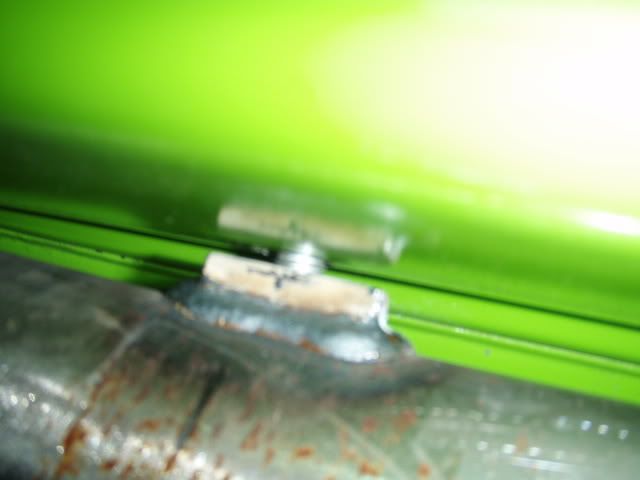
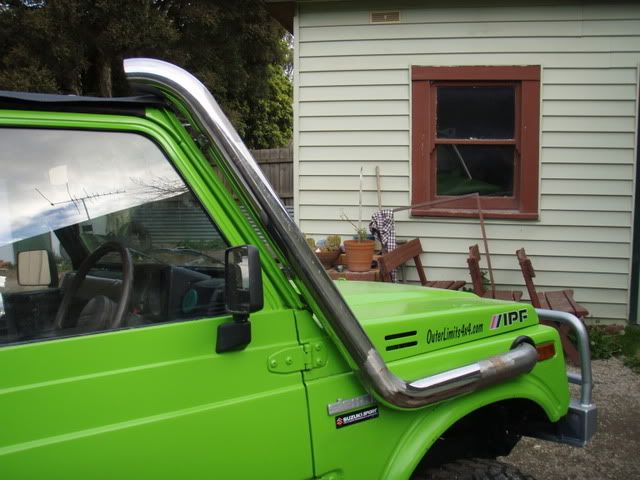
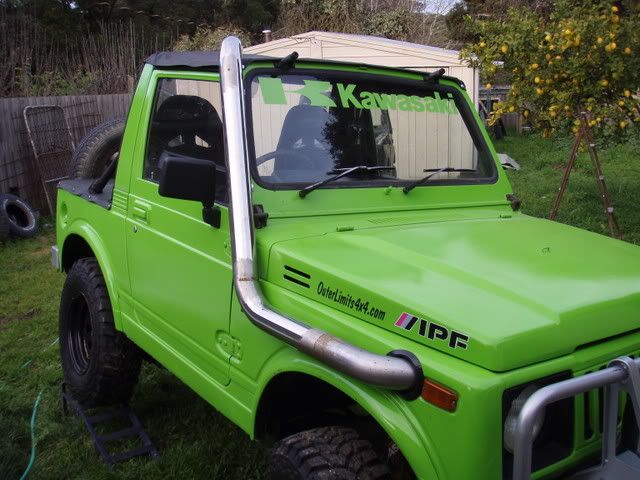
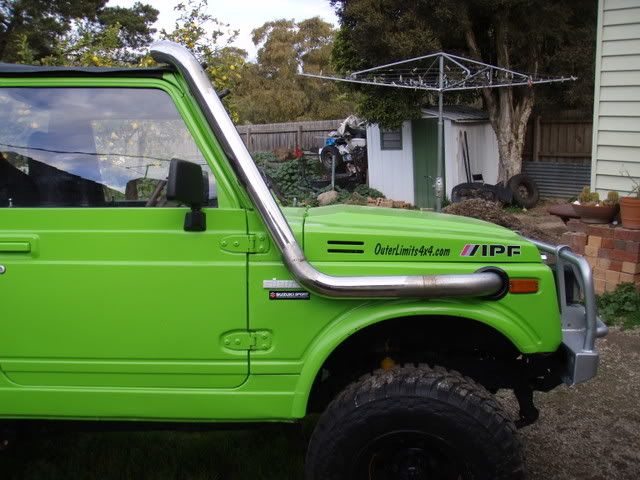
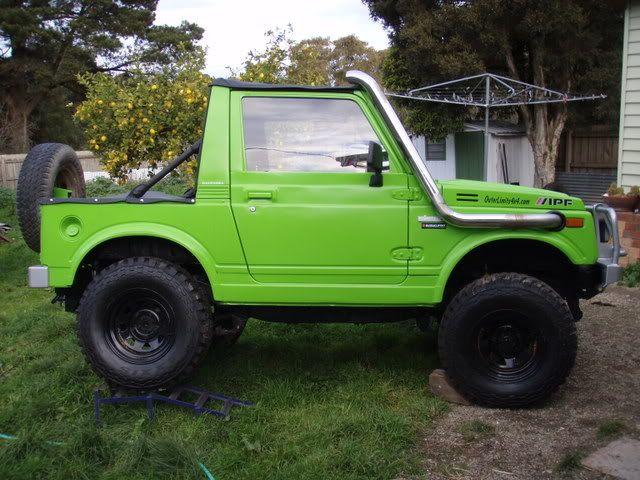
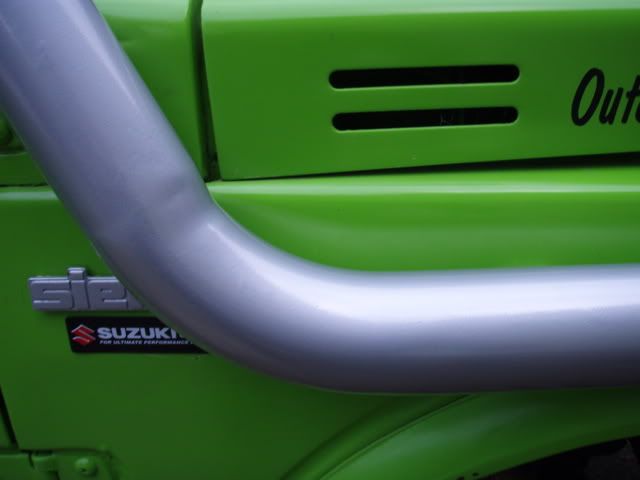
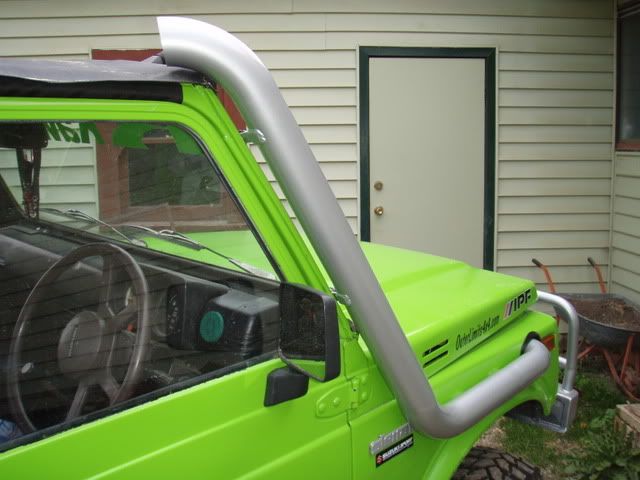
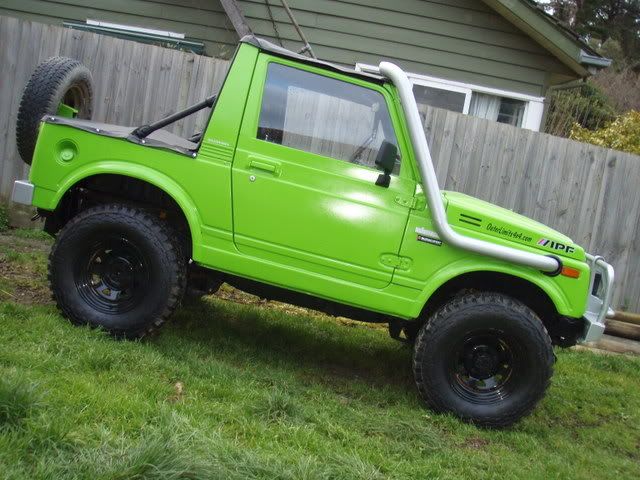
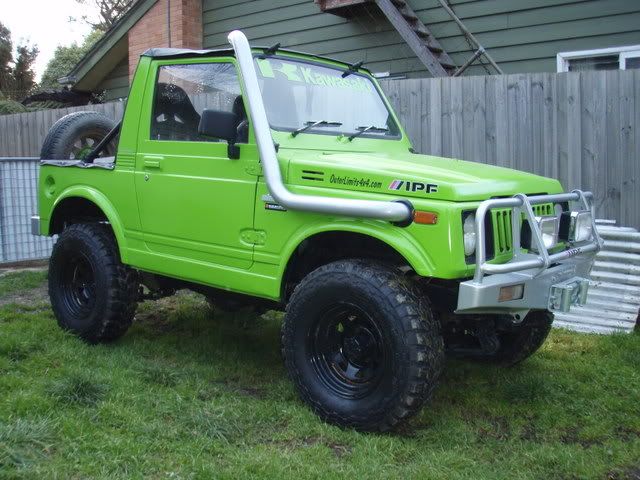
when happy with fit have polished for stainless or powder coated for steel as mine wasn't all stainless (all except the 90 deg Bend) I chose to powder coat mine in silver to match my Bullbar etc...
That is where I'm up to at the moment but will finish the build when I get my snorkel back from the powder coaters and do the engine side of things! Hope you like it so far? Thanks BOGFROG (Robb)!
To start I decided where I wanted the hole to go thru the guard and marked it's postion and cut it out with a 3.5 inch hole saw,The holesaw needs to be a little bigger than the snorkel to allow for the pinch mould!like this:

once you've cut hole out you will need to elongate it towards the rear to allow the snorkel to fit closer to the guard:

I cut this section out with a jigsaw with a steel blade see how it fits snug up against the guard? :

When your happy with the fit file and rust proof all edges to protect from rust etc.. ,when dry place pinch mould around the hole to cover the sharp edges once complete you will then need a 90 degree 3" steel tube or if preffered stainless steel tube bend,place this thru the hole and tape in position:

You will then need a long length for the pillar section it will need a bend at the top if tuff truck style is wanted other wise use a straight piece if using a snorkel head. Place it on the pillar being sure to clear roof height and any other things like windscreen hinge,door,bonnet when opened etc... and tape in place also (try to follow the line of the pillar from all angles as this looks best) I faced mine towards the centre of the roof approx 45 degree's roughly.

Now that both ends are in position you need to work out the centre section. grab a third length of tube this one will need roughly a 45ish degree bend at one end. Hold up and eye it up with the other two and mark where you need to cut, this is probably easier to do one join at a time (mark then cut and then repeat) I just used a 9" angle grinder to cut mine, be sure to keep all cuts as straight as possible so when welded all gaps will be closed up properly! Note I removed the front section in order to get a better Idea of where to cut for bottom bend.

I then used race tape to hold the joints together (sorry no pic) and had a mate of mine weld it up for me:

after that you'll need to linish up all welds with a flap wheel or similar try to do a little at a time and only until it is flush! then clean up any sharp edges with a file:


Place welded snorkel thru guard and tape back in place as now you need to workout the mounts:

I made up two brackets for the pillar and used two taped plates for along the guard section like these:

Look inside guard and work out two easily accessed points to mount thru guard and place taped plates between snorkel body and guard (be careful not to place too low!) then cable tie to main snorkel body like this:

Place top mounts in positon and mark on snorkel with a texta.


You can now carefully remove the snorkel from the car and weld the mounts to it:


The snorkel can now be fitted up to the pillar and guard, press it up hard against the pillar and make sure it follows the pillar line and guard line
mark the top mounts with a texta or similar remove and drill holes. Pilot drill first then step up in size! I drilled mine out to Half inch and used large nutserts like this:


Now bolt to top mounts and mark hole centres for bottom mounts and height for top edge of taped plates:

Remove snorkel again and measure down to hole centres on taped plates and transfer this measurement to the vehicle:

Drill both holes as before.(I drilled mine out to half inch again! NOTE: all holes should be treated with rust proofer or painted etc..


Now snorkel can be checked for final fit:


when happy with fit have polished for stainless or powder coated for steel as mine wasn't all stainless (all except the 90 deg Bend) I chose to powder coat mine in silver to match my Bullbar etc...
That is where I'm up to at the moment but will finish the build when I get my snorkel back from the powder coaters and do the engine side of things! Hope you like it so far? Thanks BOGFROG (Robb)!
