Righto. Well i should just clarify a few things. I have this G16B from a 96 Vitara out at the moment with the intention of puting it into my 89 SWB sierra, just so you know where im coming from when i say i dont know if it will hit on power steering. And without further ado.
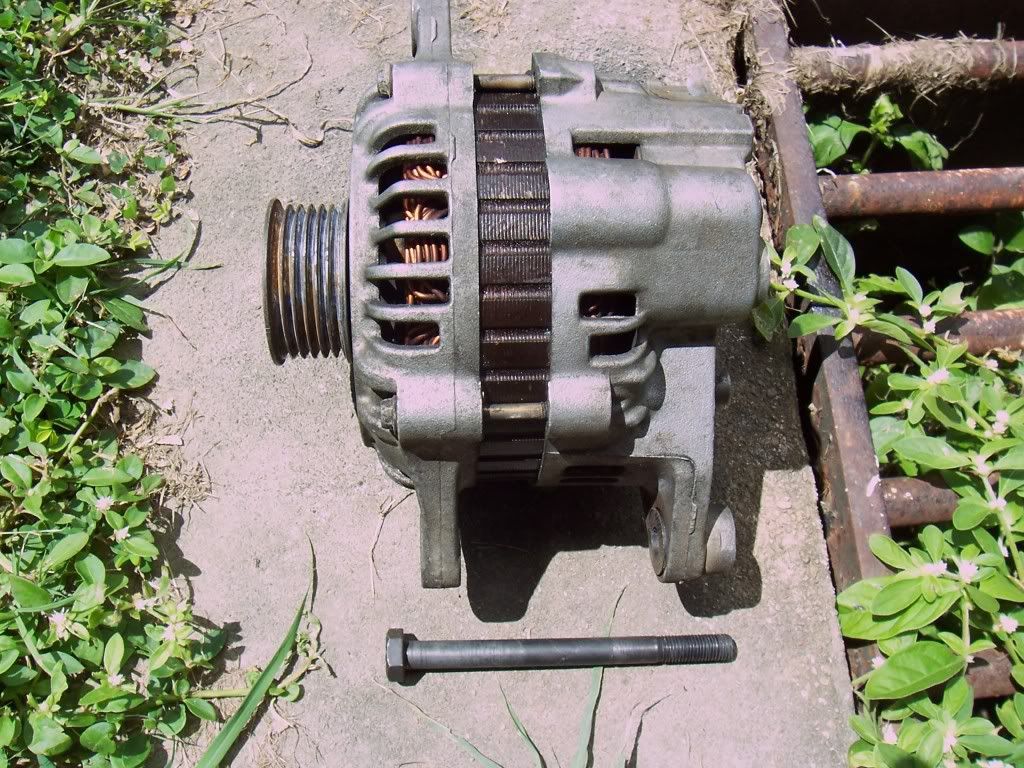
The new falcon altinator with long bolt i bought to go right through the bracket. could have used two bolt system. But the rear bolt that threads through the bracket and into the nut mounted on the falcon altinator would have been bigger than the forward bolt that threads through the forward lug of the falcon altinator and into the bracket. Also would have had to have some type of small bushing to go around forward bolt to take up the slop. would make it a pain in the backside to change alternator out bush using two diff sized spanners. on the flip side the longer bolt is going to be a pain when you try and pull it out and it hits the radiator. Am going to have to see how much room i have when installed.
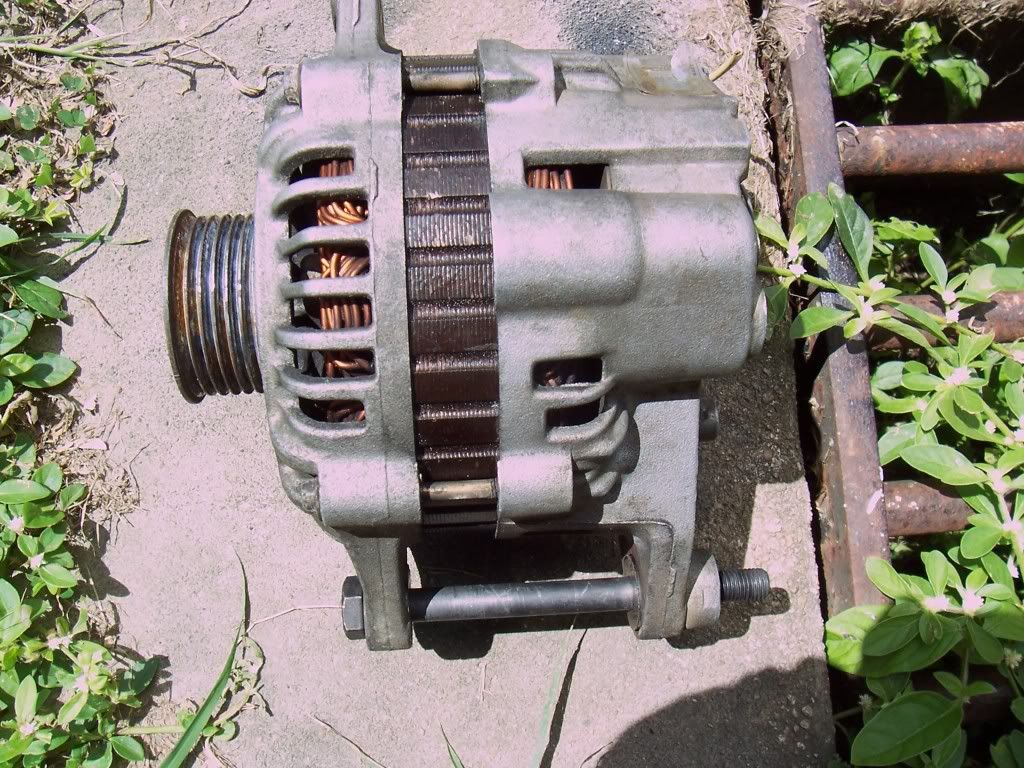
Showing bolt length, thers actually a nut mounted in the rear altinator lug
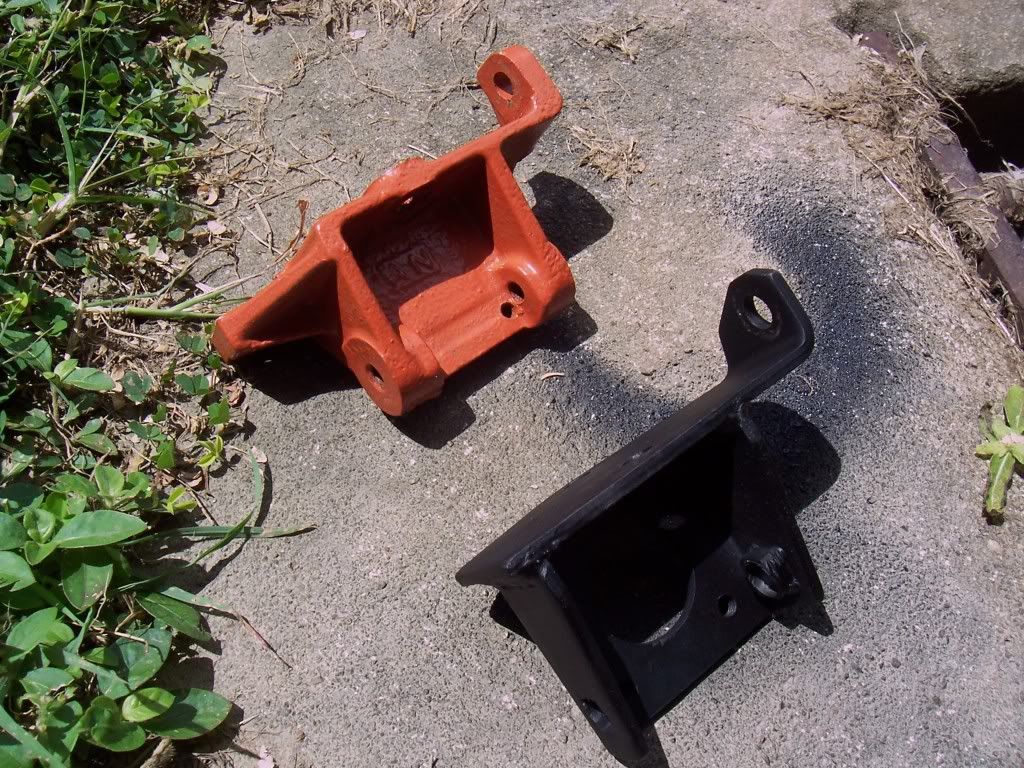
Showing both the vitara bracket (left) and sierra bracket (right), could have used vitara bracket as its a lot stronger and mounted to the block with one extra bolt. didnt even try it though as the sierra bracket looked like it would line my pullies up perfect (which it did). should also be noted that you could choose to grind the bracket if using the vitara bracket therefore allowing you to pick up an un modified falcon altinator anywhere in AUS and install it in case of failiure. Using the sierra bracket however you cant grind the bracket as it doesnt have enough meat. So i had to grind the alt to make it fit (easy enough).
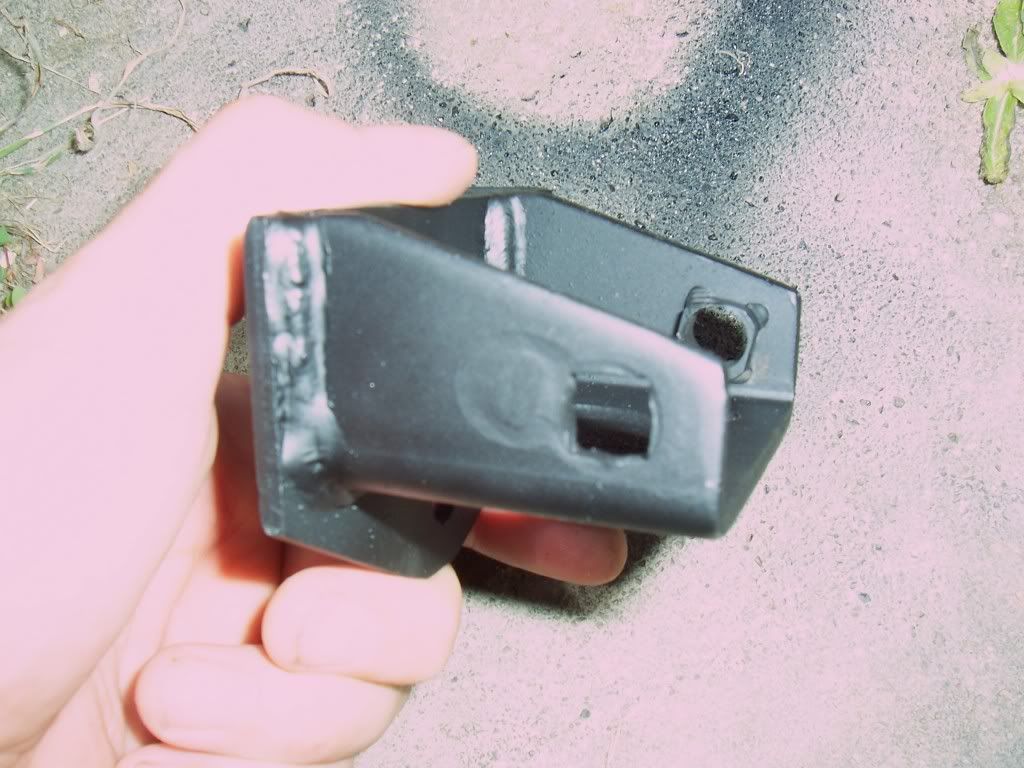
showin the hole i simply drilled through the bracket and nut, would have just knocked the nut off but suzie do a damed good job at tack welding!
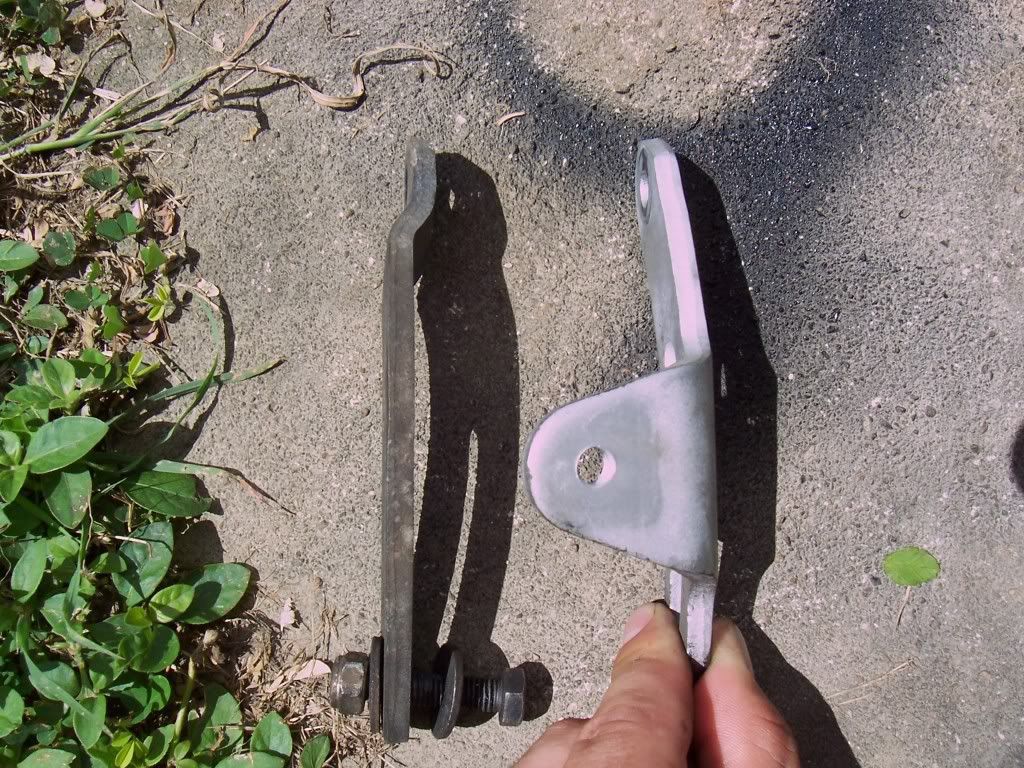
righto uv got to use the bent sierra tension arm (left) as the strait vitara one (right) falls smack bang on the top lug of the alt. you could grind the alt (really not going to be much lug left) or heat and bend the tension arm to look like the sierra one.
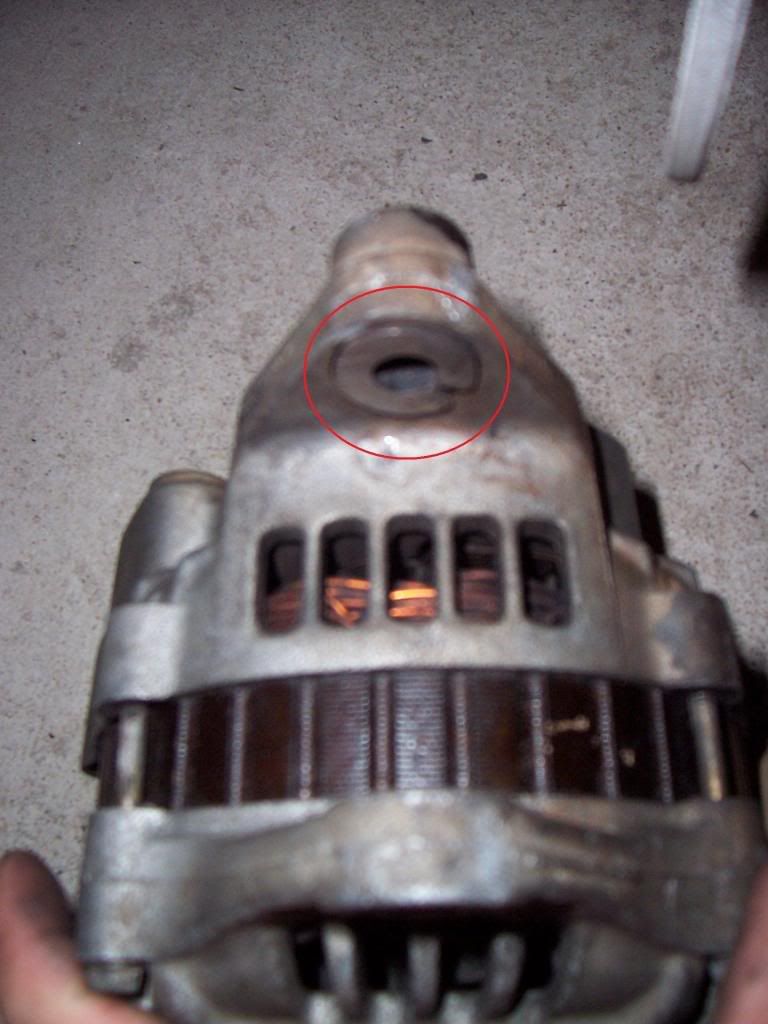
this is a really crap photo of what you have to grind on the alt. should have really taken it when it was freshly ground and shiny. the spacer that mitsubishi put in here sits about 3mm proud, i took about 2 mm off of it, remember that the paint (ur gona paint your bracket before install arnt you) on the bracket will need a bit of room as well. not mine as i had already painted it, so just tapped it on with a hammer there by removing my paint. O! and remember to mask of all the holes into the alt when grinding, motors and generators arnt appreciative of metal fillings.
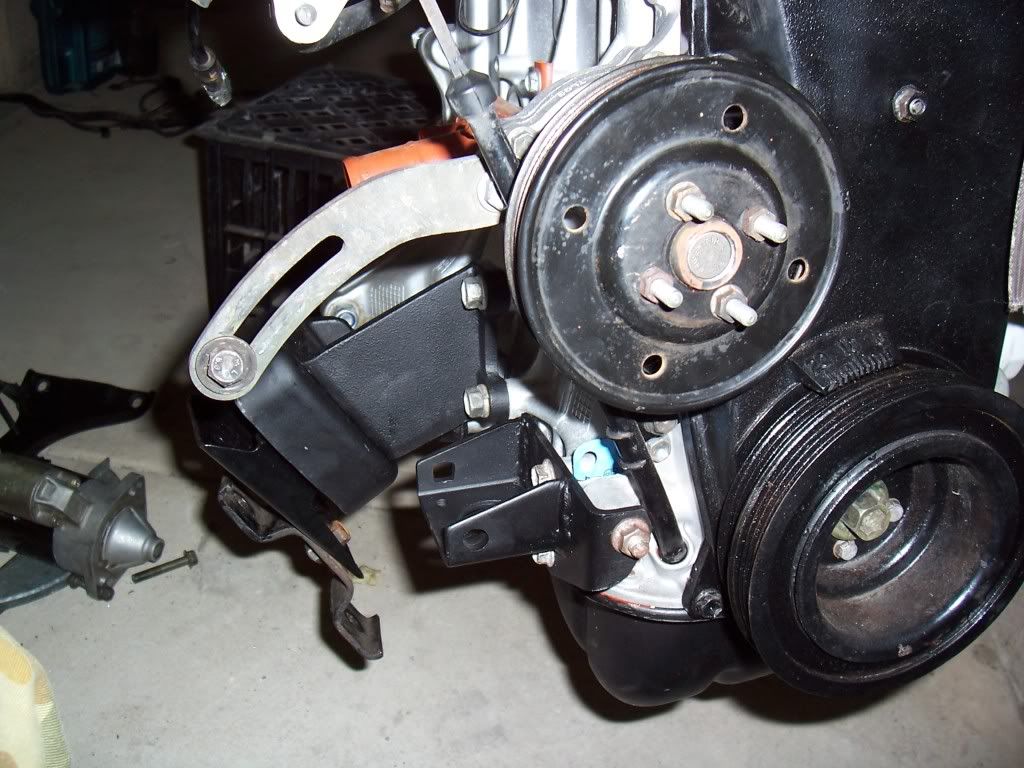
All brackets bolted on before puting alt on. note that thers a bolt just below the water pump pully to hold the dip stick tube on. instead of using brute force to pull out your dipstick tube to loosen your tension am bolt and remove it, try loosening this bolt. . . just a litle bit easier.
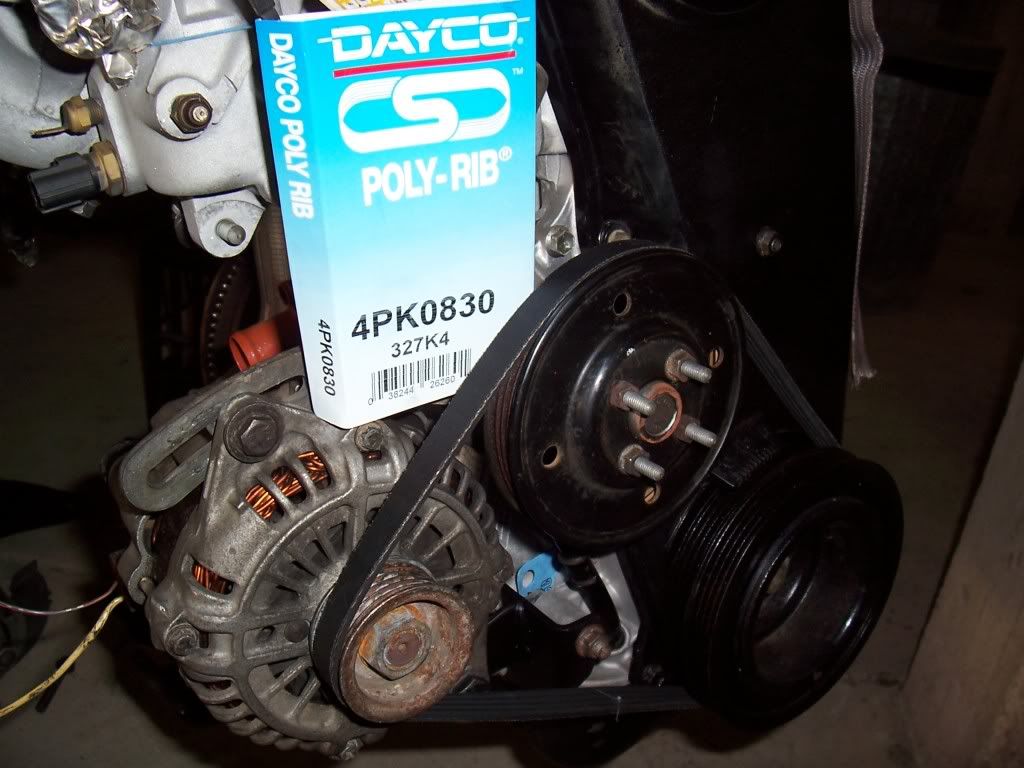
And almost finished product, a 830mm belt fit nice and snug as
nathandi7 said b4. By grinding just the alternator spacer it lined my belt up for the middle of my alternator pully, this being so i think this setup is the way to go as any small differances in the places other people grind can be fixed by moving the belt one notch forward or aft for pully alighnment.
well thats all i can give at the mom as i wont be doing the electrical for another month or so.
hope it helps someone.


