Page 1 of 2
sas shorty
Posted: Fri Jan 08, 2010 11:00 am
by 95shorty
Posted: Sun Jan 10, 2010 7:07 pm
by 95shorty
Posted: Mon Jan 11, 2010 8:55 am
by NJV6
Good work. Keep it up.
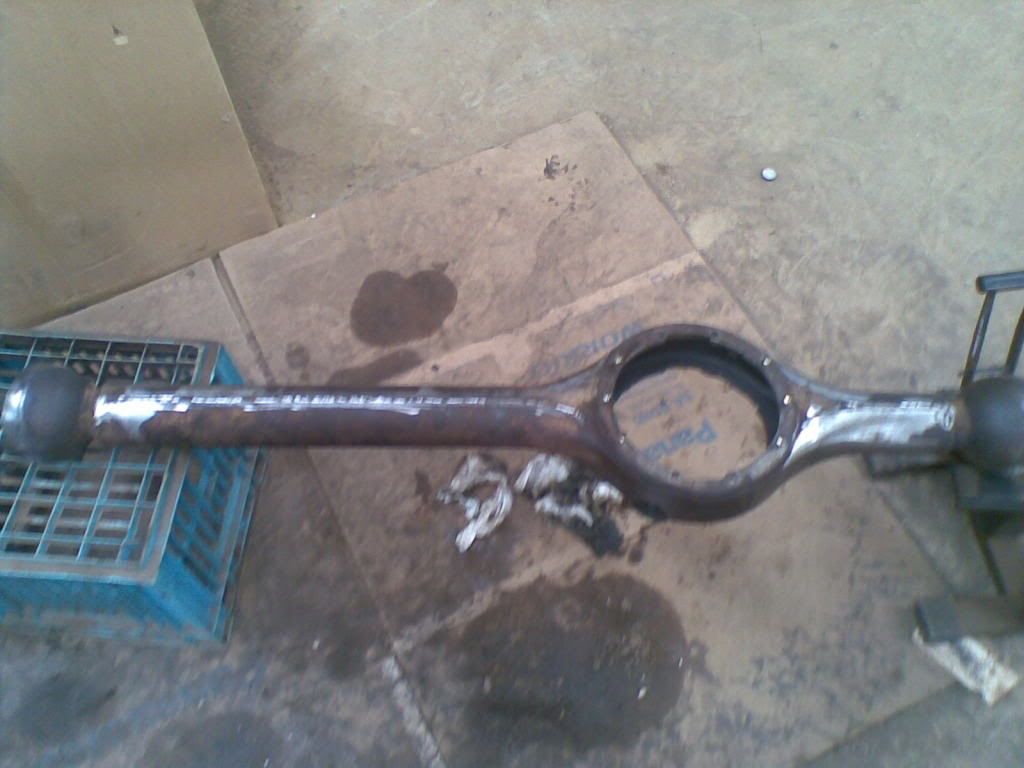
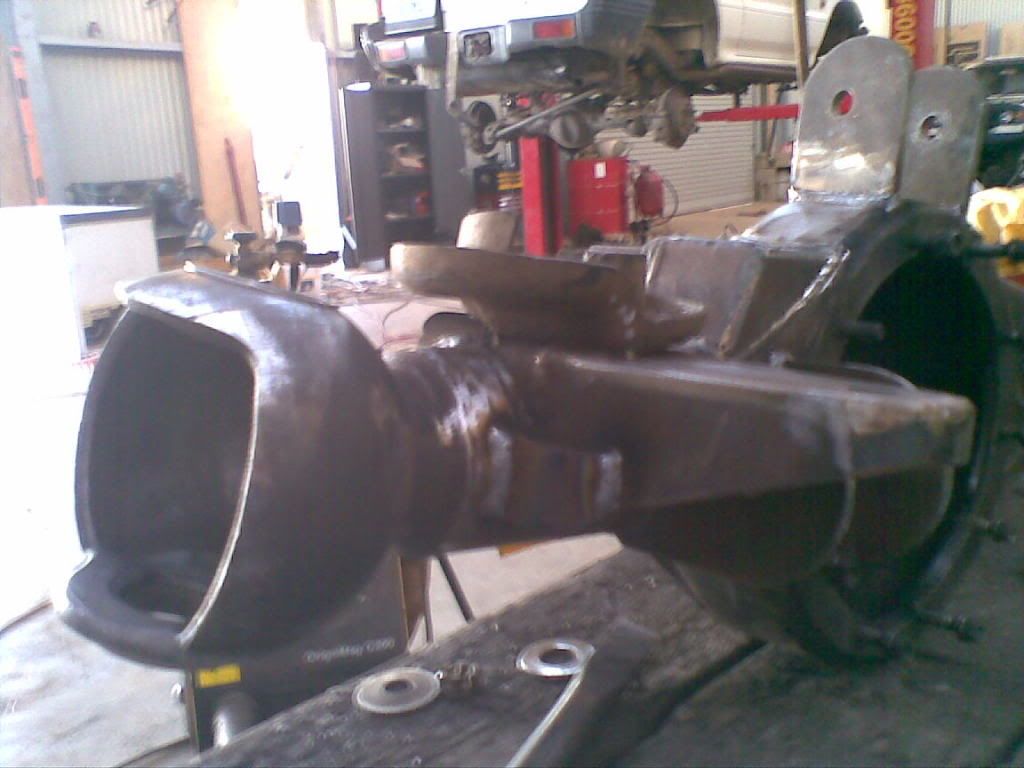
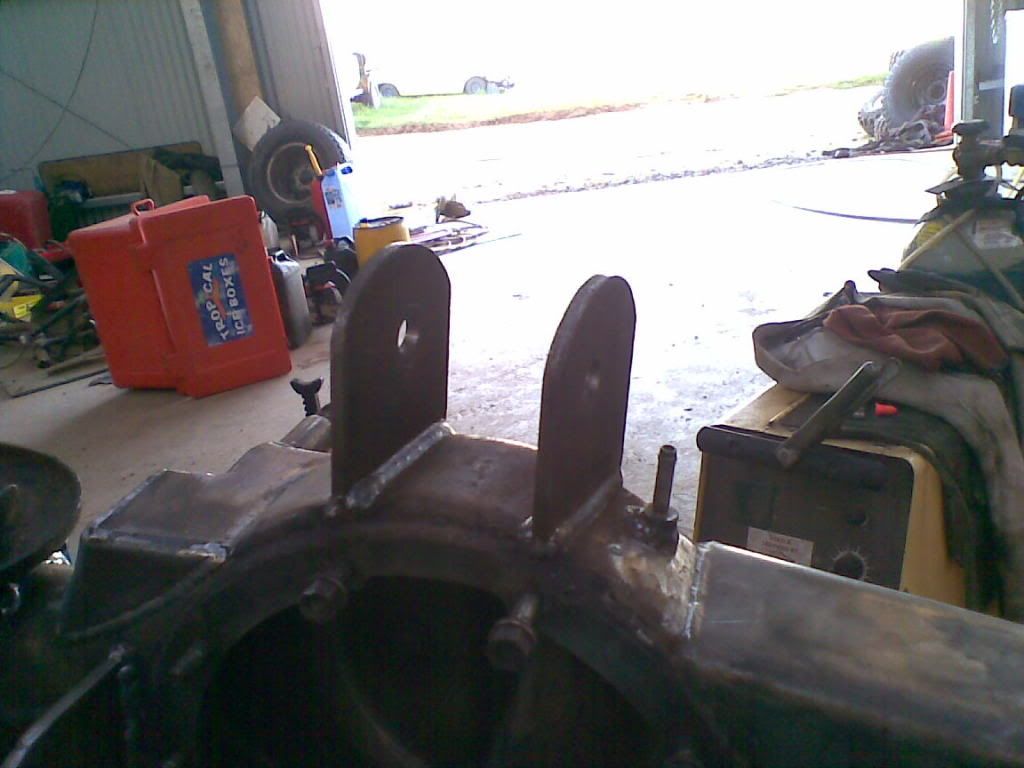
Would you do it that way again or just cut the tube either side of the diff head housing?
Posted: Mon Jan 11, 2010 9:59 am
by 95shorty
NJV6 wrote:Good work. Keep it up.
Would you do it that way again or just cut the tube either side of the diff head housing?
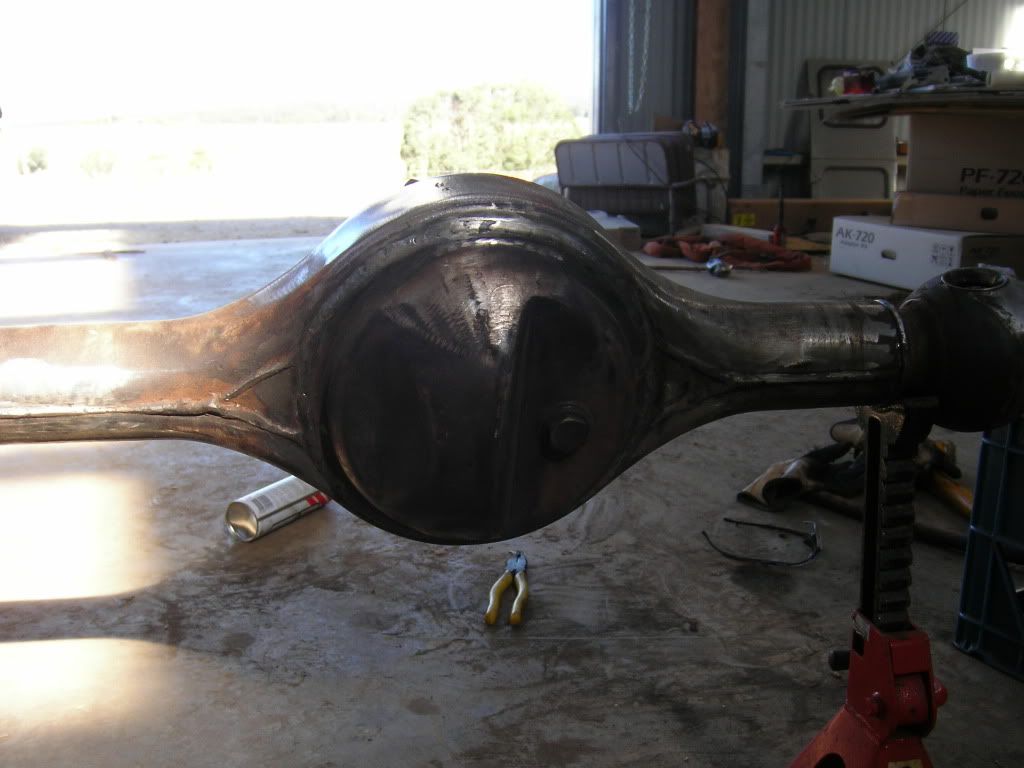
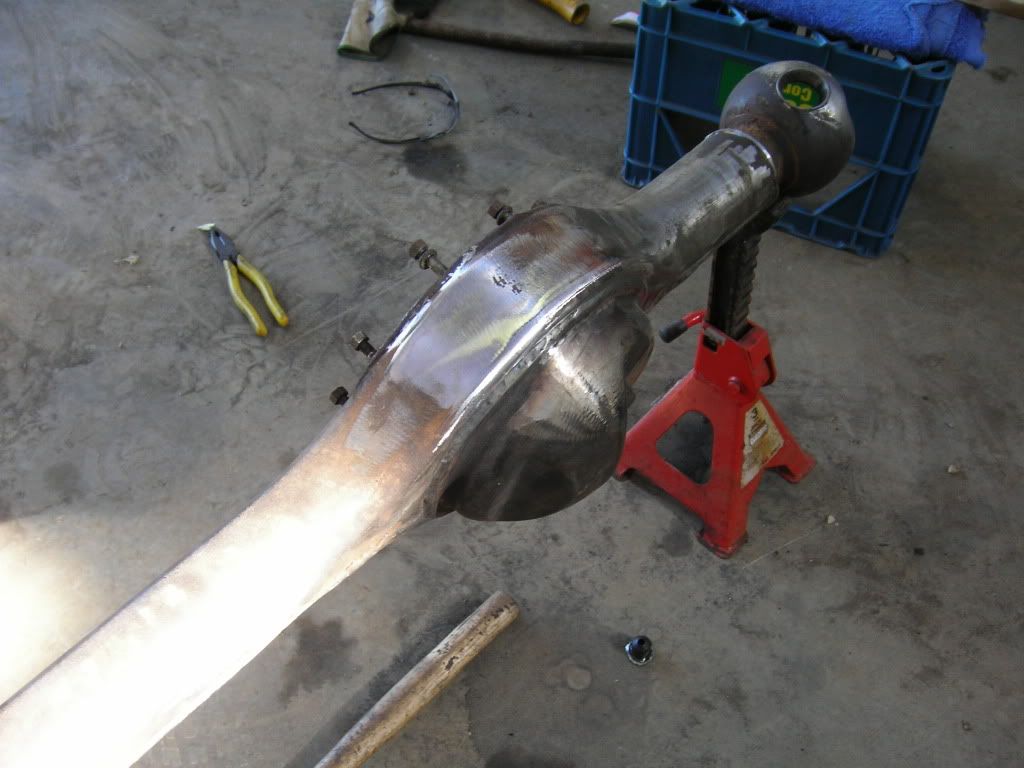
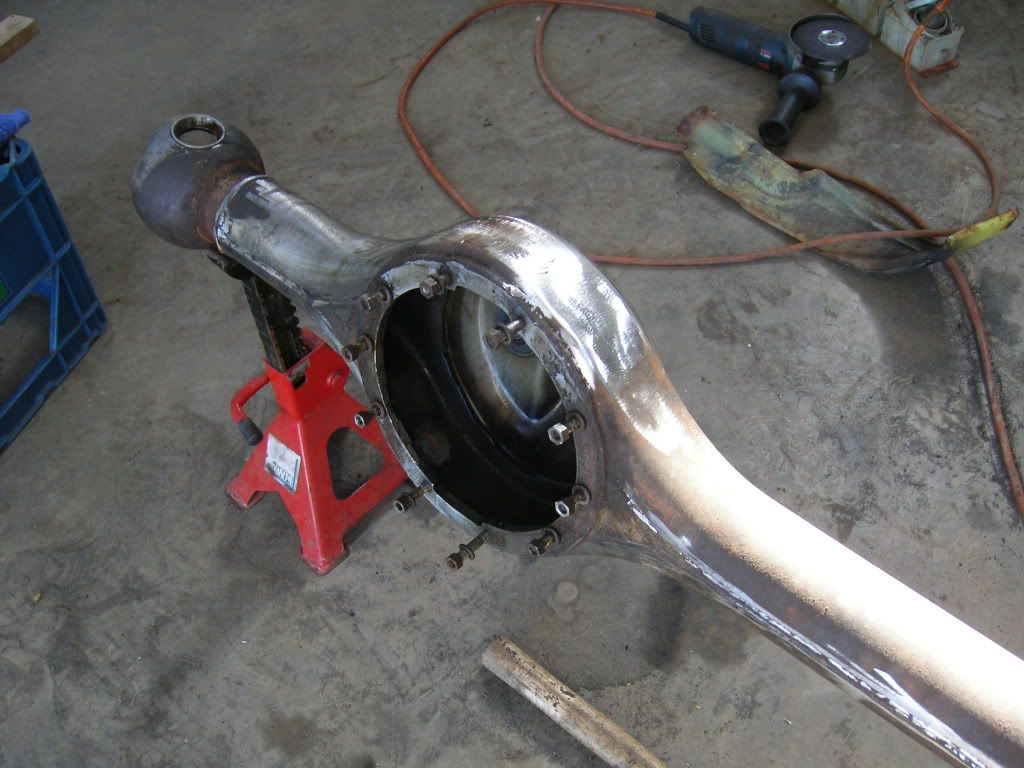
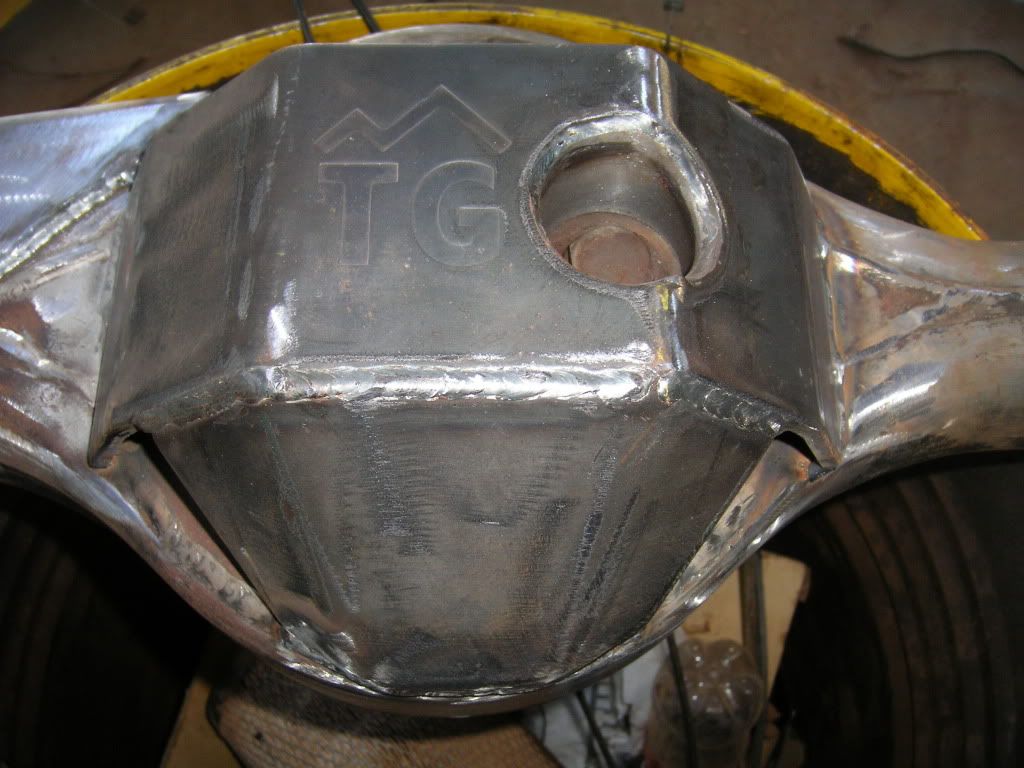
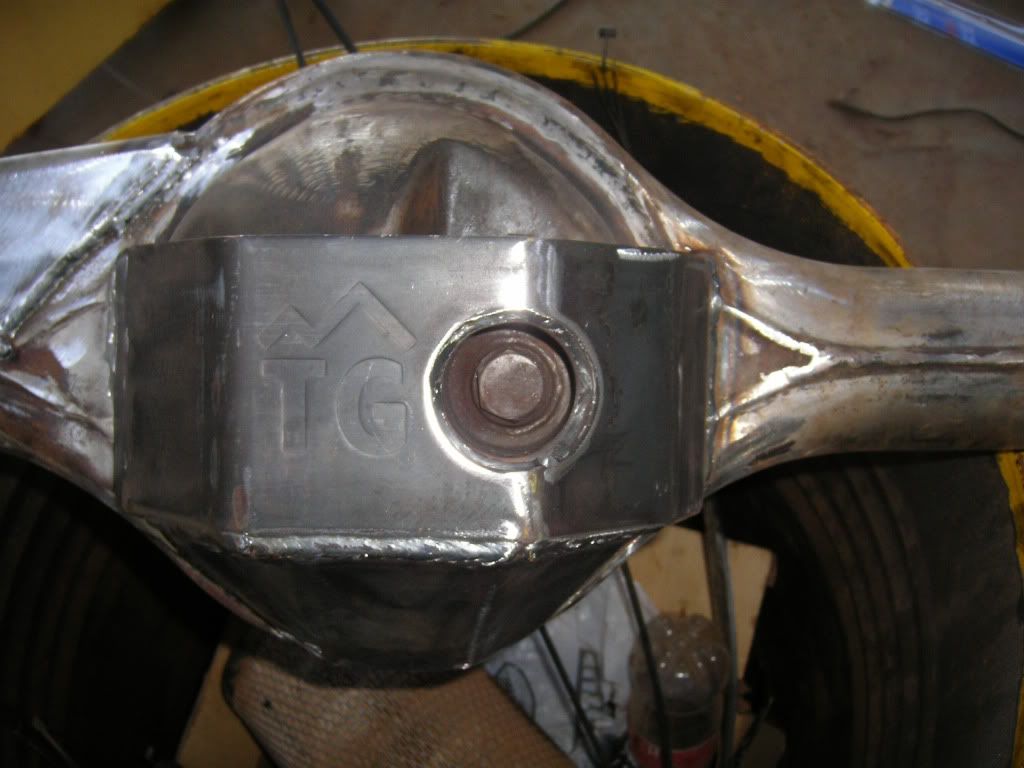
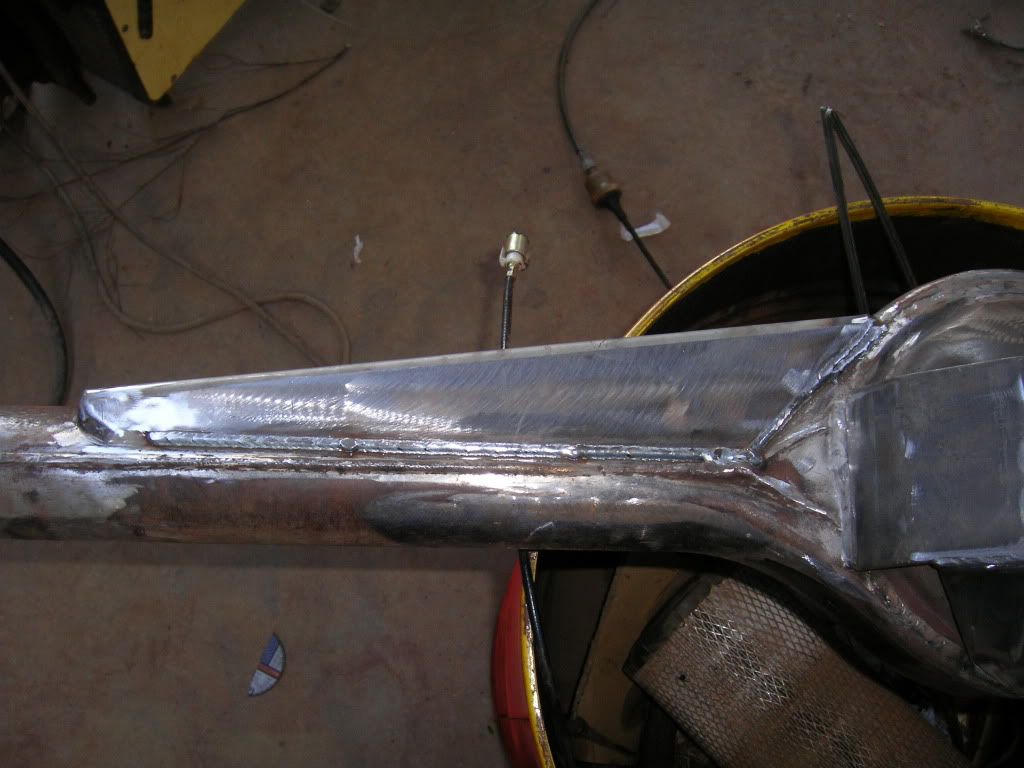
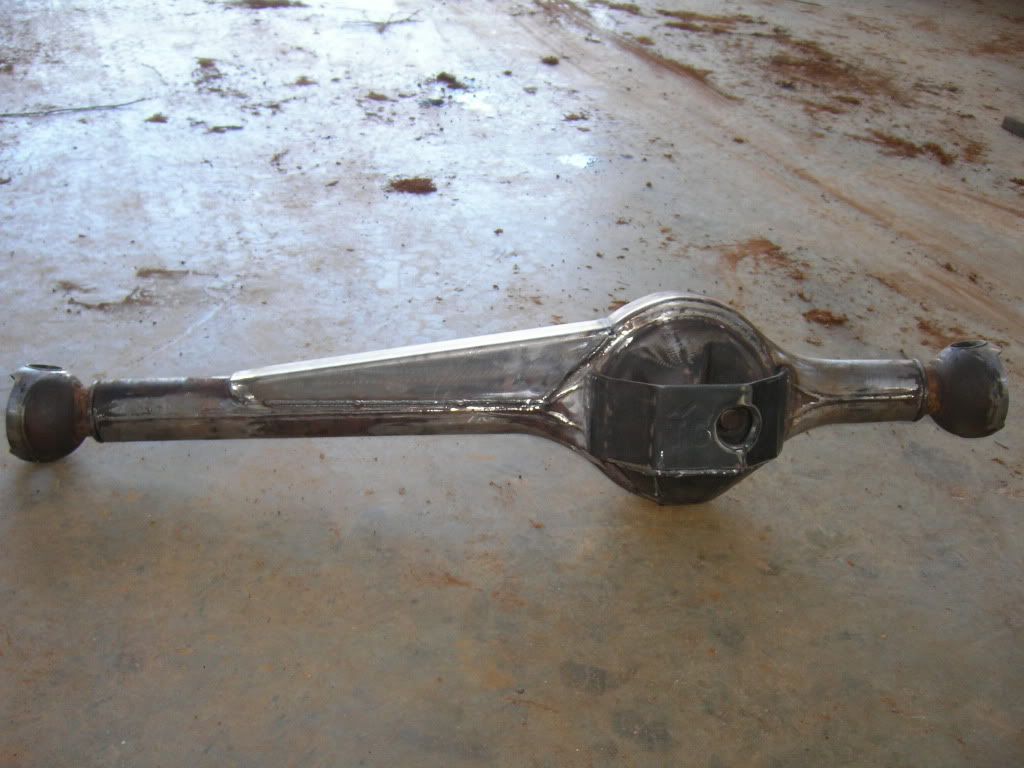
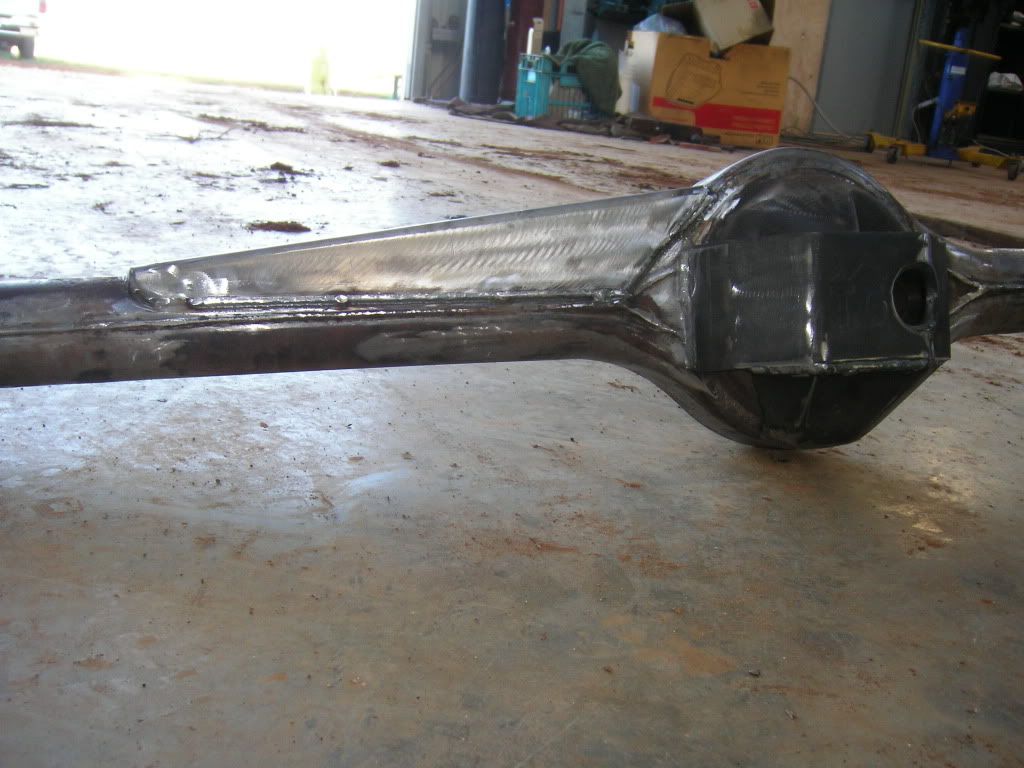
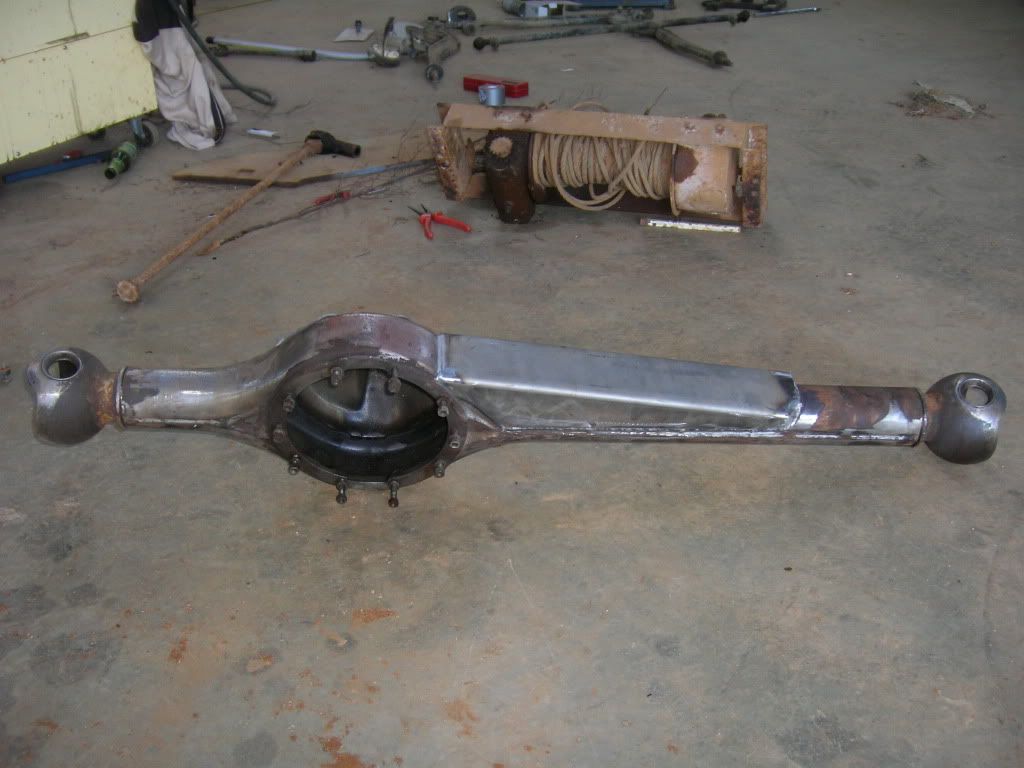
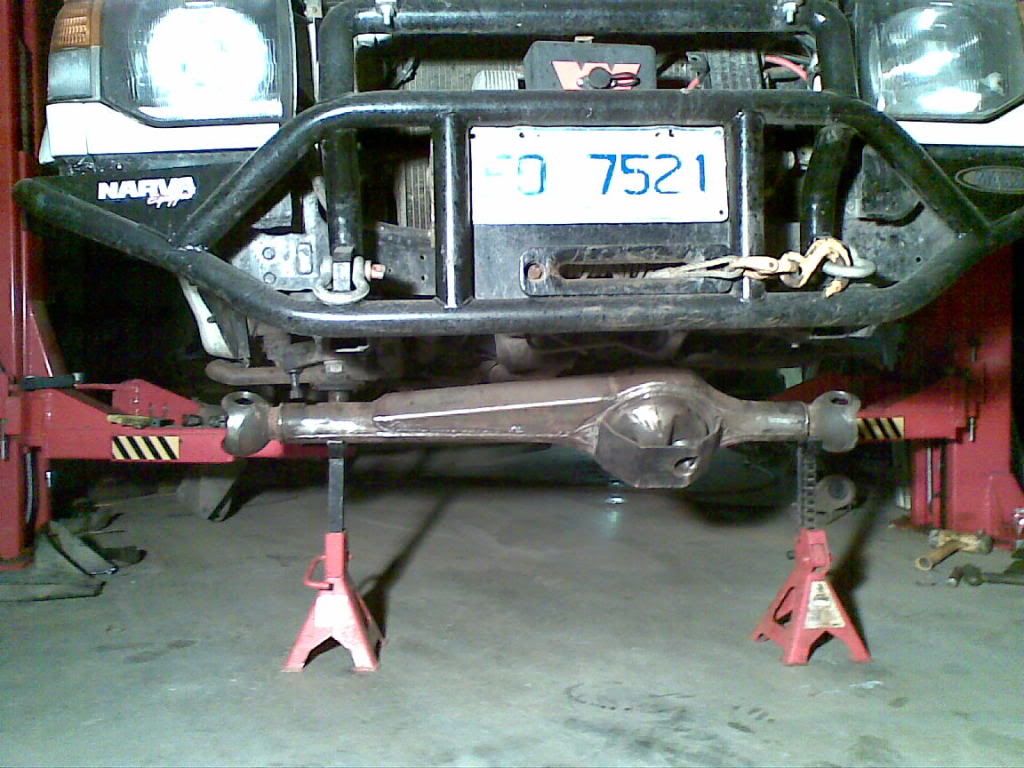
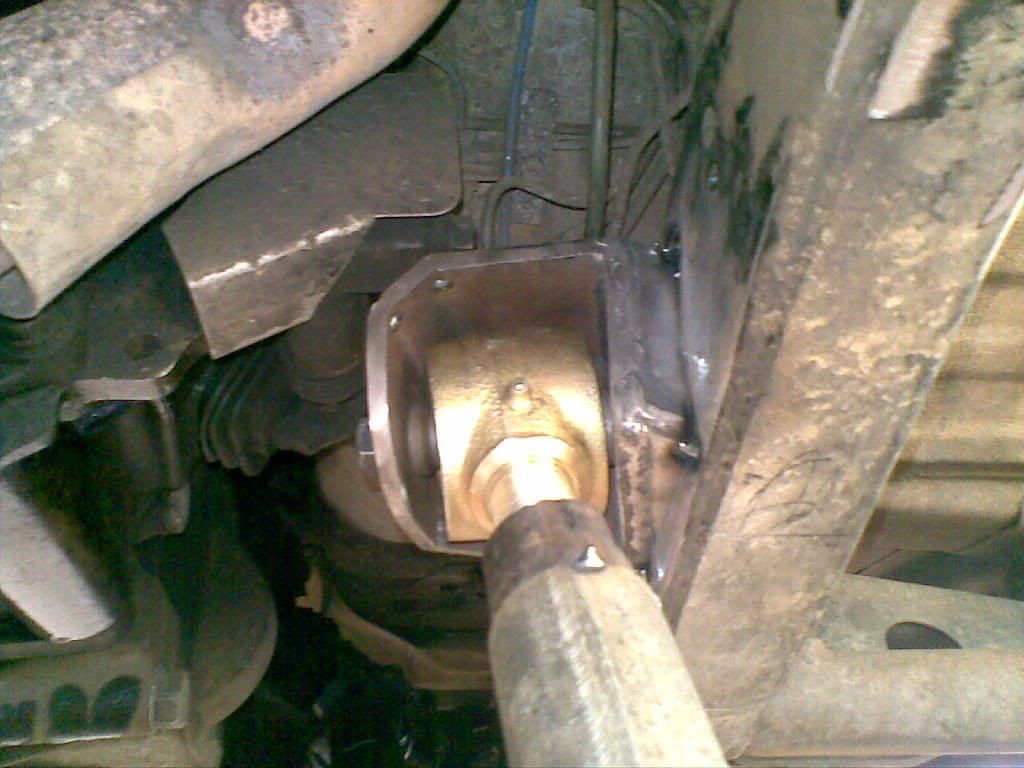
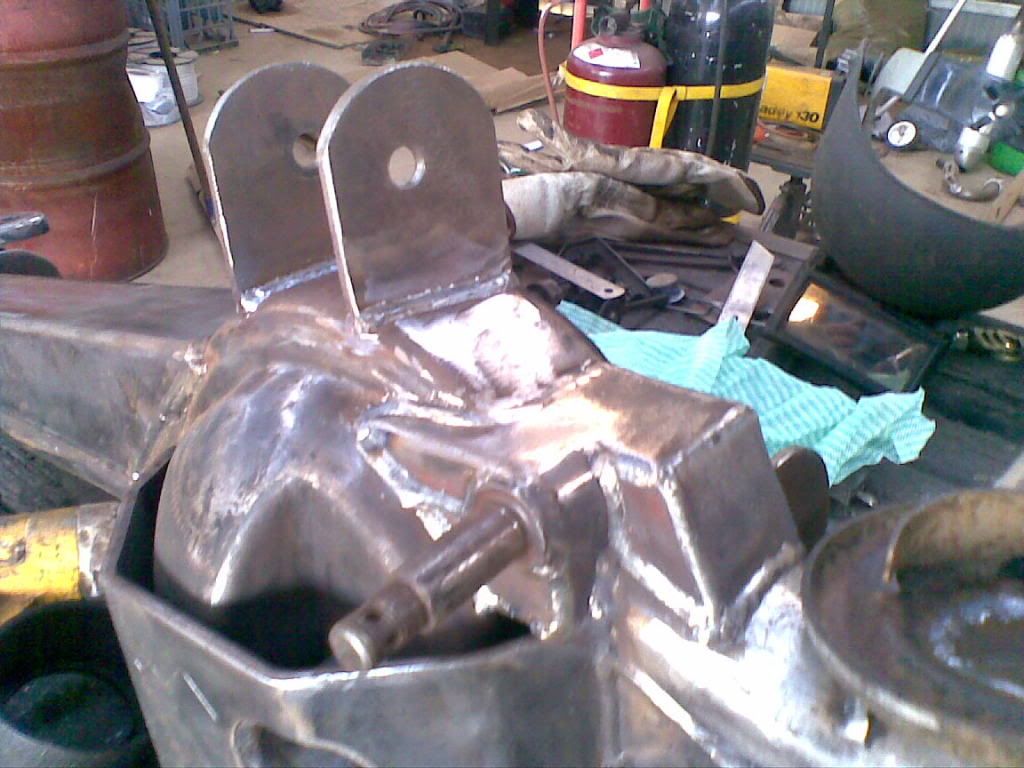
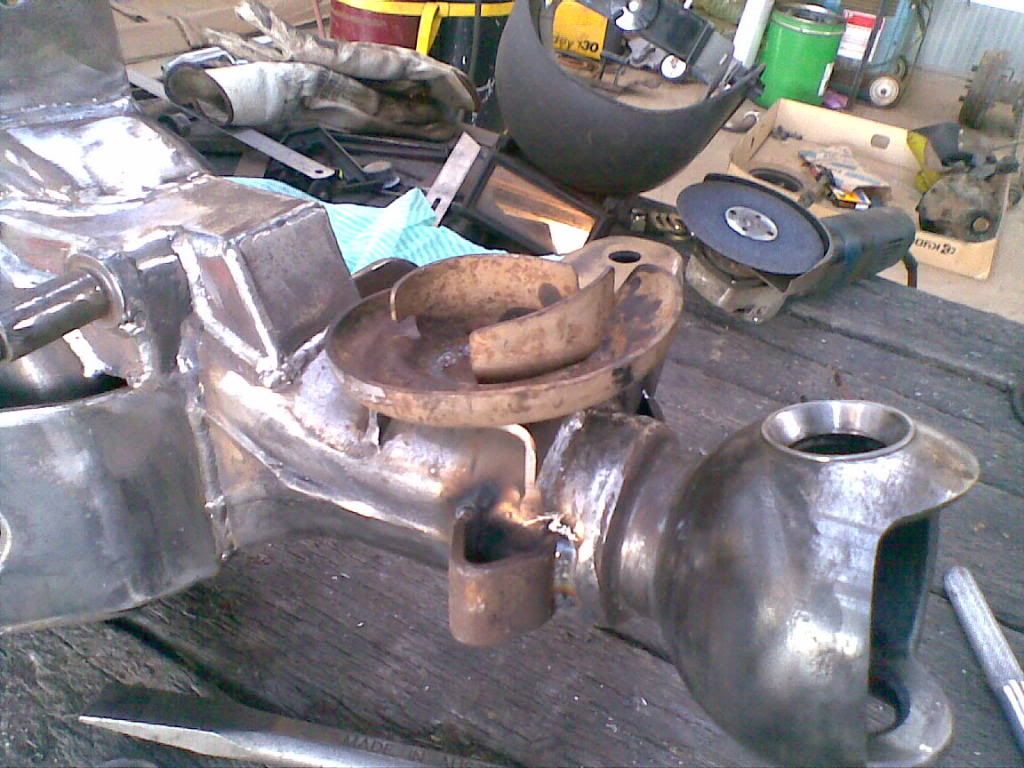
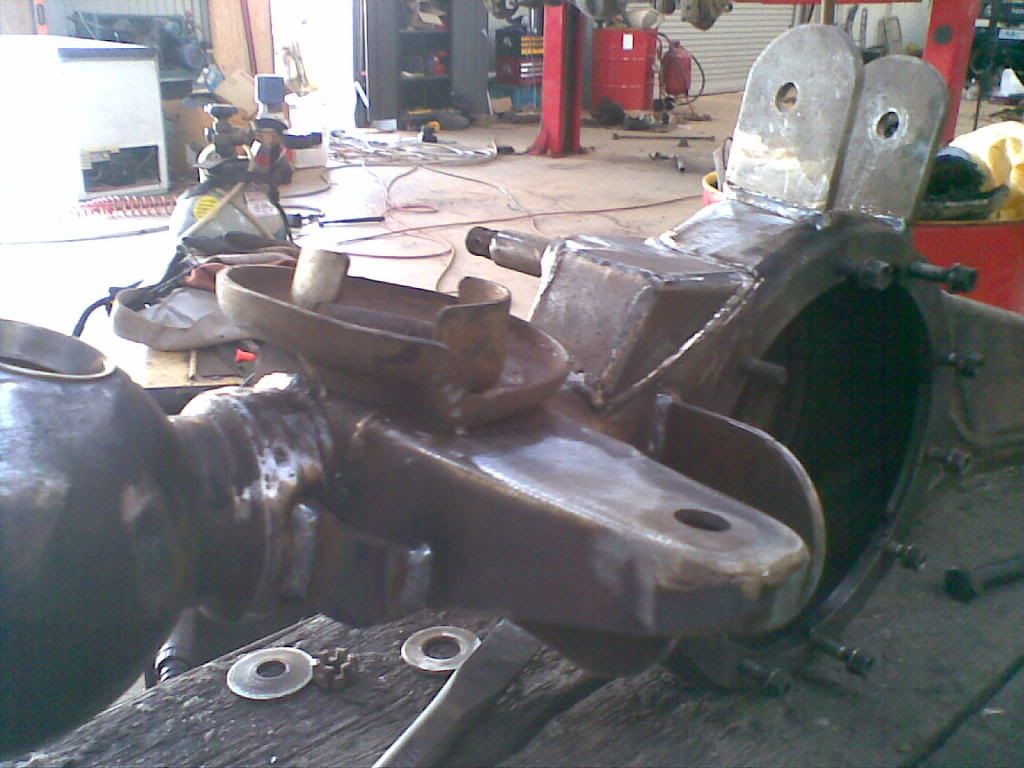
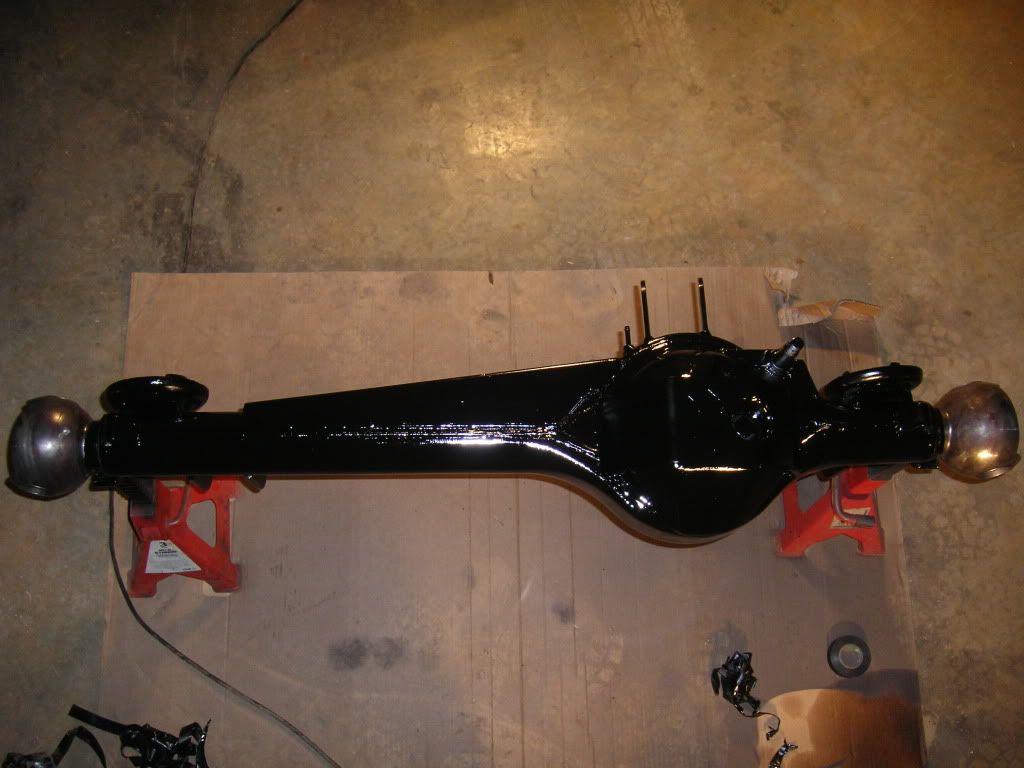
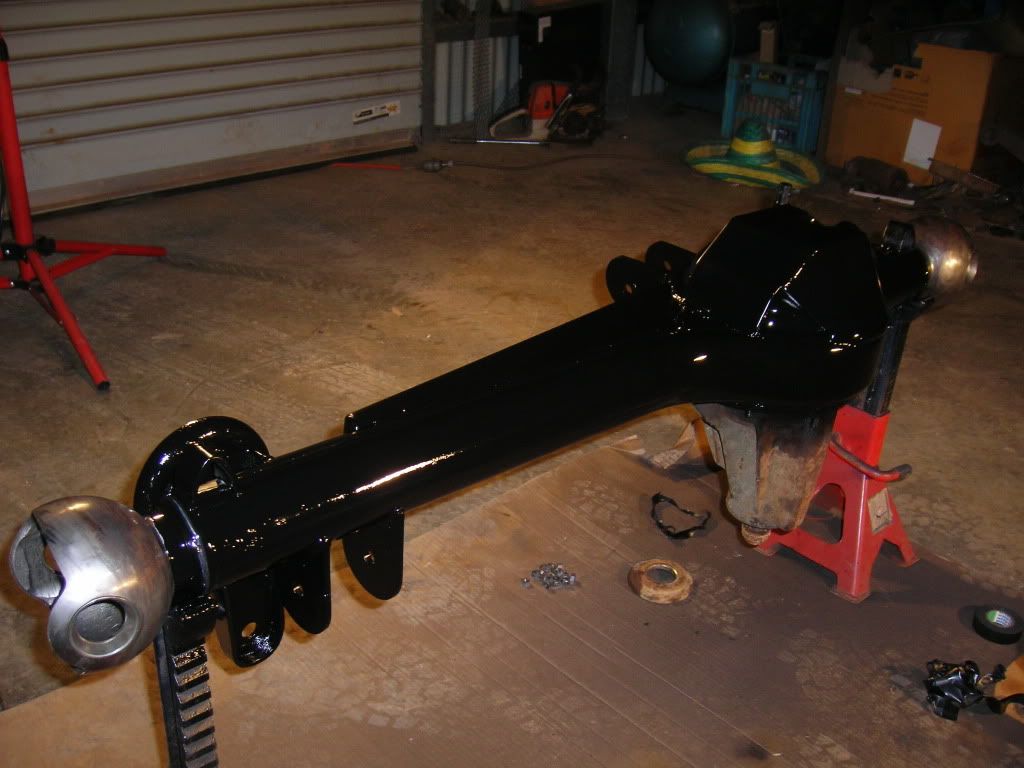
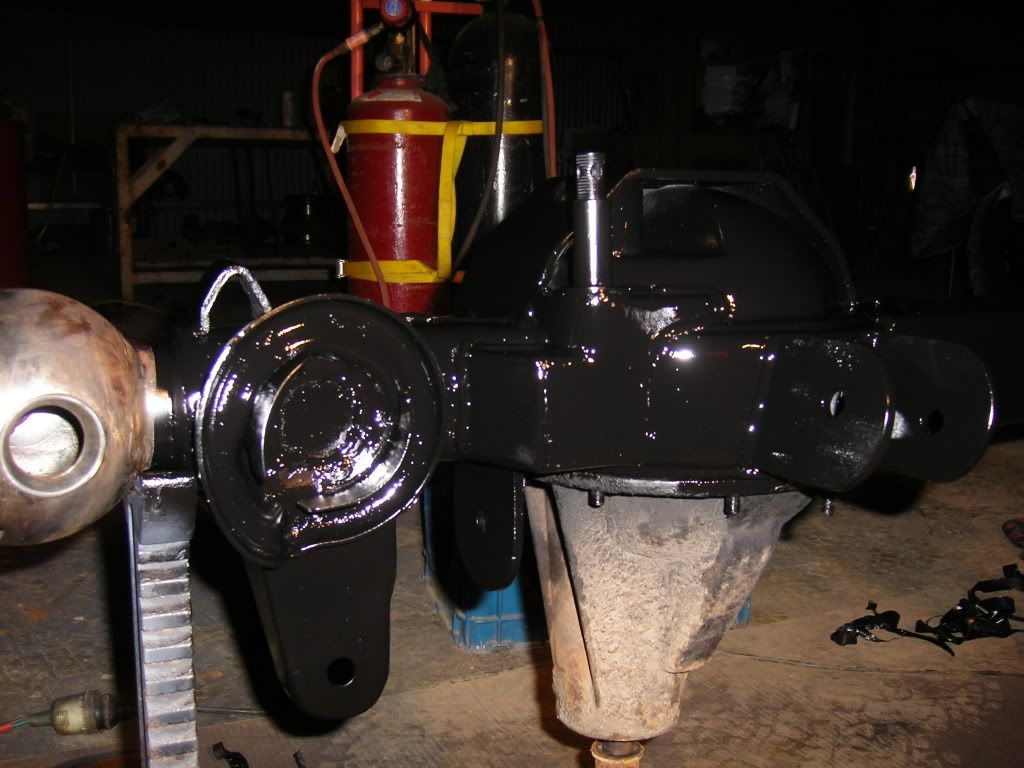
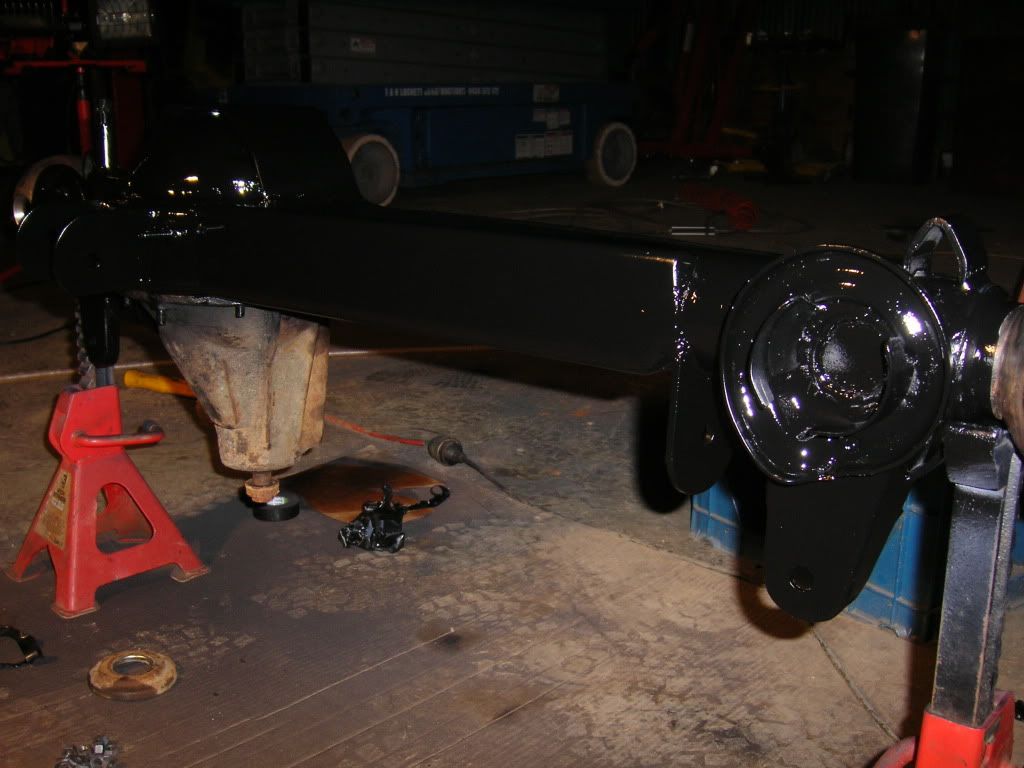
thanks, ahh yeah i'd do it this way again i would probably find it easier the way i done it than cutting the tubes and trying to re-align them and getting them running square and true to the center again.
Ryan,
Posted: Sun Mar 14, 2010 1:17 am
by lukethedork
Hey mate, Nice looking flip.
I am planning to flip a Nissan Patrol diff for my Jeep.
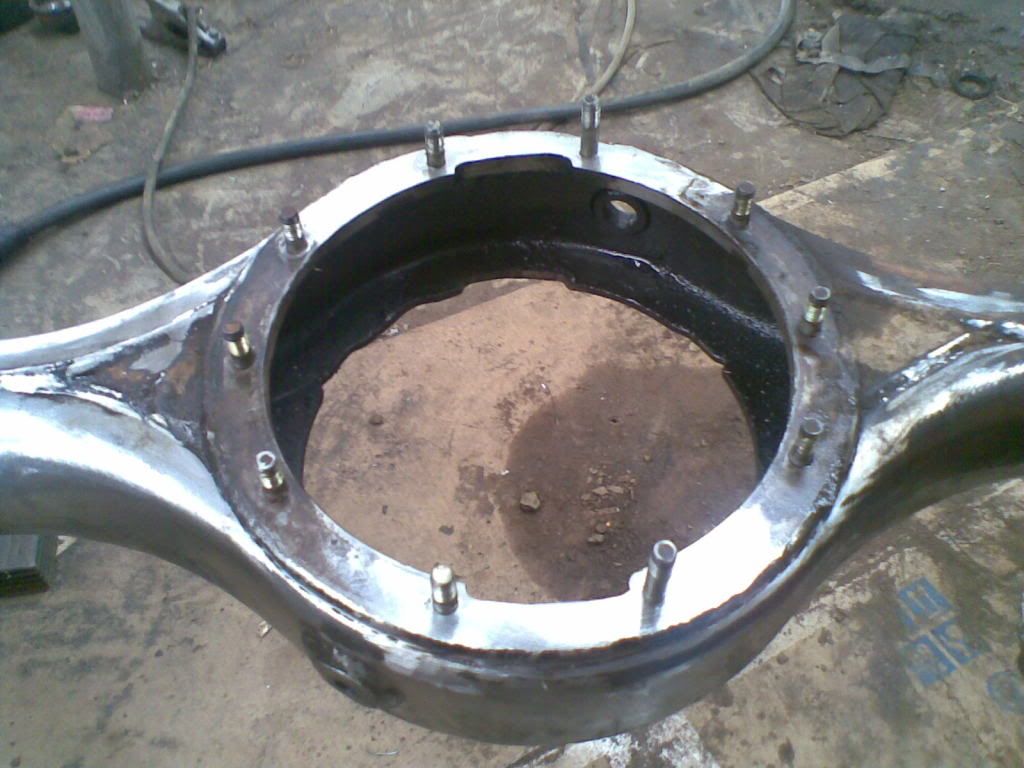
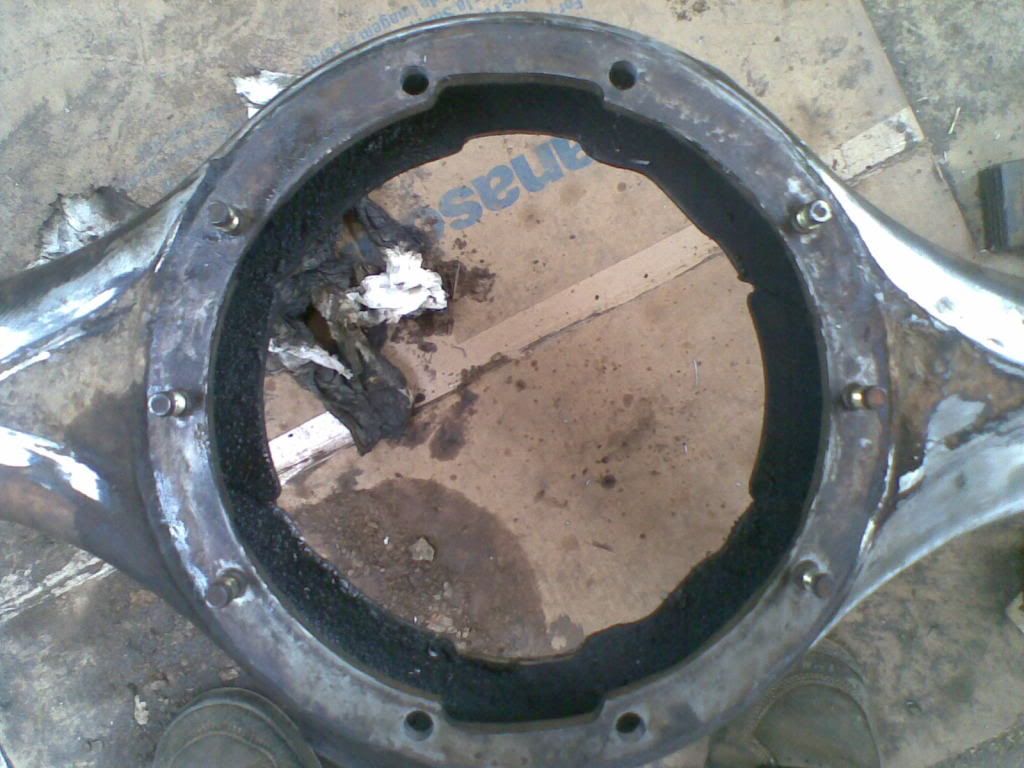
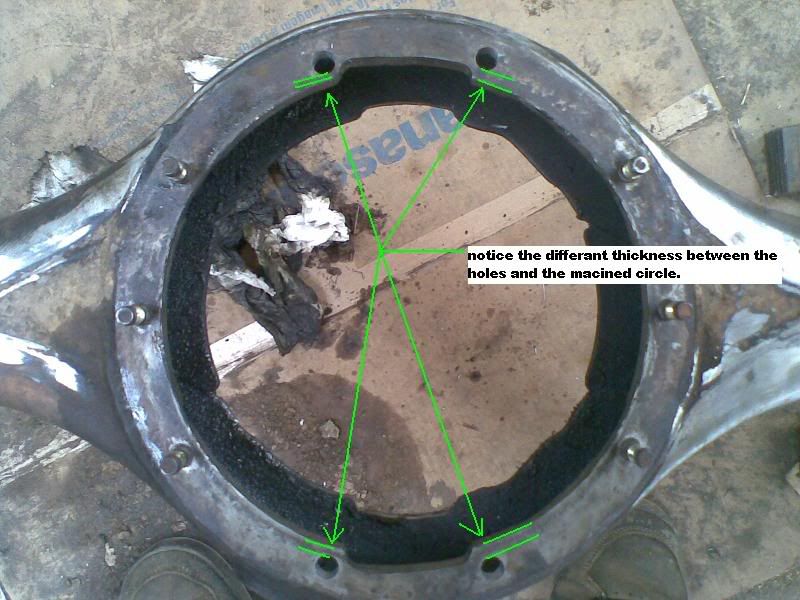
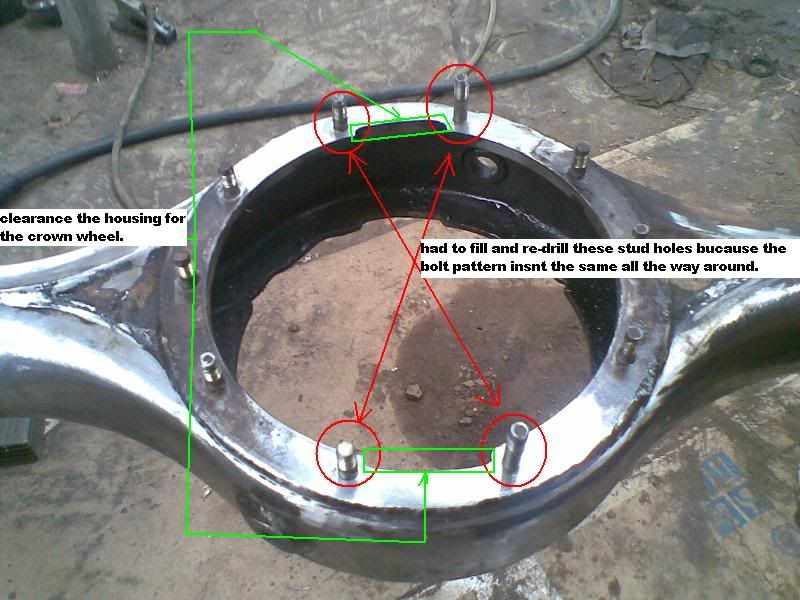
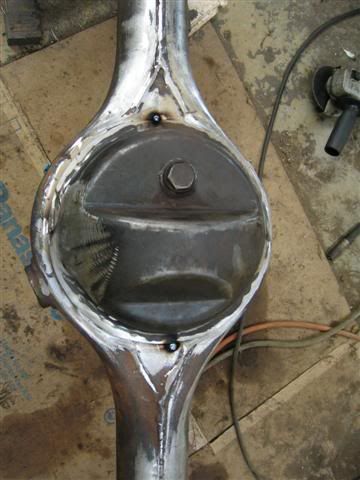
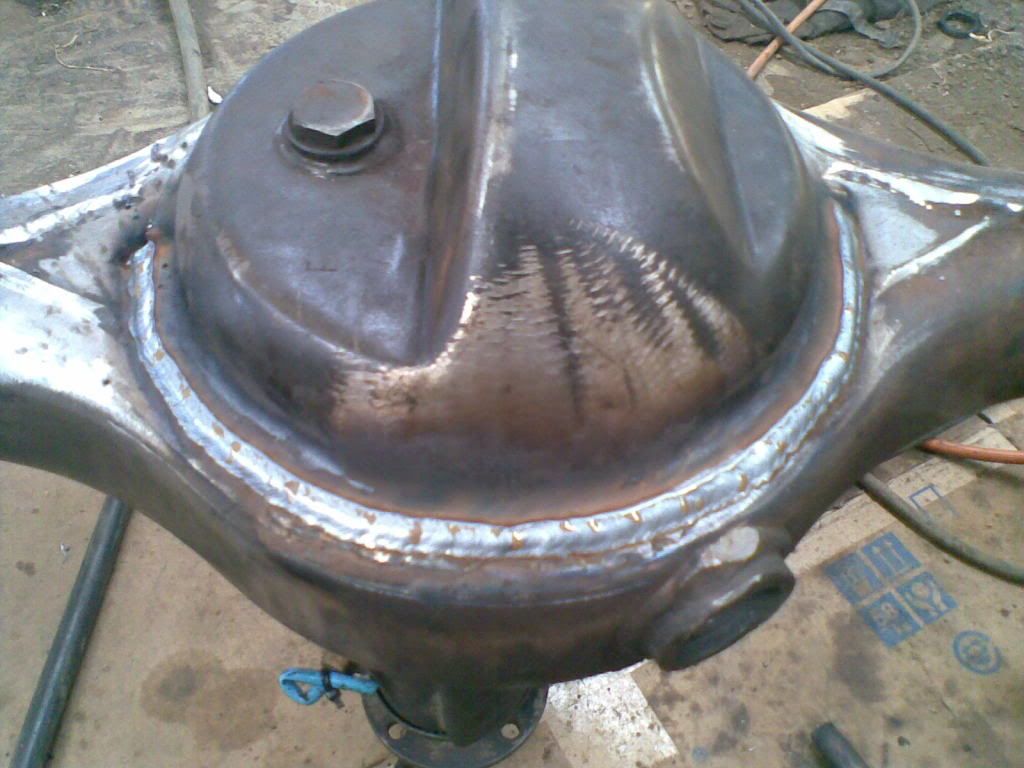
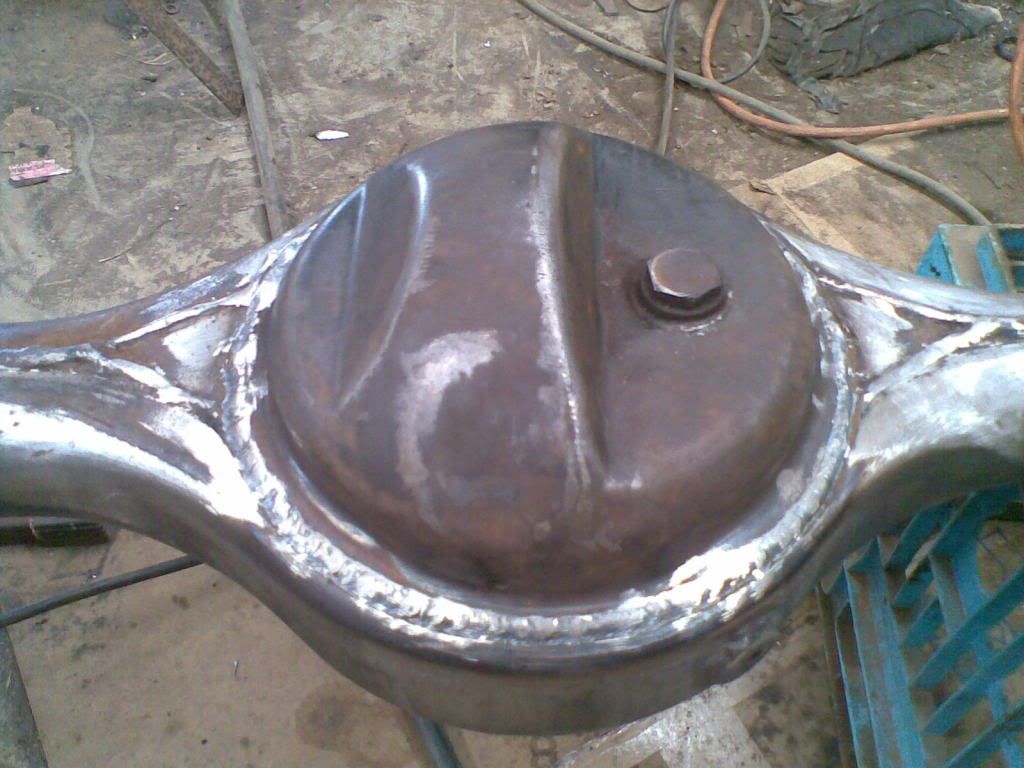
I did not understand why you cut off the diff cap? is there a reason for this?
Thanks,
Luke.
Posted: Sun Mar 14, 2010 3:48 am
by iwan
nice work mate! first time ever seen a job like these.
Posted: Sun Mar 14, 2010 9:02 am
by 80's_delirious
lukethedork wrote:Hey mate, Nice looking flip.
I am planning to flip a Nissan Patrol diff for my Jeep.
I did not understand why you cut off the diff cap? is there a reason for this?
Thanks,
Luke.
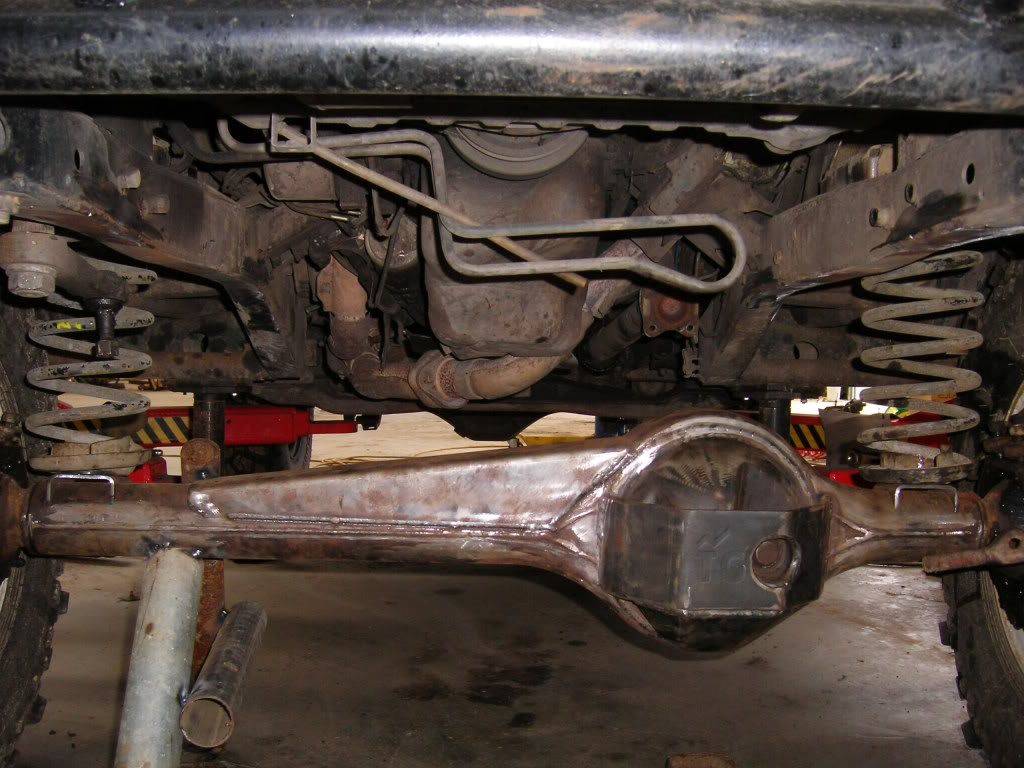
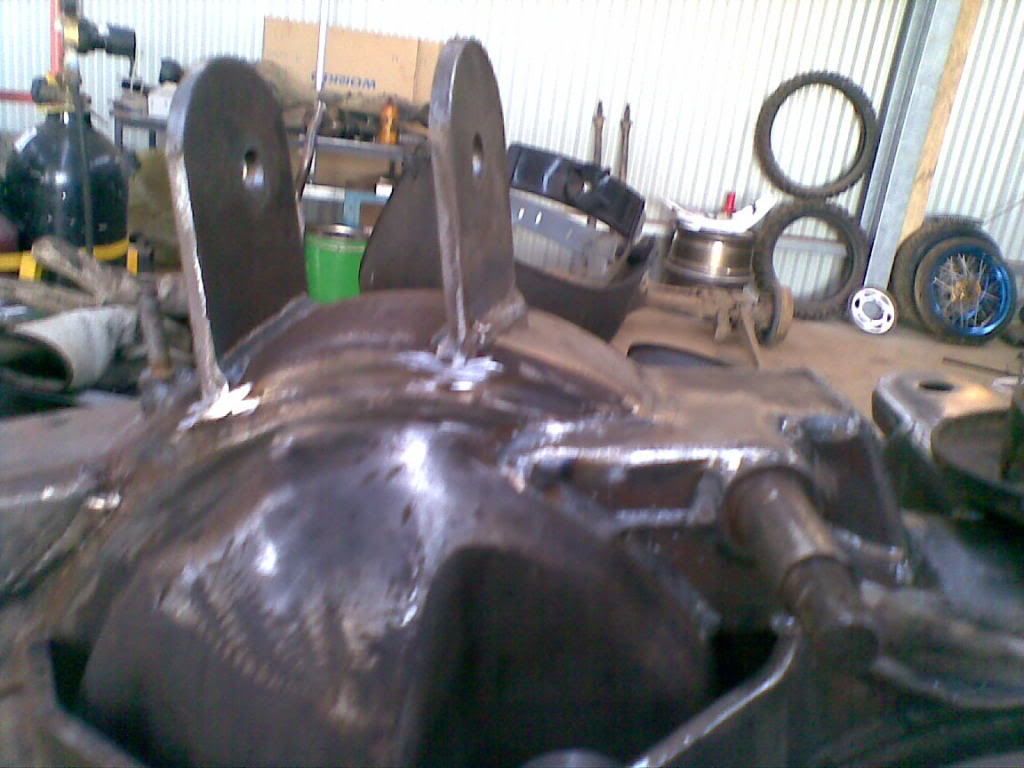
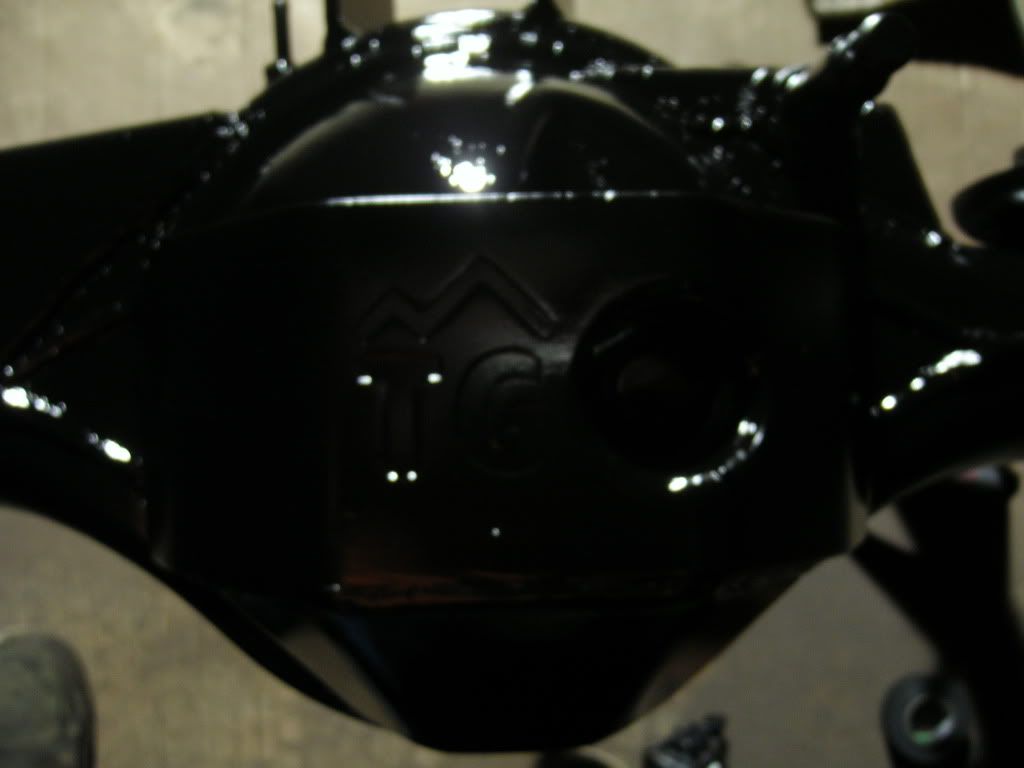
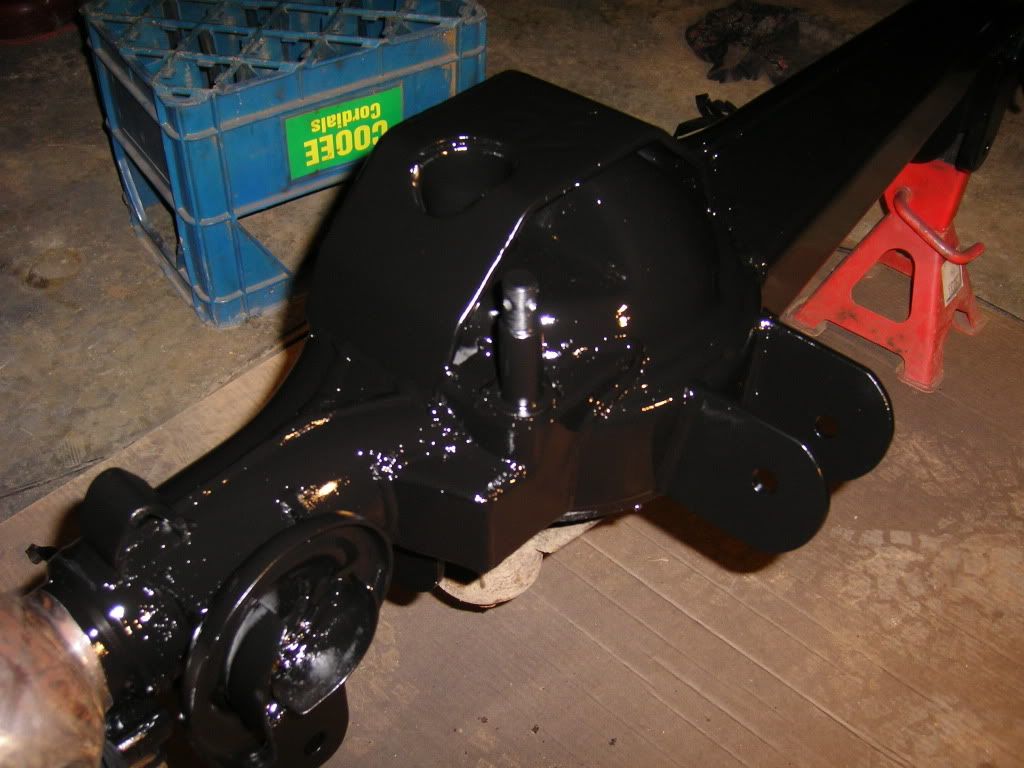
the hump for the crownwheel clearance is off centre, also the oil fill hole is above centre line, cutting and rewelding the cap keeps these correct
Posted: Tue Mar 16, 2010 3:50 pm
by Guy
http://azrockcrawler.com/_images/tech/2 ... using.html
while not a cut and flip would be easy enough to do and recentre, ending up with a MUCH stronger diff housing as well.
Posted: Wed Mar 17, 2010 2:25 pm
by 95shorty
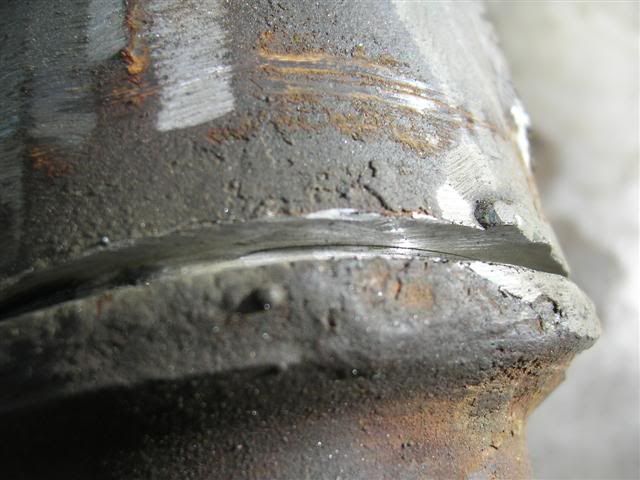
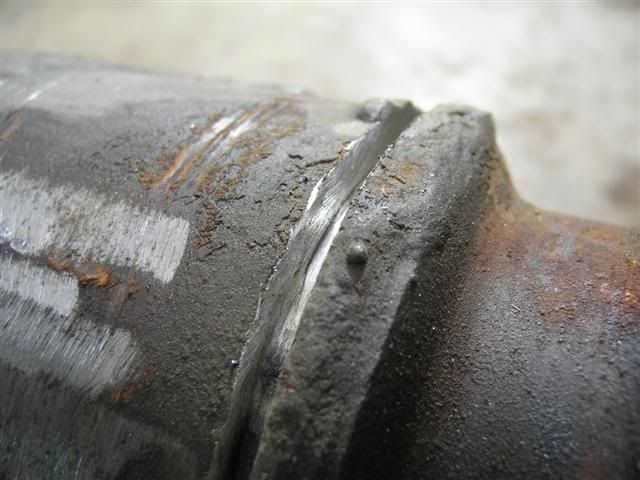
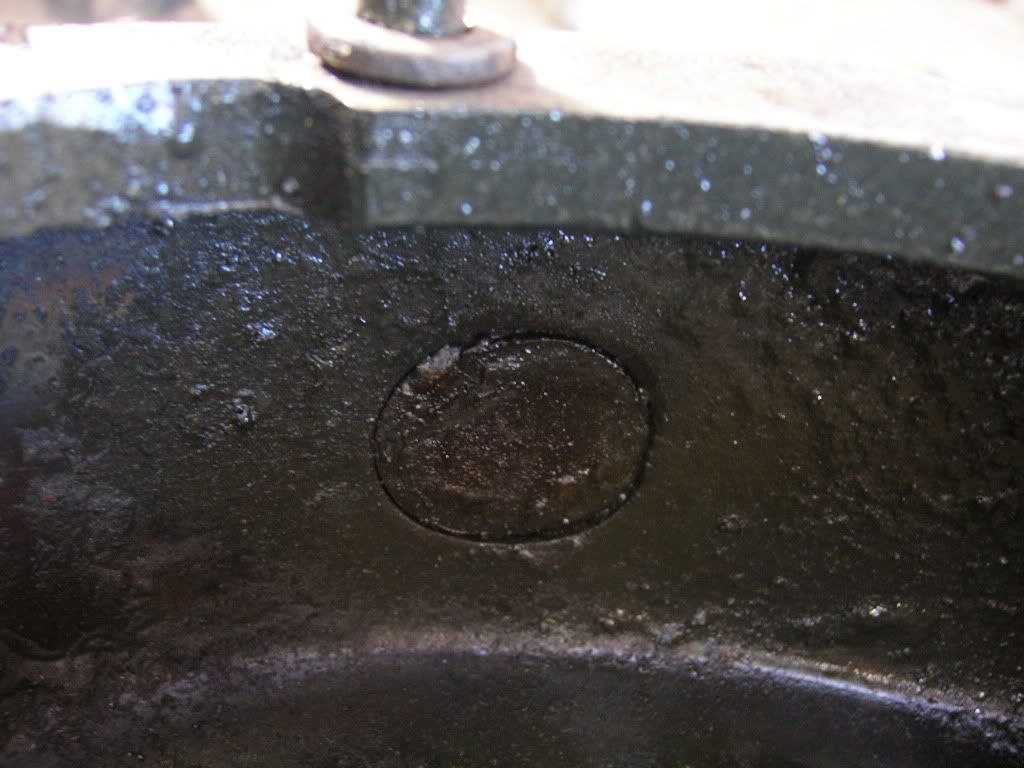
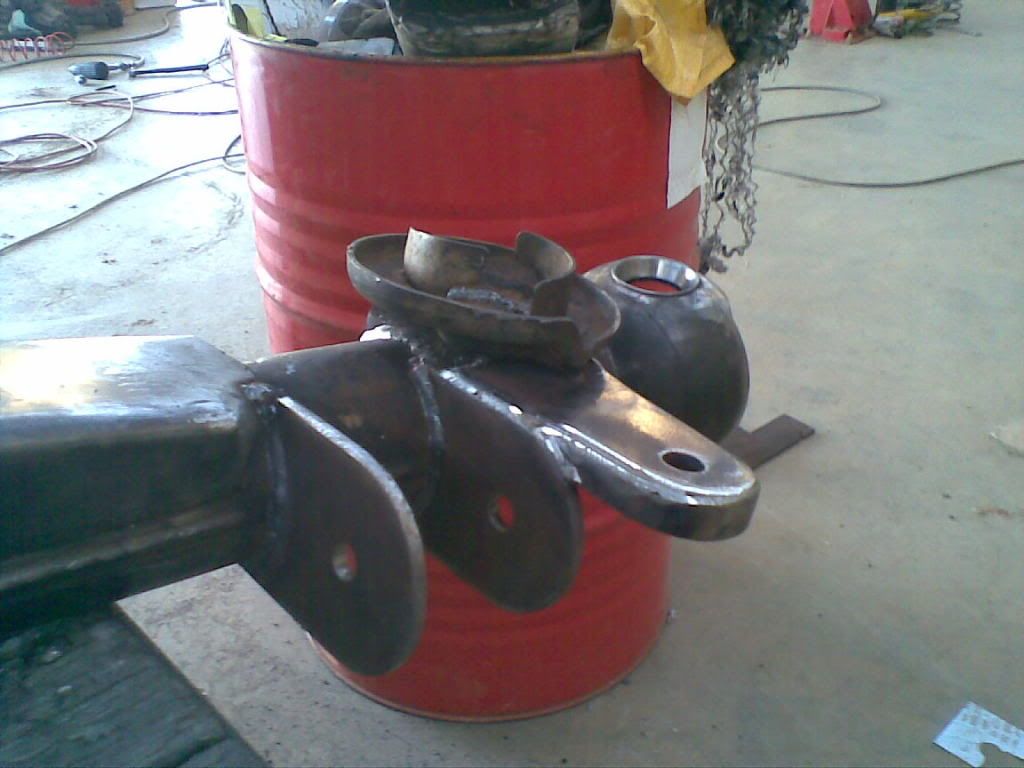
okay looks like a lot of work making jigs and all the other things they have to do to get it right, if you see in one of the above pictures i took of where i cut the welds on the knuckles to rotate them, you can actually see how thick my axle tube is and its about 5mm thick quite a lot thicker than the housing that broke in that link you posted. i assume on my housing the knuckles have been machined to fit the axle tube not the other way around so the thickness of the tube is the same all the way along. im not intending to jump the vehicle 3 feet high into a cement wall either lol. but thanks for posting the link was good reading Cheers Ryan
Posted: Wed Mar 17, 2010 6:59 pm
by 95shorty
Posted: Wed Mar 17, 2010 9:31 pm
by Turbo Tonka
thats really interesting what you have done mate.top job and keep up the good work and pics as you go

Posted: Wed Mar 17, 2010 10:02 pm
by jop
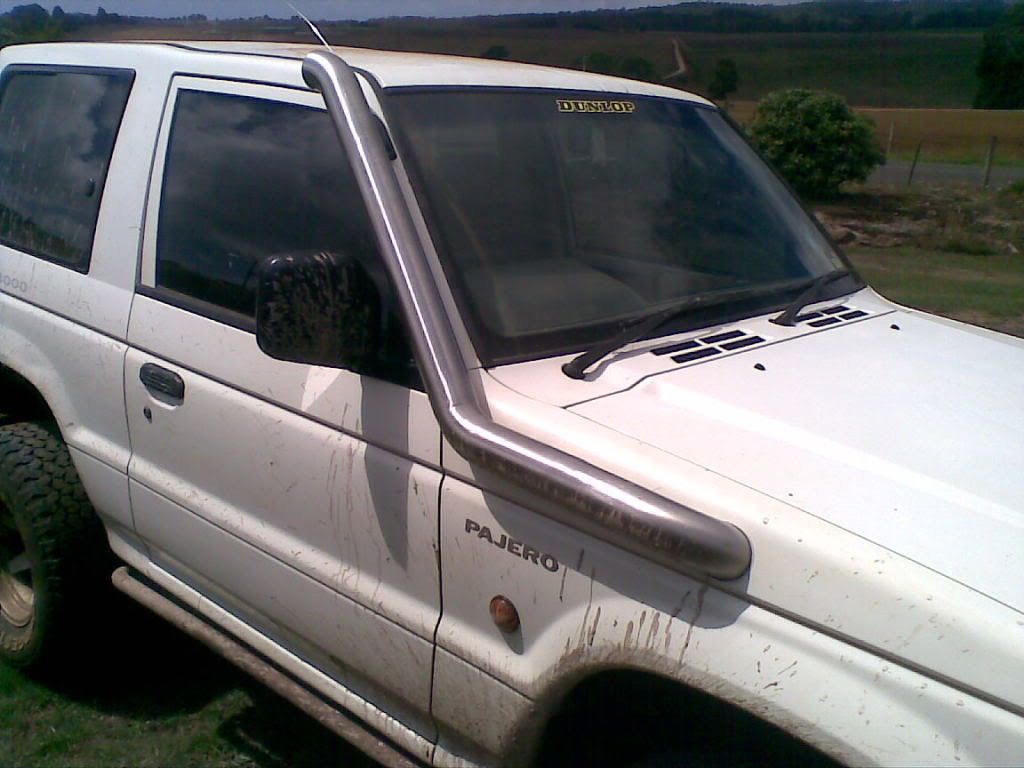
Love that snorkel - cleanest one i've seen for a while.
Need to find someone to make one up here (bris)
How much did that set you back? Do they want to make any more?
Great work on the other custom gear too!
Posted: Thu Mar 18, 2010 6:28 am
by 95shorty
jop wrote:Love that snorkel - cleanest one i've seen for a while.
Need to find someone to make one up here (bris)
How much did that set you back? Do they want to make any more?
Great work on the other custom gear too!
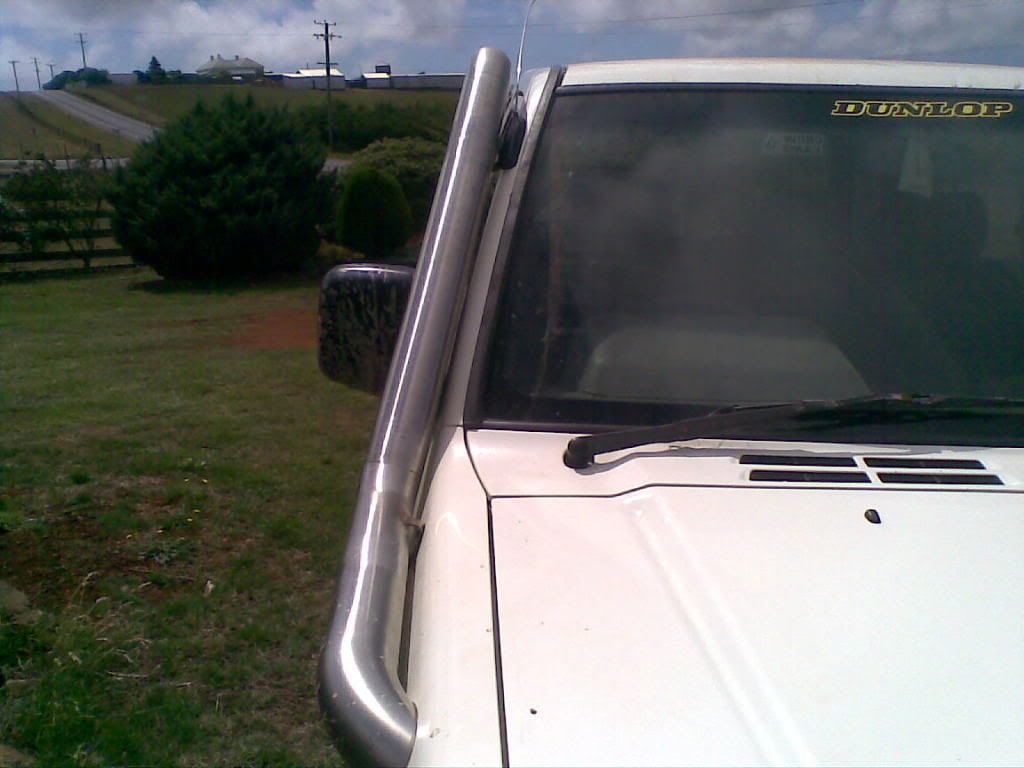
gday i made the snorkel myself was a bit of stuffing about getting it right but fairly easy, cost me next to nothing i got the 2 stainless bends for 30 bucks from work and the straight bit was laying around here at home, so i couldnt justify spending 100 bucks on a safari head when the whole snorkel cost me less

Posted: Wed Mar 24, 2010 6:56 pm
by Dias999
Very strong axle.I like it
Posted: Wed Mar 24, 2010 7:00 pm
by Dias999
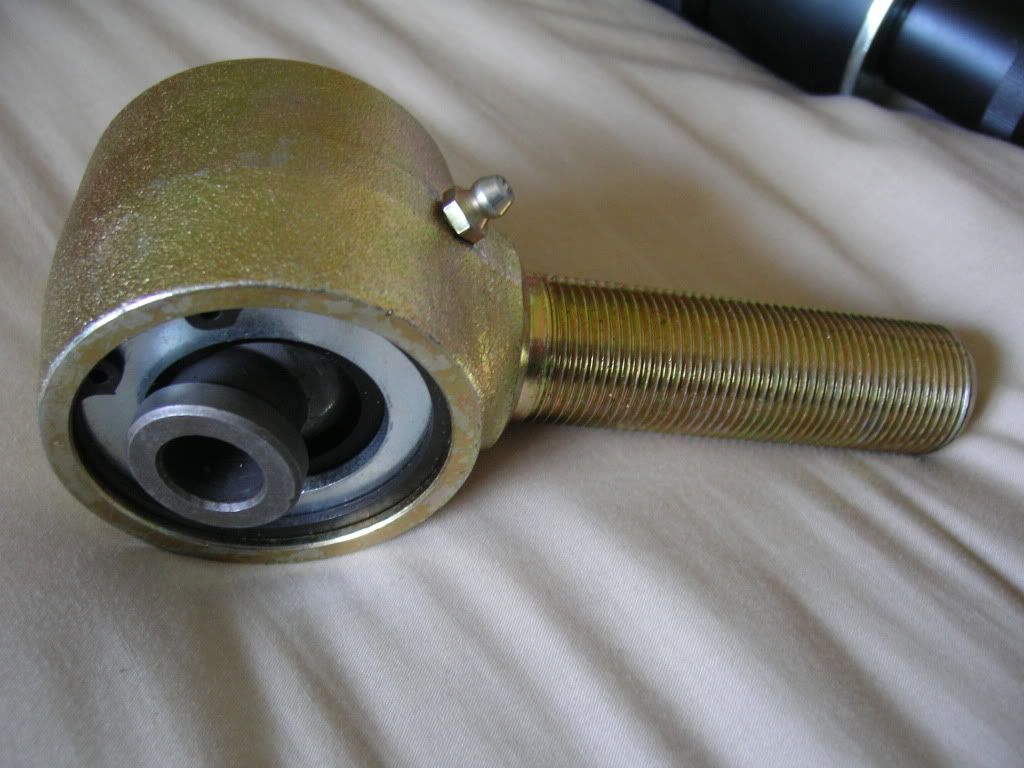
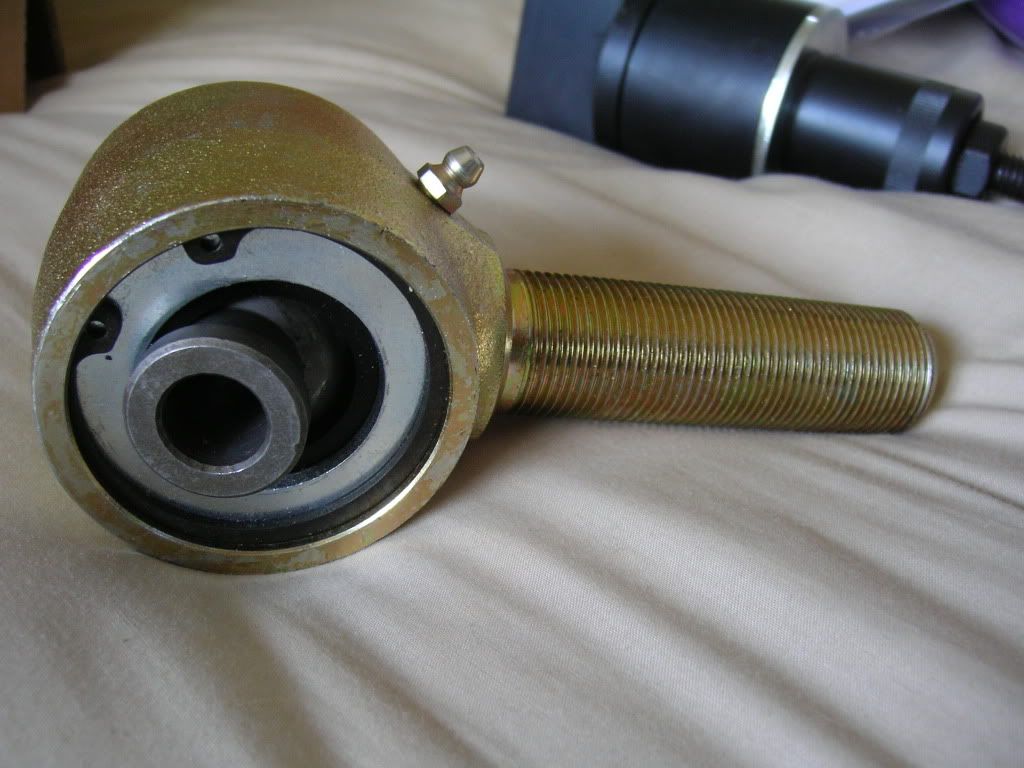
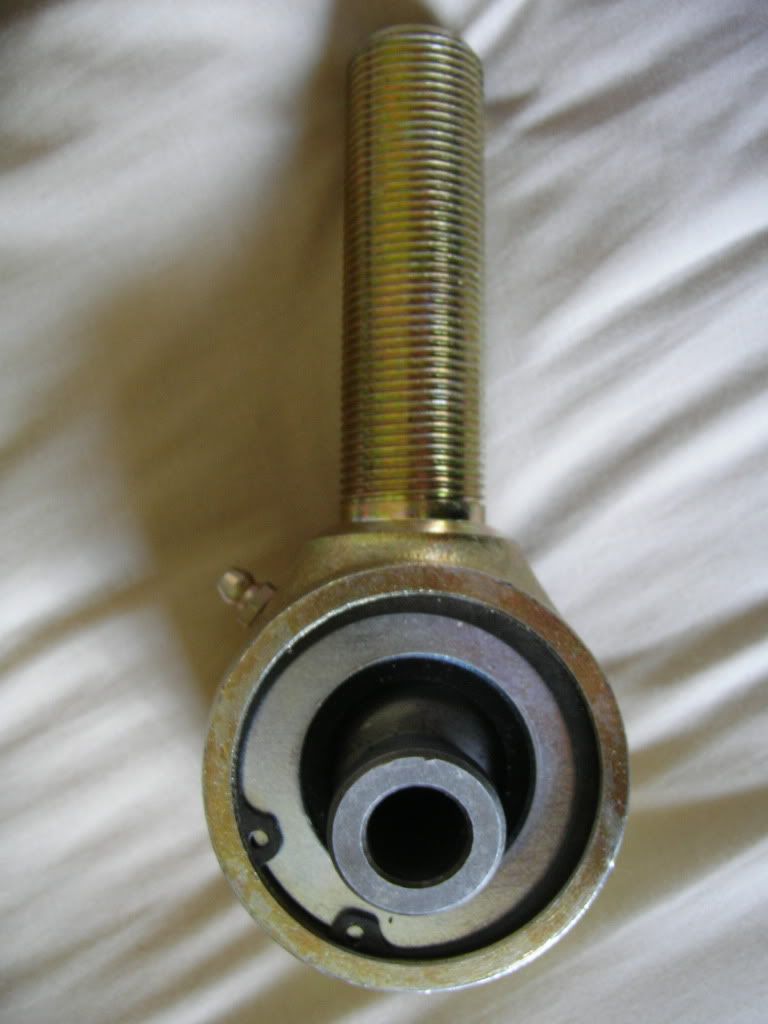
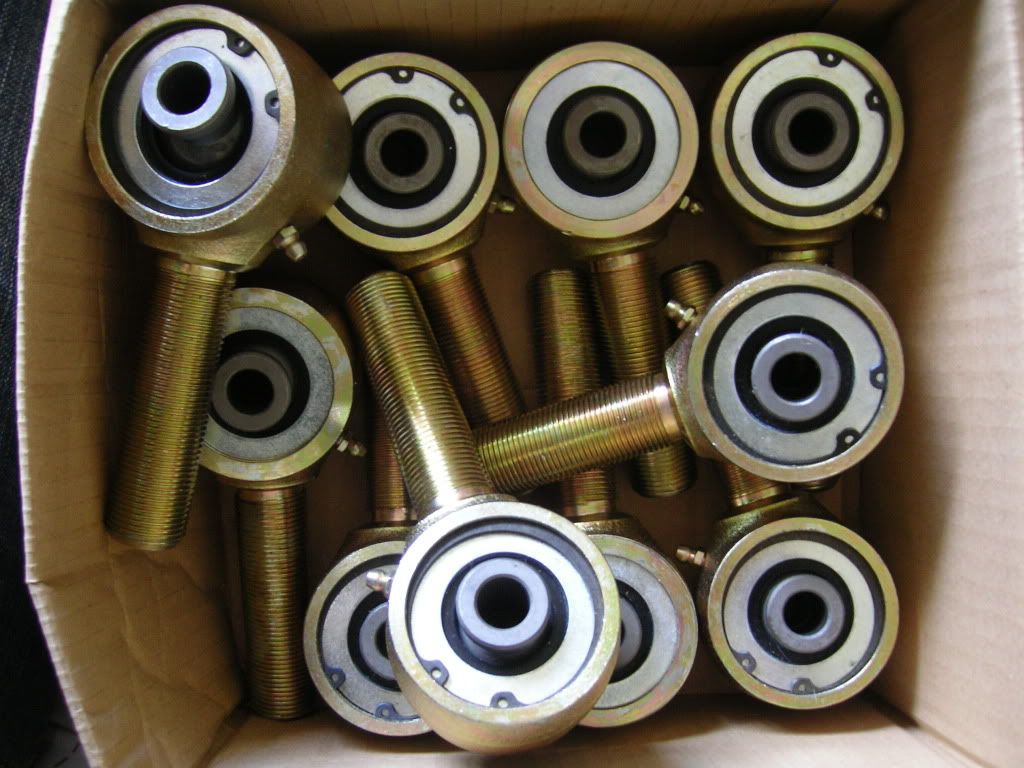
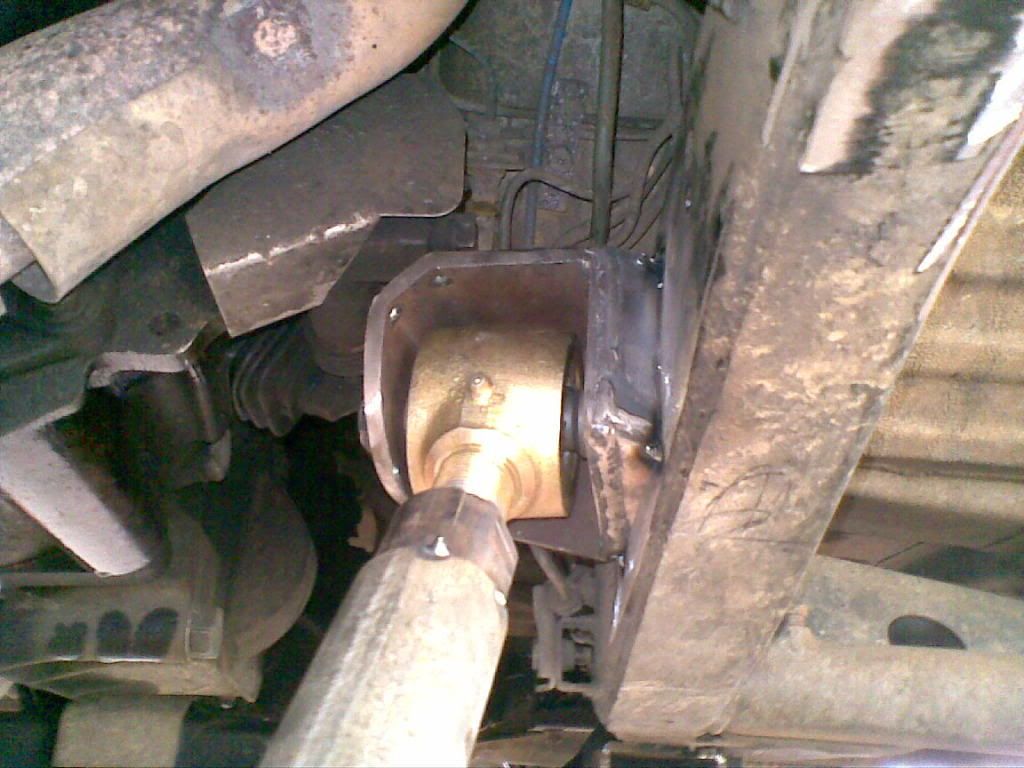
Be carefull, johnny joints excelent for articulation but not so comfortable on road.Suspension will be harder than stock rubber bushings.
Posted: Fri Apr 02, 2010 11:22 pm
by phat-customs
How bout some progress!!!

Posted: Mon May 10, 2010 8:14 pm
by 95shorty
Posted: Wed May 12, 2010 9:43 am
by Guy
Nice ...
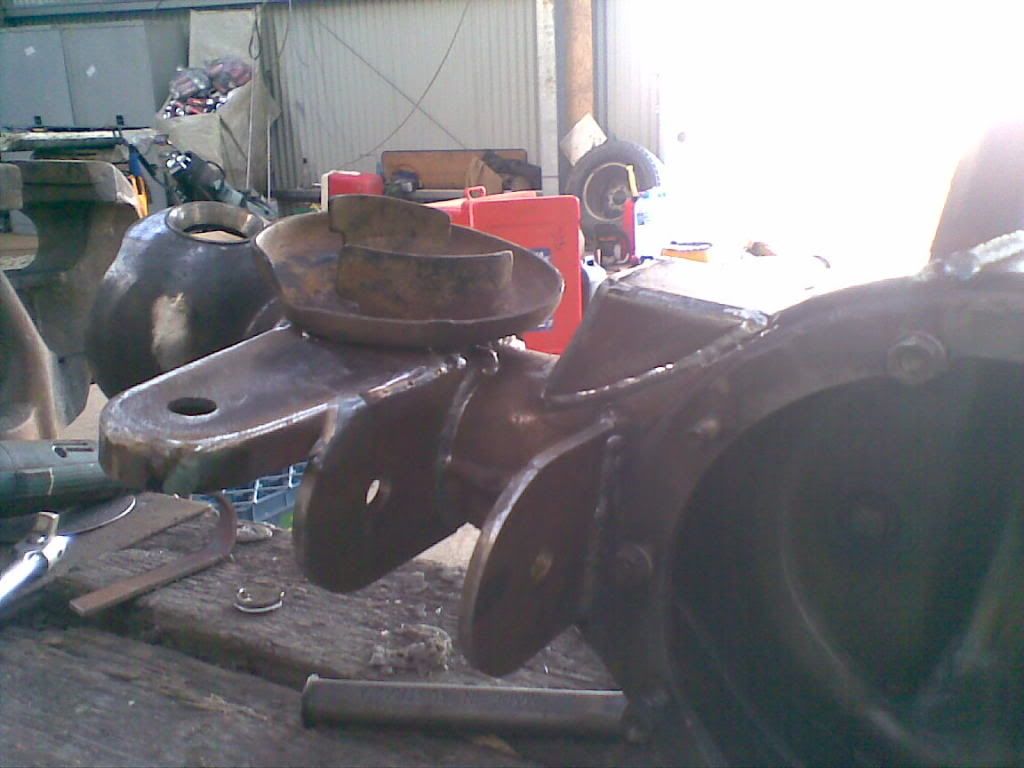
what are the coil buckets from ? they look range roverish
Posted: Thu May 13, 2010 5:42 pm
by 95shorty
love_mud wrote:Nice ...
what are the coil buckets from ? they look range roverish
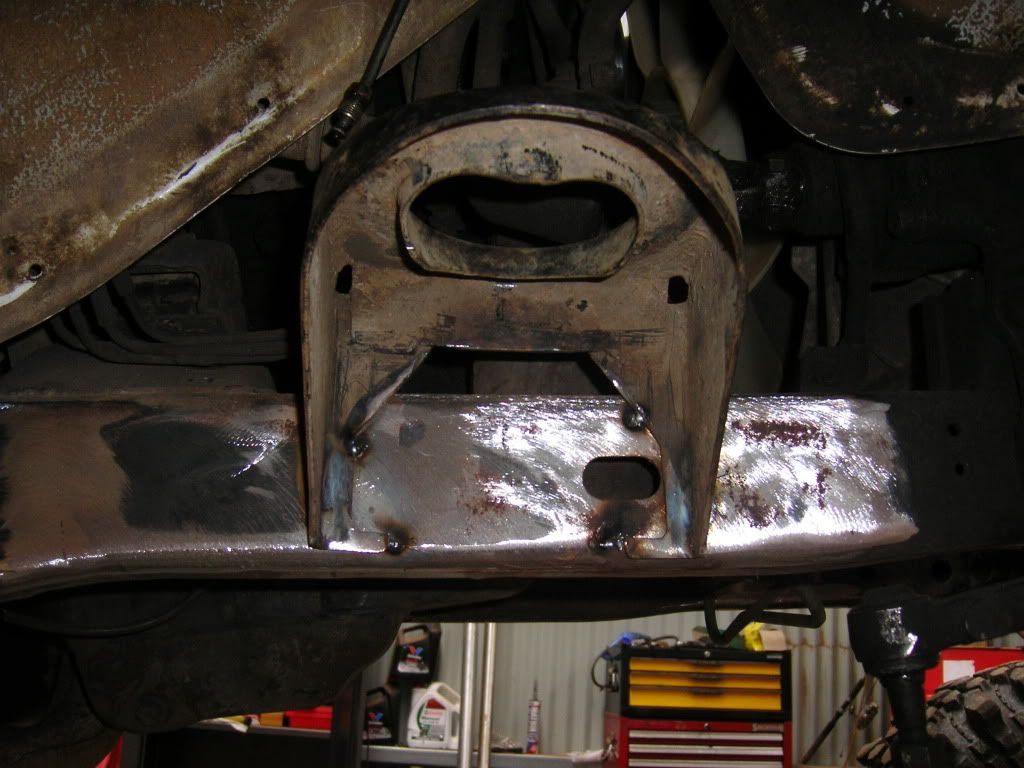
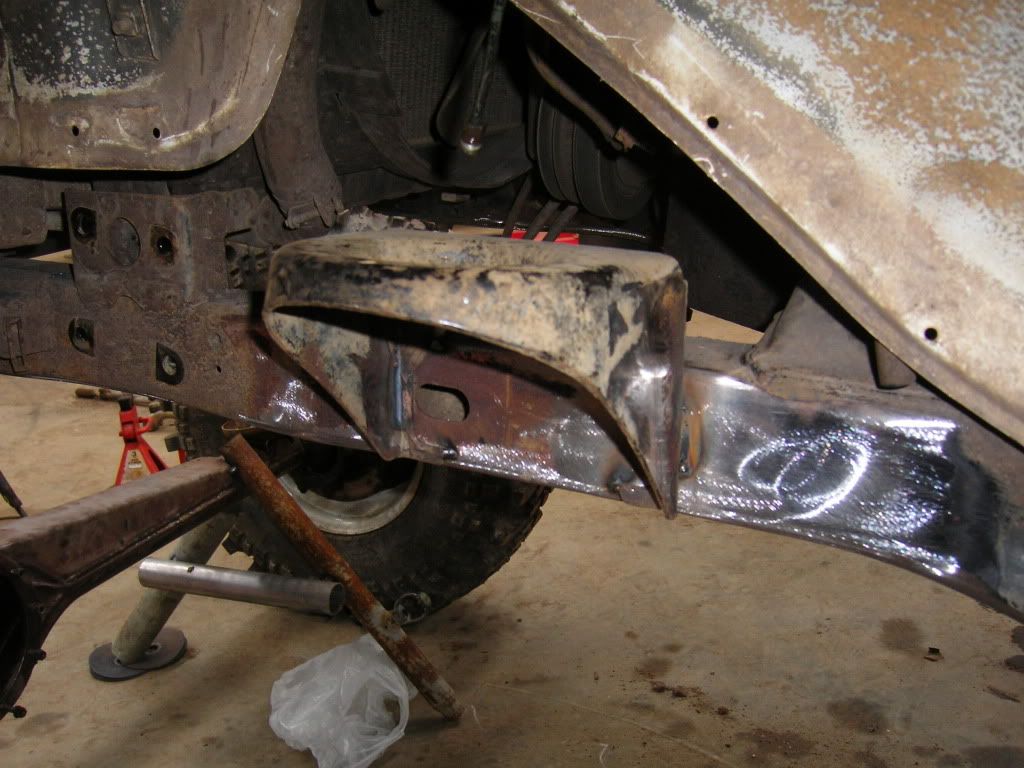
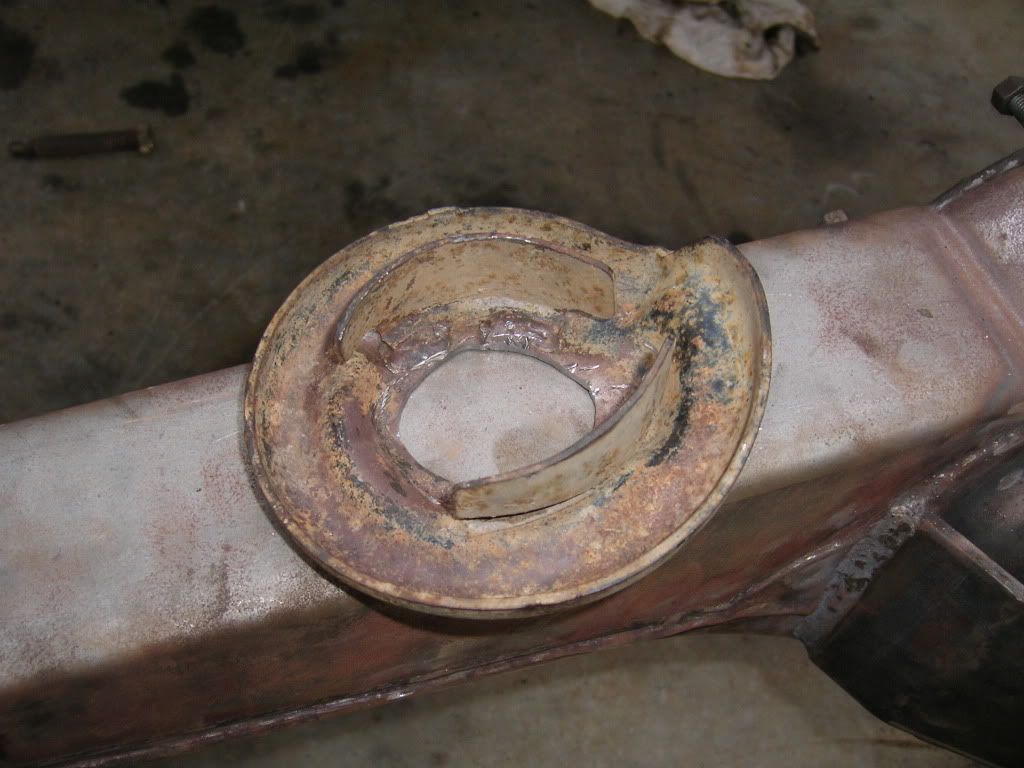
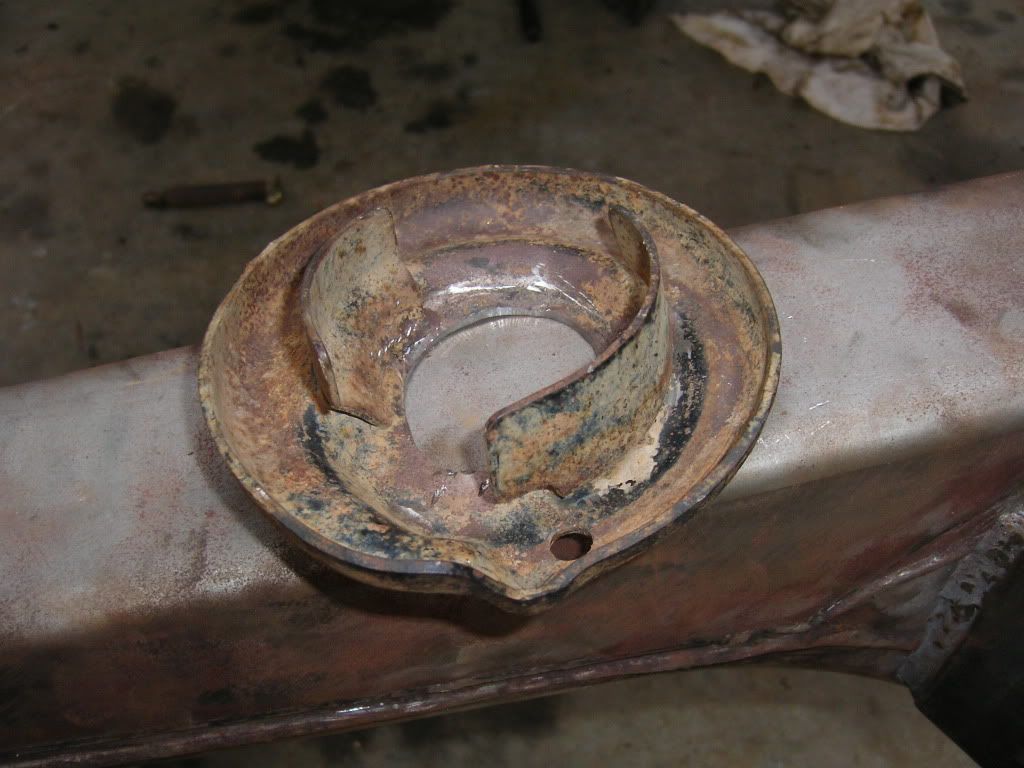
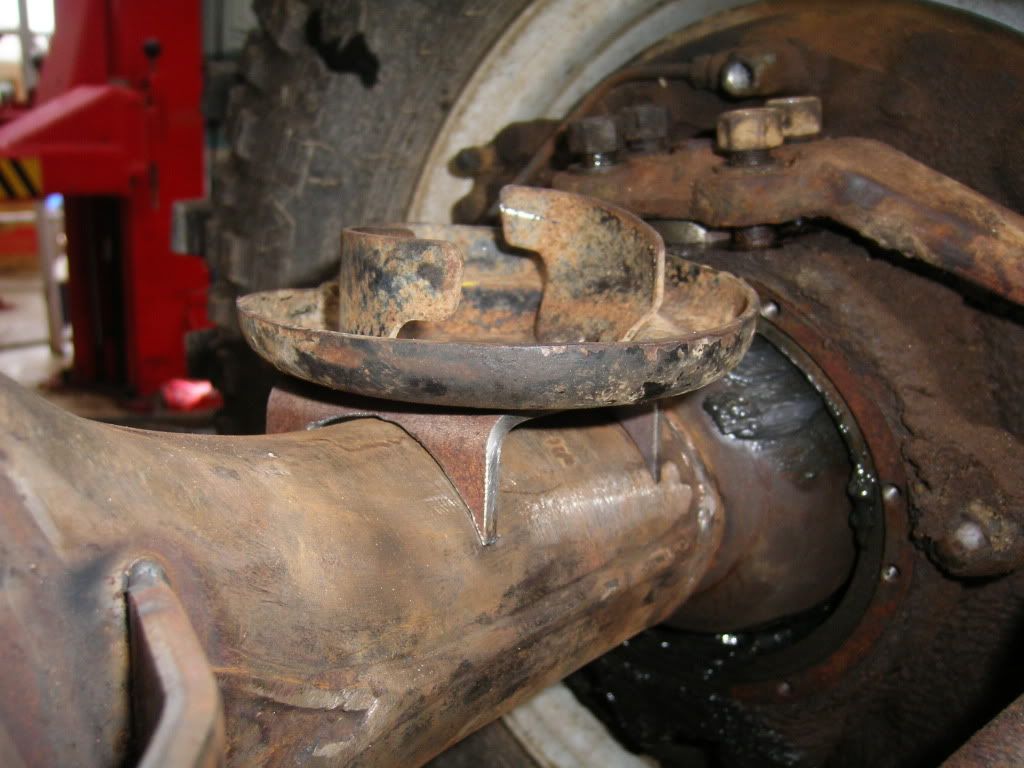
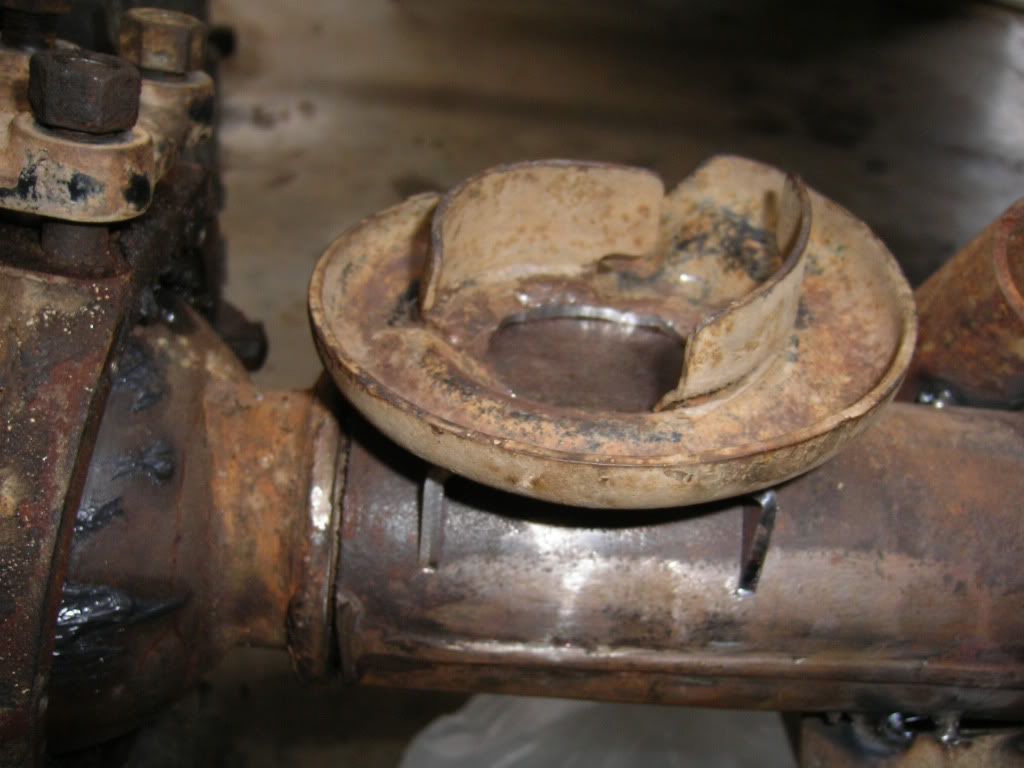
they're off a toyota bundera front housing.
Posted: Tue Jun 08, 2010 3:58 pm
by vk7ybi
A little birdie tells me you have the threaded bungs for the rod ends now, lets see the axle located and mocked up..
Re: sas shorty
Posted: Fri Jul 02, 2010 7:07 pm
by 95shorty
Re: sas shorty
Posted: Sat Jul 03, 2010 4:00 pm
by WACKO
very cool. keep up the momentum!! cant wait to see this finished!
Re: sas shorty
Posted: Sat Jul 03, 2010 4:57 pm
by TWISTY
Nice work!
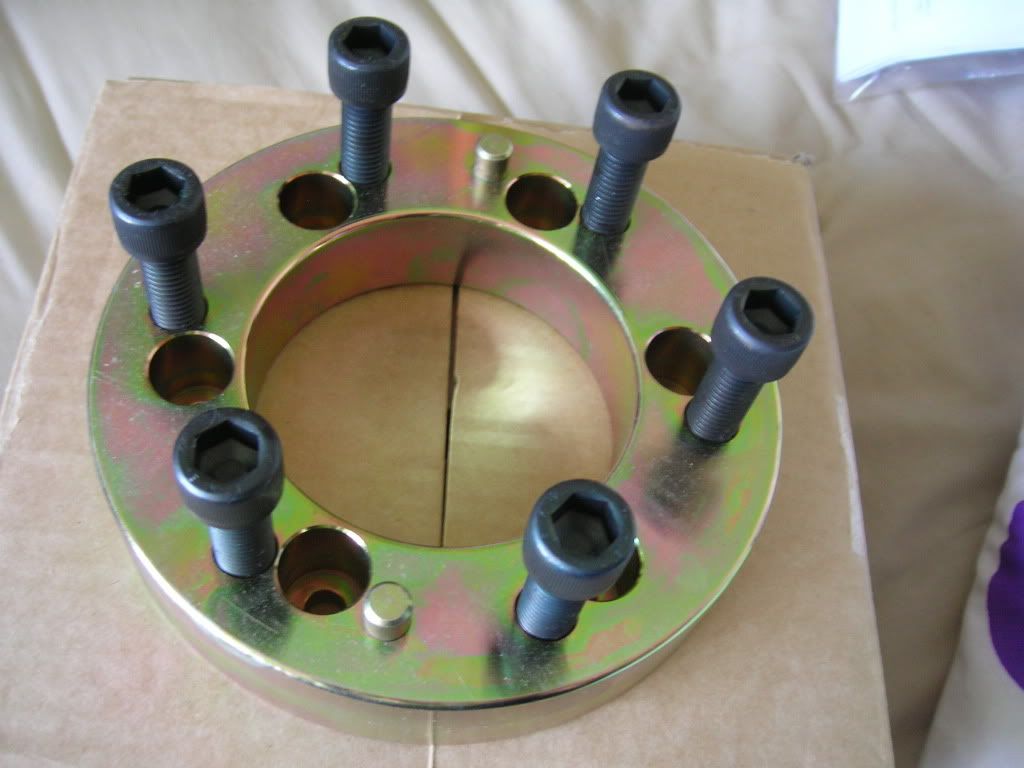
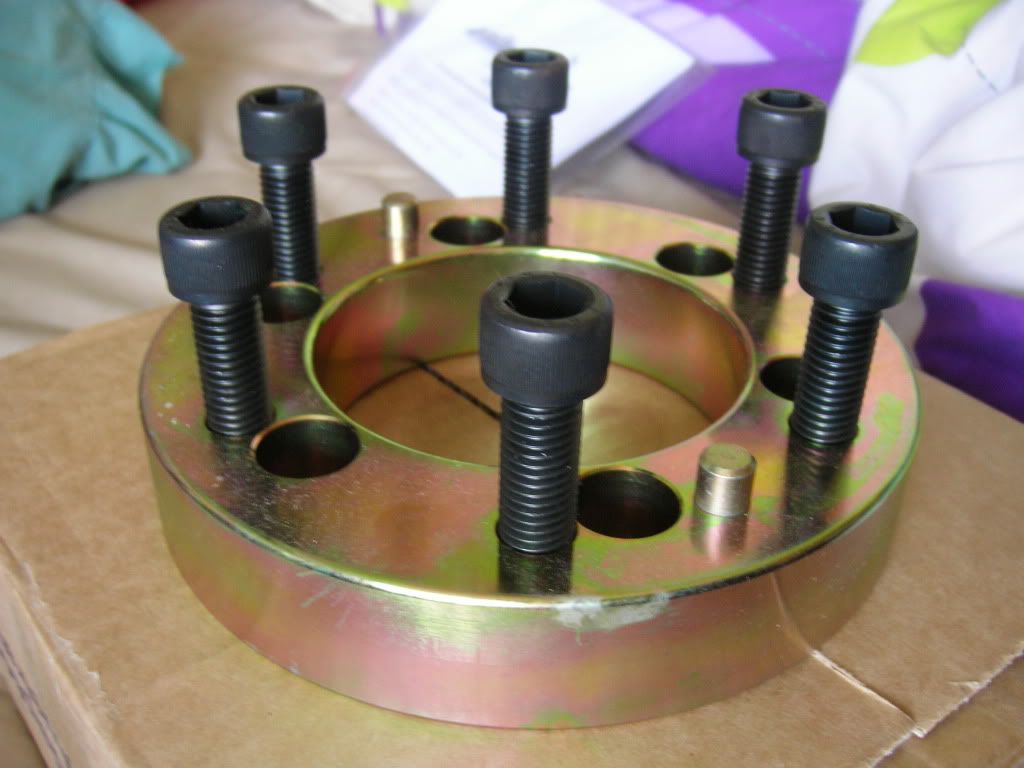
Your axle widening kit, I'm guessing thats for fitting IFS hubs to get the wider track....who made that kit? and how much?
I've got the ifs hubs ready to go for my 40, but need to start susing out which kit to get.
Re: sas shorty
Posted: Sat Jul 03, 2010 8:16 pm
by 95shorty
TWISTY wrote:Nice work!
Your axle widening kit, I'm guessing thats for fitting IFS hubs to get the wider track....who made that kit? and how much?
I've got the ifs hubs ready to go for my 40, but need to start susing out which kit to get.
these are the ones i got
http://www.marks4wd.com/products/Axle%2 ... dening.htm" onclick="window.open(this.href);return false;
Re: sas shorty
Posted: Tue Jul 06, 2010 9:02 am
by corolla68
Love the snorkel, can you let me in on how you connected it to the airbox though?? I cant woirk out how you connect a round pipe to the odd shape inlet on the factory airbox?
Cheers
Re: sas shorty
Posted: Tue Jul 06, 2010 3:08 pm
by 95shorty
corolla68 wrote:Love the snorkel, can you let me in on how you connected it to the airbox though?? I cant woirk out how you connect a round pipe to the odd shape inlet on the factory airbox?
Cheers
haha thats was the fiddely bit of the job, i cut a short section of the left over stainless up and made 4 cuts in the end of the pipe about 30 - 40mm long and bashed it into the same shape as the oval bit on the airbox and welded it back up and then riveted it to the plastic pipe and sealed it up with silicon and attatched the rest behind the guard with some flexy tube sealed it all up and she was away, seemed the easiest way at the time for ma anyway.

Re: sas shorty
Posted: Tue Jul 06, 2010 3:47 pm
by 57oky
got any pics of that?? I wouldnt mind seeing exactly how you did it????
Re: sas shorty
Posted: Tue Jul 06, 2010 5:39 pm
by 95shorty
57oky wrote:got any pics of that?? I wouldnt mind seeing exactly how you did it????
nah sorry i dont just quickly made it up to get it all working pretty simple though,
Re: sas shorty
Posted: Wed Jul 07, 2010 4:38 pm
by 95shorty
Re: sas shorty
Posted: Thu Jul 22, 2010 8:11 pm
by 95shorty
