My DIY dual battery install 02 GU patrol
Posted: Sun Sep 24, 2006 10:09 pm
Ok as im heading to moreton on wednesday I thought I'd better install a dual battery system to run my fridge and camping light.
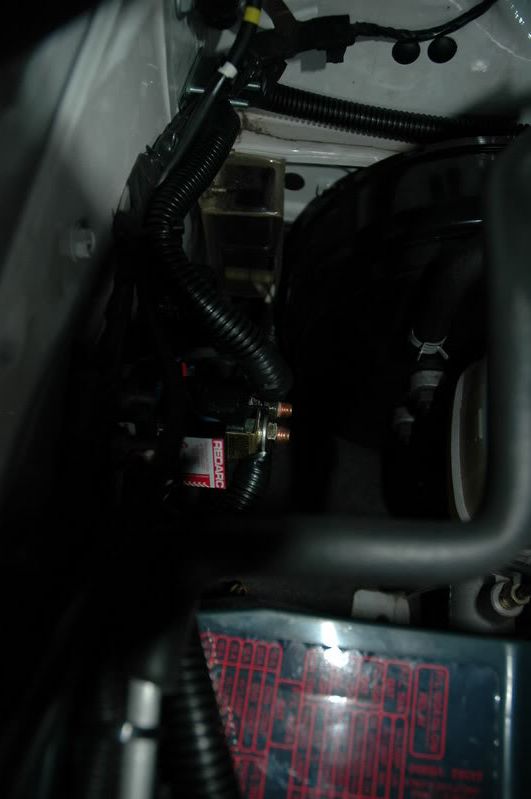
I used a Redarc Smart battery isolator, I chose the redarc because it performed well in my old GQ.
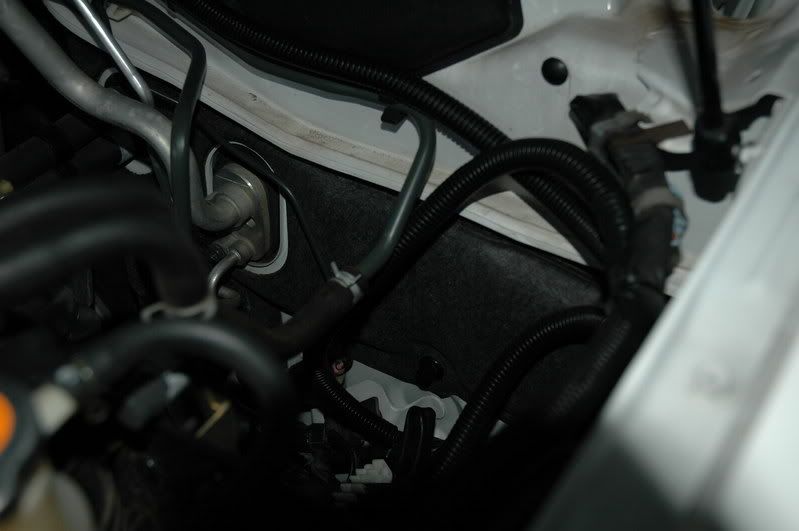
from the engine bay I ran the wires through the rubber boot
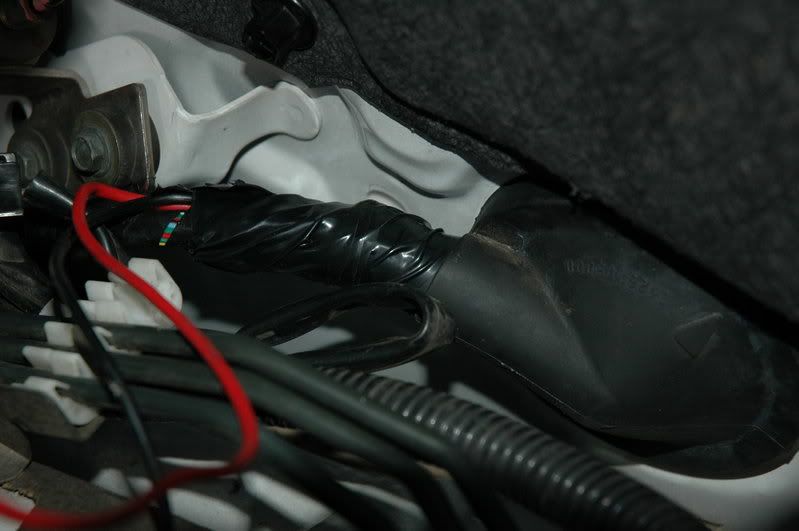 into the passenfer side foot well then along the side step into the rear down the passenger side foot well
I ran the wires to the spare access panel near the passenger side rear door.
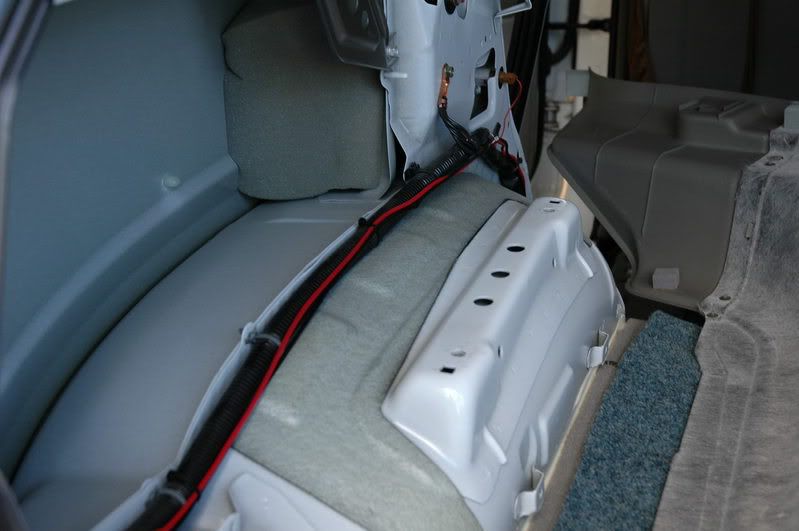
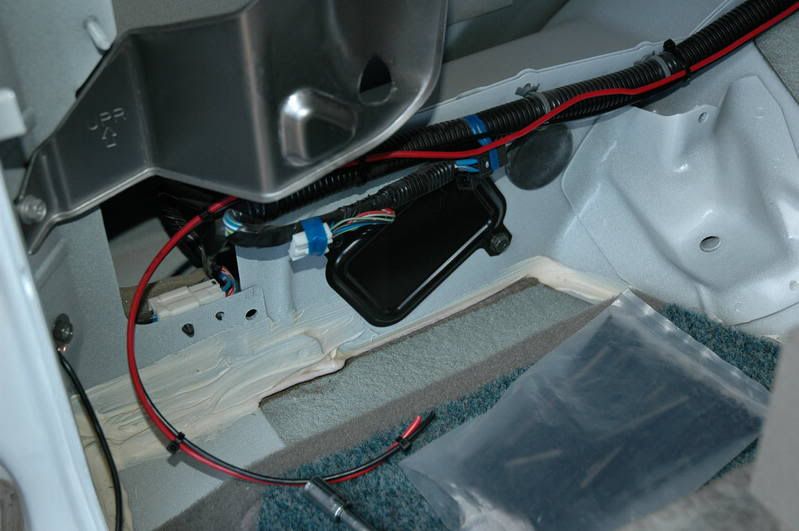 more to follow
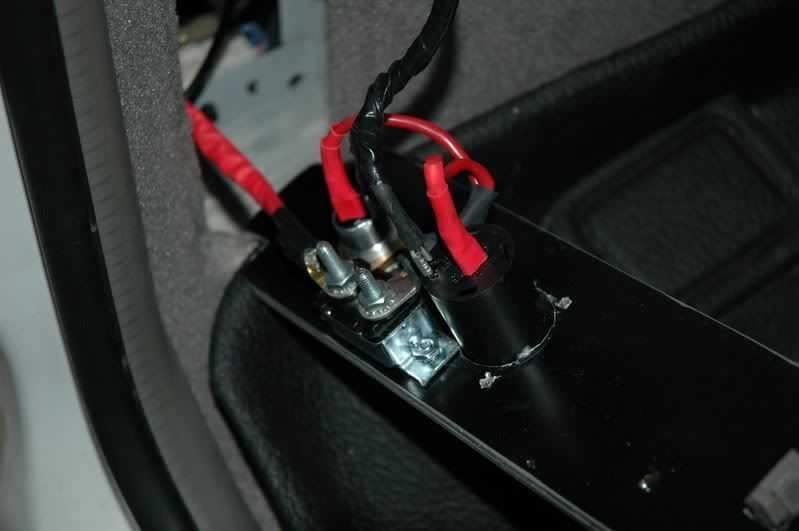
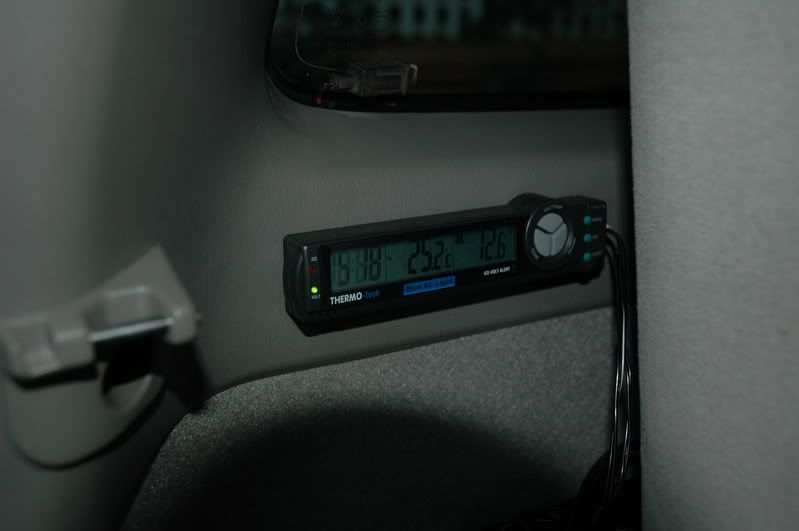
I made a new plate from aluminium and painted it grey to match the interior.. it still pretty rough and i will pretty it up when i get home Both plugs have an automatic reset fuse behind the panel.
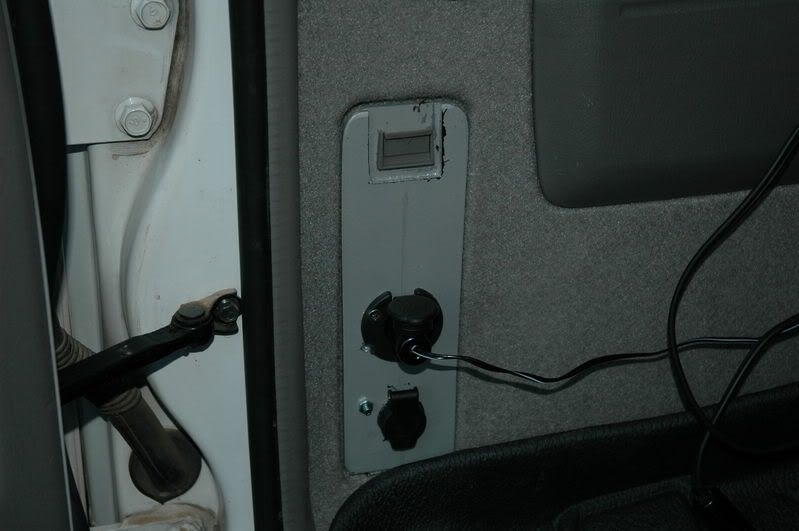
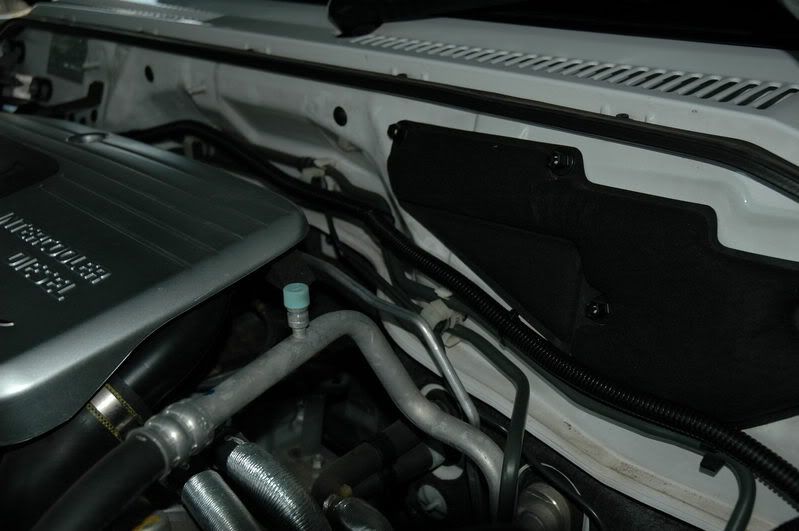
in the engine bay the wire is run along the firewall in the black split tubing to tidy it up and zip tied
im pretty happy with the job so far and is as professional looking as I can get it.
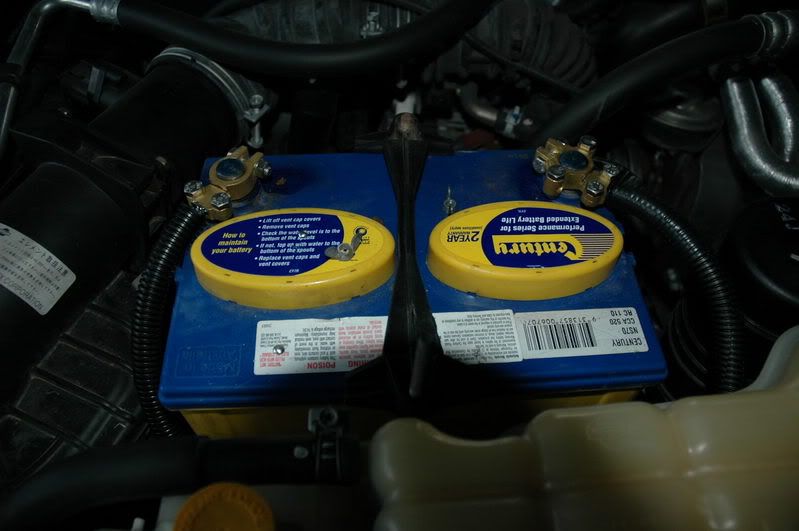
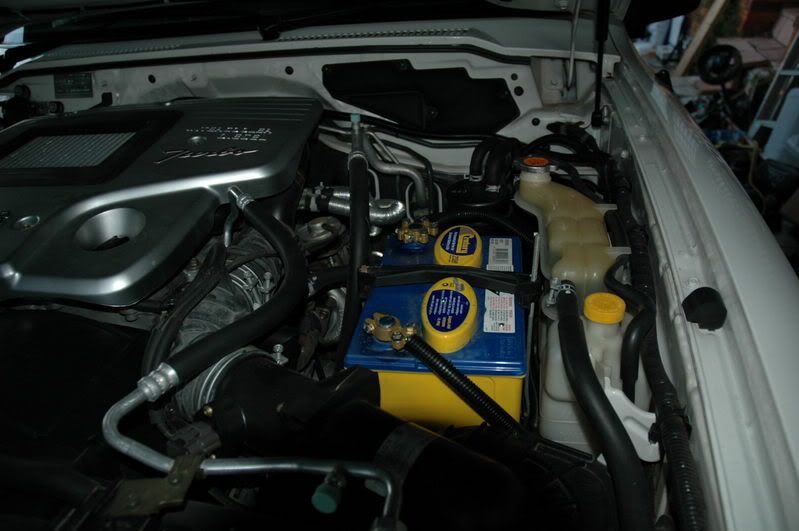
I would like to however swap the battery tray for a proper ARB dual battery tray as i have just used a generic supercheap one
I used a Redarc Smart battery isolator, I chose the redarc because it performed well in my old GQ.
from the engine bay I ran the wires through the rubber boot
 into the passenfer side foot well then along the side step into the rear down the passenger side foot well
I ran the wires to the spare access panel near the passenger side rear door.

 more to follow
I made a new plate from aluminium and painted it grey to match the interior.. it still pretty rough and i will pretty it up when i get home Both plugs have an automatic reset fuse behind the panel.


in the engine bay the wire is run along the firewall in the black split tubing to tidy it up and zip tied
im pretty happy with the job so far and is as professional looking as I can get it.


I would like to however swap the battery tray for a proper ARB dual battery tray as i have just used a generic supercheap one