Notice: We request that you don't just set up a new account at this time if you are a previous user.
If you used to be one of our moderators, please feel free to reach out to Chris via the facebook Outerlimits4x4 group and he will get you set back up with access should he need you.
Recovery:If you cannot access your old email address and don't remember your password, please click here to log a change of email address so you can do a password reset.

rear shock absorber replacement on wide track

Tech Talk for Ford, Mazda, Daihatsu & Makes that currently dont have a home.

Moderator: Tiny

Post Reply
Posts: 40
Joined: Sun Feb 24, 2008 3:23 pm
Location: brisbane

rear shock absorber replacement on wide track

Post by rentonpeter »

i found some new monroe gas shockies on e-bay for $25 to replace the stuffed standard ones for the time being till i can lift it a bit. had my camera handy when i replaced them so i thought id do a little story about it :P i know most people here could do this job in their sleep but may make it easier for someone contemplating it who hasnt done it before or photos may be good for someone who wants underbody shots of a WT.


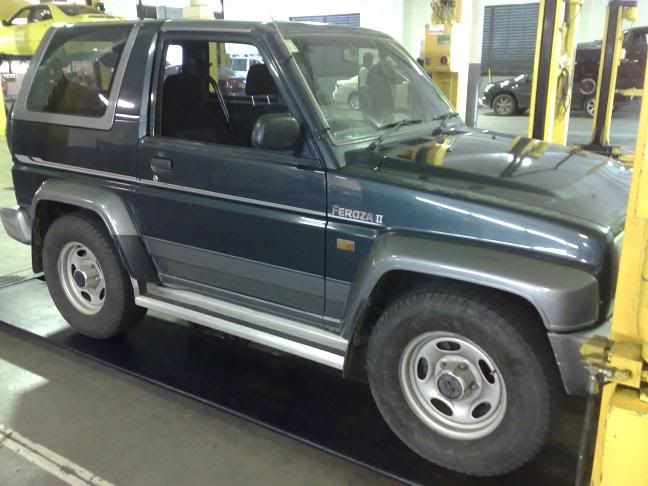
to start with it helps if you have access to a hoist (4 post is the best for this) or workshop however it works just as easily on the ground.

Image

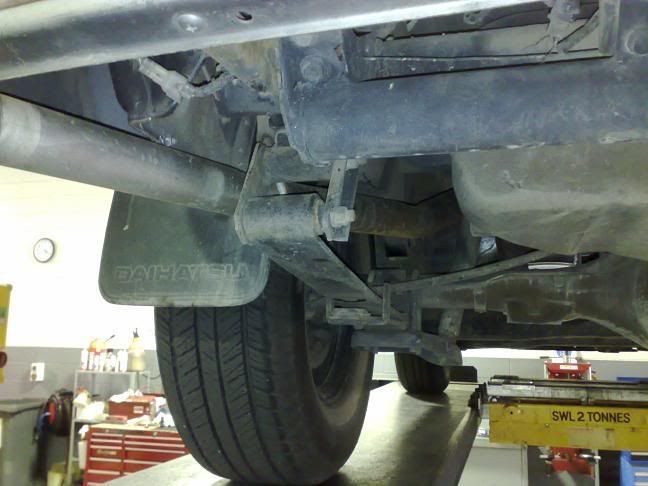
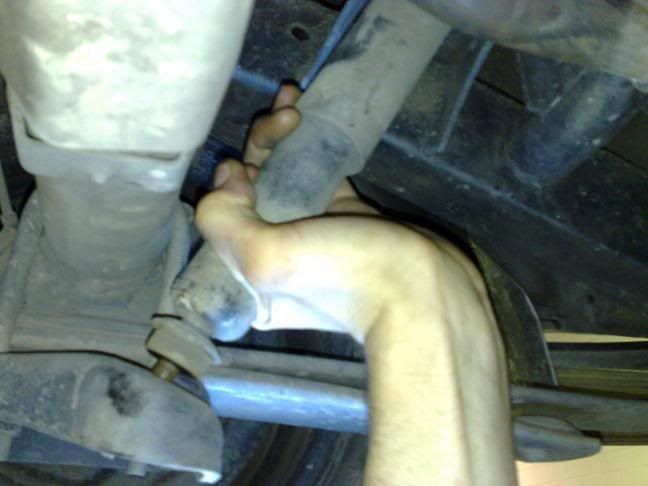
once you can get under the car identify the 2 mounts for the shock absorber; one at the top and one at the bottom (bottom one shown)

Image

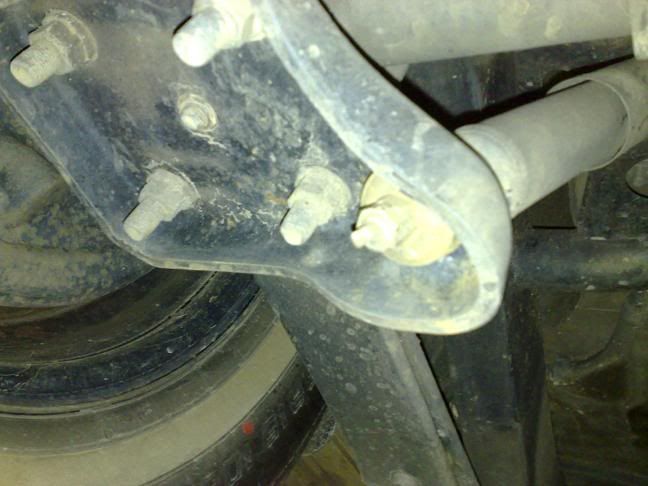
undo the nuts at the bottom and the top. (the shock absorber won't fall out as it has a tendancy to expand) a socket can be used for the bottom however space if limited up top so a spanner will have to be used. the nut size should be a 14mm if factory shocks are still fitted.

Image

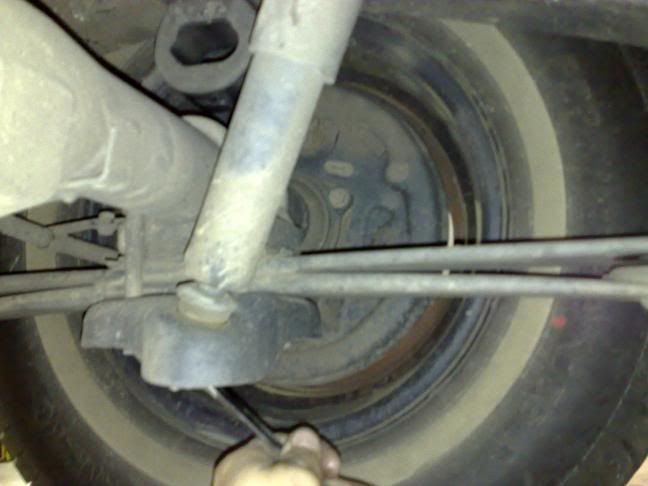
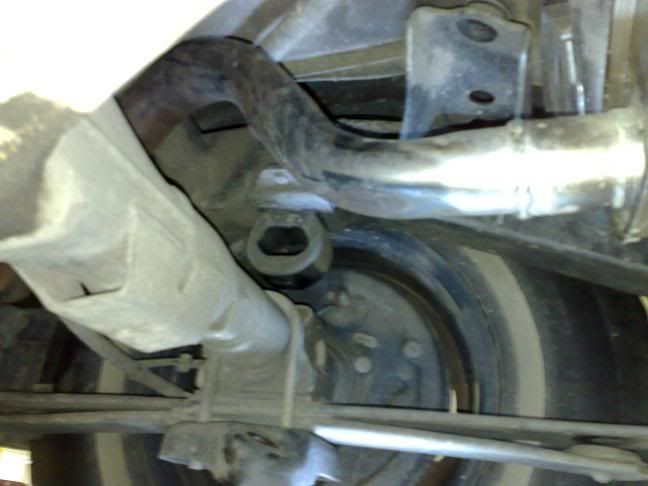
if the shock absorber just spins and you cant get the nut loose there is a tab on the end of the threaded section which you can put something like vise grips onto to hold it still. (sorry bout the blur! as you can see there is rust eating through the mounting point)

Image

grab the base of the shock absorber and push upwards making sure you have a good hold and solid footing. once you have compressed it past the mounting point pull it sideways and let it expand and remove it.

Image

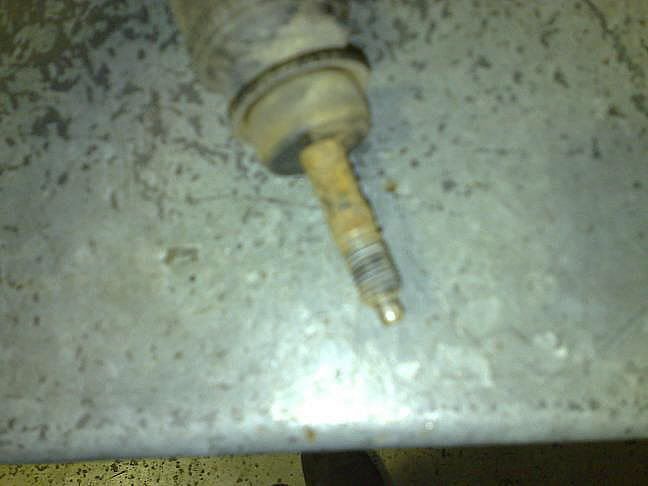
once you have one removed check it against the new part to make sure its correct as its easier to check now then getting under the car and seeing it doesn't fit, getting back out and swearing when its the wrong part.

Image

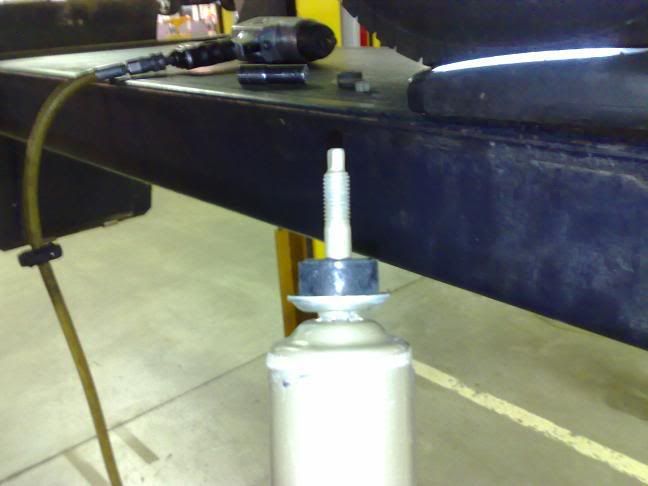
Make sure when fitting the new shock absorbers the new bushes are fitted with the bush cups having the correct orientation. its easier to fit them before getting under the car. (they will stay on as they fit snug on the mounting shaft).

Image

fit the new shock absorber the same way as you took the old one out; by fitting the top first and compressing up against the top mount. Move the shock absorber into position and let it expand into place. make sure you have fitted it the right way up!

Image

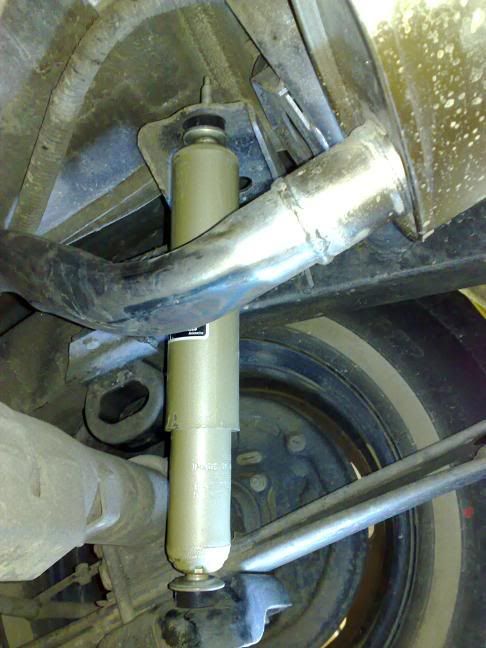
fit the outter bushings on the shock absorber mounts and tighten with new nuts. nylock nuts should be used to reduce the chance of them becoming loose. make sure the bushing cup is fitted before the nut is installed. Be careful not to over tighten the nuts as this can increase the chance of the bushes splitting. make sure there is firm, slightly compressed contact between the bushings and the cups and the locking nut will keep in position.

Image

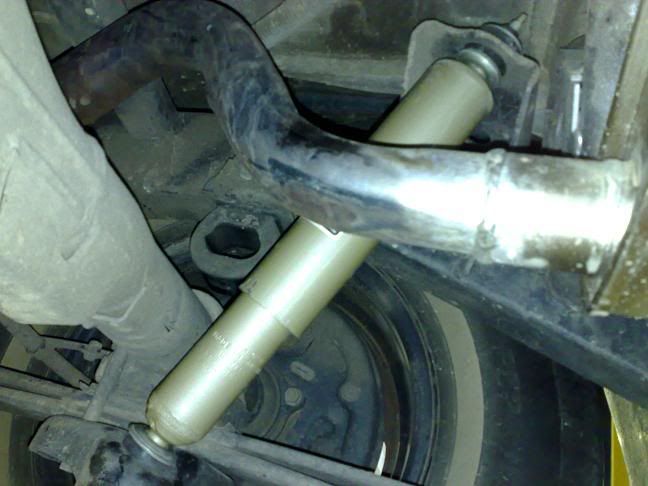
and now one side is done!!! get stuck into doing the other side and make sure your careful of brake and fuel lines !


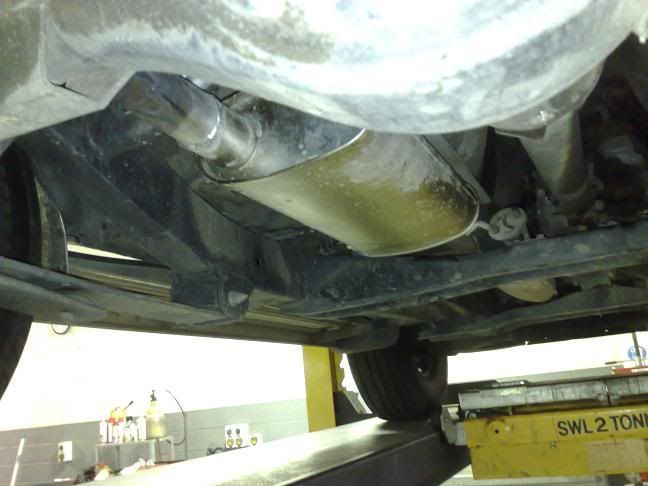
while i still was taking photos so here is a couple of photos of the new 2' exhaust (will get the cat forward done when the motor rebuild is done so i dont clog a new cat with oil residue)

Image
Image
Image
Posts: 2297
Joined: Mon Mar 06, 2006 1:23 pm
Location: Melbourne-Australia

Post by MightyMouse »

Don't worry about those that have done this before - I'm certain that those that haven't and need a bit of guidance will appreciate it.

If you have a narrow track the shock bottom is an eye not a pin but its essentially the same process as shown.

I found Feroza's to be very sensitive to rear shocks, getting it right makes a huge difference to ride especially on corrugations.
( usual disclaimers )

It seemed like a much better idea when I started it than it does now.
Posts: 40
Joined: Sun Feb 24, 2008 3:23 pm
Location: brisbane

Post by rentonpeter »

i have alot of different things to do on the feroza so i might do a few more photo guides. like with some things, alot of people will have done it, but for things like gearbox rebuilds and the like some more people may be interested to see how it goes.
Posts: 136
Joined: Tue Nov 27, 2007 7:58 am
Location: Whangarei NZ

Post by meece4x4 »

ironic :lol: im replacing the rear shocks today on mine ...cheers for that :D

just as a matter of interest are you allowed to run your cars without cats over there? here in NZ you can get away with not having a cat if it's pre 95, the little Fez 1600 produces about 35% more power, loads more torque, and is far far more economic (mine averages 8.5 litres per 100km @ 90-95kph) with the cat removed and free flow cobys fitted on starndard pipe,
as a matter of interest the factory claims 12 litres per 100km!!!!!!!!!!
_________________
1988 LWB ,IFS, LSD, POS, PAJ, 31" M/T's on bling rims, Snorkel, 2" Lift ,new shocks ,XD9000 winch
Posts: 40
Joined: Sun Feb 24, 2008 3:23 pm
Location: brisbane

Post by rentonpeter »

if your vehicle was fitted with a cat when new then it requires one over here :( some commercial vehicles don't have them from factory however. unfortunately wouldn't help me much because mines a 96! doh!
Posts: 3132
Joined: Wed Sep 28, 2005 3:22 pm
Location: Newy

Post by HotFourOk »

Is it just me, or does that bumpstop look really close to the axel tube? Is that all the gap they have standard?
[quote="RockyF70 - Coming out of the closet"]i'd be rushing out and buying an IFS rocky[/quote]
Posts: 136
Joined: Tue Nov 27, 2007 7:58 am
Location: Whangarei NZ

Post by meece4x4 »

HotFourOk wrote:Is it just me, or does that bumpstop look really close to the axel tube? Is that all the gap they have standard?
taking into account that i have a 2" lift and one extra leaf pack in my 300, i think that one is a little lower than normal, not by much though and no they dont have a lot of clearance however the bump stop does compress another inch or so if you go fast enough over a bump :D

as you can see in the photo the bumpstops do get a fair bit of polishing ;)

As a matter of interest does anyone know if you can make Zook Vitara rear shocks fit a f300, the vitara shocks have a steel sleave through the rubber eyelet at the bottom that dosnt fit over the pin on the Fez, has anyone had any luck knocking the rubber out of them and refitting the Fez rubber?
_________________
1988 LWB ,IFS, LSD, POS, PAJ, 31" M/T's on bling rims, Snorkel, 2" Lift ,new shocks ,XD9000 winch
Posts: 40
Joined: Sun Feb 24, 2008 3:23 pm
Location: brisbane

Post by rentonpeter »

yes, unfortunately my springs, like many other things on the car, need replacing as they are getting saggy :( looks even worse due to the alloy sidesteps. i intend to make sliders and front and rear bar once the motor is fixed and the suspension/ body lift is done but have to do it all in order. 235/75r15's only just fit at the moment without scrubbing.
Post Reply

Who is online

Users browsing this forum: No registered users and 9 guests