Notice: We request that you don't just set up a new account at this time if you are a previous user.
If you used to be one of our moderators, please feel free to reach out to Chris via the facebook Outerlimits4x4 group and he will get you set back up with access should he need you.
If you used to be one of our moderators, please feel free to reach out to Chris via the facebook Outerlimits4x4 group and he will get you set back up with access should he need you.
Recovery:If you cannot access your old email address and don't remember your password, please click here to log a change of email address so you can do a password reset.
Manual 80 Series Body lift
Moderators: toaddog, Elmo, DUDELUX
Manual 80 Series Body lift
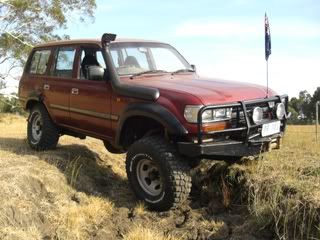
hi all, just completed a 2" body lift on my 80 series. anyone who would like information regarding any part of this modification please ask.
-dave
-dave
loose as a goose
i guess I'll just run through it. - don't have airbags.
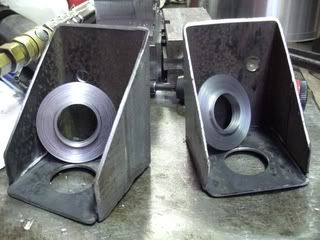
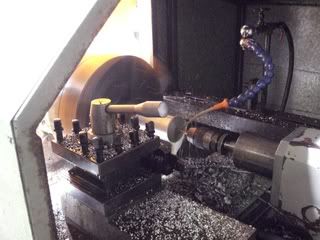
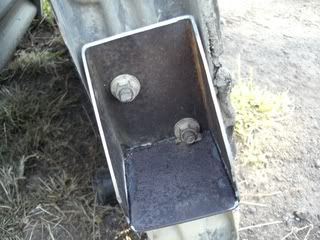
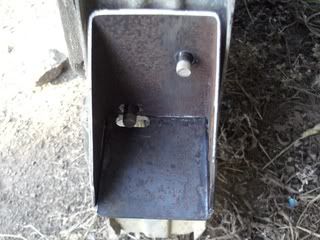
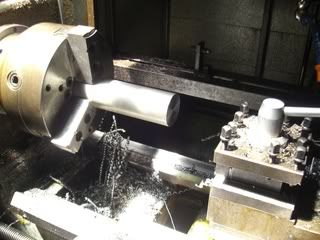
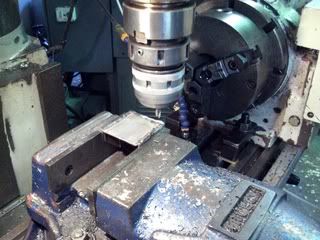
the lift itself was straight forward enough. all components (other than the bolts) i manufactured myself.
the bolts are high tensile untreated - i had them electroplated zinc cromate (i think). **the standard bolts i removed were in very poor condition. the two front bolts had severe corrosion and 3 others sheared off whilst undoing.
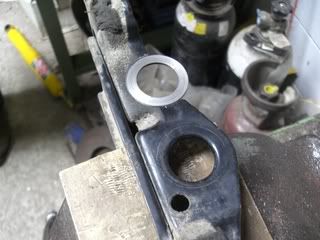
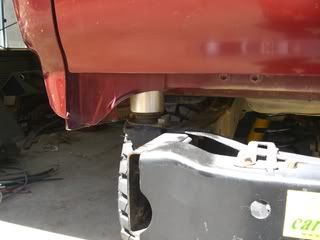
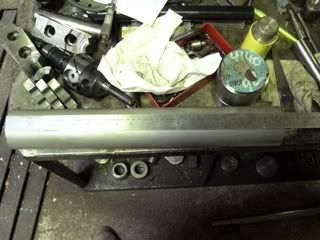
the blocks i made up out of aluminum - 2". from memory the front and rear blocks were a different diameter to the rest.
complications that arose were: steering shaft through firewall, transfer lever, gearstick, radiator, air conditioning bracket and heater hose.
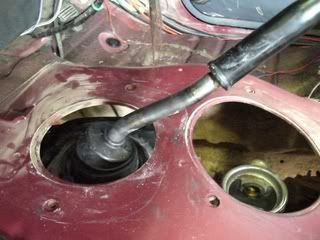
the steering shaft was a hassle as the seal needed to remain perpendicular to the shaft after the lift. unfortunately Toyota changed the design from older LC's to put the second uni joint inside the vehicle. this was catered for by relieving the existing hole, removing the existing anchor nuts and replacing them with re-manufactured ones lower, making a spacer to allow for the original brackets geometry and re-installing.
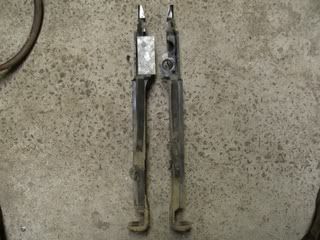
the transfer lever was easy. i cut the splined shaft just below the upper joint. machined a spacer the same length as the lift fitted and welded it in.
i heated the gearstick with an oxy and bent it to the correct position. **if doing this, wrap the stick with a wet rag to prevent melting the rubber inside.
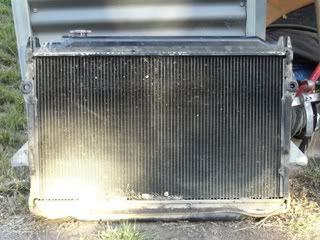
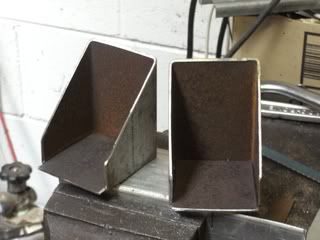
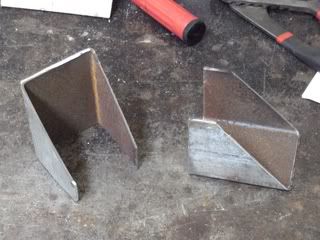
with the radiator, the two lower brackets were completely remade. accommodating the lift, the radiator was lowered relative to the body by the lift amount. the two upper mounts were repositioned the same distance and were reinforced - they still retain the existing mounting holes on the body including the rubber blocks.
the bracket that supports the air conditioner line from the firewall to the compressor has a bracket that attaches to the top of the shock tower. i just remade the same bracket to accommodate the lift.
heater hose was replaced with a longer piece.
took me 3 full days to do the job properly and with the right tools. i don't know how most people do it without a machine shop.
probably wouldn't take me as long now that i know how to do it **shrugs**
i don't know how to add photos so if you want any just pm me with your email address.
any other questions just ask.
-Dave
loose as a goose
Guys i found this page on outer when i was doing my lift the other month, pretty much all you need to know.
http://lbd.end0.net/
Wouldnt advise on round blocks, not enough surface area to spread the weight of body an will punch through eventually.
http://lbd.end0.net/
Wouldnt advise on round blocks, not enough surface area to spread the weight of body an will punch through eventually.
1993 80 series, 4" tough dog adjustable bb lift kit, LPG, 35" MTR'S
brooksy wrote:Branden Tagg.....He is the King of all f@rkups & a Gimps bitch after hours
Round tends to be better than square. There is a reason all factory body mounts are round!djroberts wrote:yeah, i found this link and used it until i realised the guy had taken short cuts in a few instances.
i'd never heard of useing non-round blocks, please explain? the ones i machined were original diameter and i kept the factory rubber.
cheers
-Dave
hands and mums dont count!!!
If your high tensile bolts had a tensile strength greater than 1000MPa (145KSi) ie: greater than Grade 8 or Class 10.9, I'd be removing them and replacing with untreated high tensile bolts with appropriate anti-sieze.djroberts wrote: the bolts are high tensile untreated - i had them electroplated zinc cromate (i think). **the standard bolts i removed were in very poor condition. the two front bolts had severe corrosion and 3 others sheared off whilst undoing.
Electroplating high tensile bolts introduces hydrogen to the surface of the bolt, particularly around irregularities and inclusions, causing a reduction in ductility and tensile strength. Commonly known as Hydrogen Embrittlement, it will reduce the strength of your bolts and can cause brittle failure at stresses far below the rated tensile strength.
Just worth keeping in mind whenever using bolts in a highly stressed environment, especially if exposed to corrosion.
I'd hate for your 80 series body to one day depart from the rest of the car, it looks like you've put in a lot of quality work.
Cheers.
Daniel
1HD-FT SWB 70 Series
Hi smithie,
thank you for drawing my attention to this. Unfortunately I hadn't considered the idea of hydrogen embrittlement and have since spoken to my electroplater. He informed me that in the cleaning process the bolts are indeed exposed to hydrogen and can cause undue failure. Generally, he said, if they (the electroplater) realise the bolts are high tensile they will de-embrittle them. This is done by cooking the bolts in an oven for about an hour at approximately 200 degrees C - this removes the Hydrogen from where it combined with the Carbon. He suggested I could do this myself however, I am now uncertain of the bolt's reliability considering they have been stressed (torqued) already.
I think the best line of action is to get new bolts and have them treated accordingly ie: throw the old ones out!
By the way, during the nights i was making the lift i had dreams that i had forgotten to tighten the bolts and the body did part from the chassis mid-way through a corner - maybe a sign??
thanks once again - Dave
thank you for drawing my attention to this. Unfortunately I hadn't considered the idea of hydrogen embrittlement and have since spoken to my electroplater. He informed me that in the cleaning process the bolts are indeed exposed to hydrogen and can cause undue failure. Generally, he said, if they (the electroplater) realise the bolts are high tensile they will de-embrittle them. This is done by cooking the bolts in an oven for about an hour at approximately 200 degrees C - this removes the Hydrogen from where it combined with the Carbon. He suggested I could do this myself however, I am now uncertain of the bolt's reliability considering they have been stressed (torqued) already.
I think the best line of action is to get new bolts and have them treated accordingly ie: throw the old ones out!
By the way, during the nights i was making the lift i had dreams that i had forgotten to tighten the bolts and the body did part from the chassis mid-way through a corner
thanks once again - Dave
loose as a goose
Your correct in that Hydrogen Embrittlement can be relieved by baking, however it needs to be a controlled process with a number of variables based on the tensile strengh, hardness and the applied electroplating process, (ie: cadmium, zinc etc). For a tensile strength of 1000-1100MPa, and hardness of 31-33HRc it requires baking at between 190-220degC for a minimum of 8 hours (as per ASTM B 850-98)
The catch is that most parts require de-embrittlement within 1-4 hours.
In short, if your bolts were of the grade mentioned previously, I'd suggest replacing them with new ones.
At least you'll be able to sleep better
Glad to help.
Daniel


The catch is that most parts require de-embrittlement within 1-4 hours.
In short, if your bolts were of the grade mentioned previously, I'd suggest replacing them with new ones.
At least you'll be able to sleep better
Glad to help.
Daniel
1HD-FT SWB 70 Series
Who is online
Users browsing this forum: No registered users and 2 guests
