Notice: We request that you don't just set up a new account at this time if you are a previous user.
If you used to be one of our moderators, please feel free to reach out to Chris via the facebook Outerlimits4x4 group and he will get you set back up with access should he need you.
Recovery:If you cannot access your old email address and don't remember your password, please click here to log a change of email address so you can do a password reset.

Home brew duals adapter

Tech Talk for Cruiser owners.

Moderators: toaddog, Elmo, DUDELUX

Post Reply
Posts: 234
Joined: Fri Jan 27, 2006 11:12 am
Location: NZ

Home brew duals adapter

Post by Turoa »

I thought I might stick up a little post about what ive been up to over the last week. It started off with buying a gbox and transfer off the net for $20 8) ....

Then I got the idea of dual transfers. Since I dont have any money I couldn't buy one, and since I have access to a great workshop, I decided to make one instead :wink:

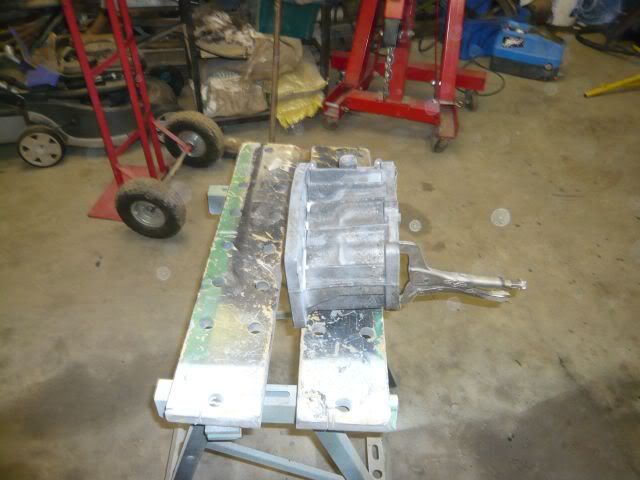
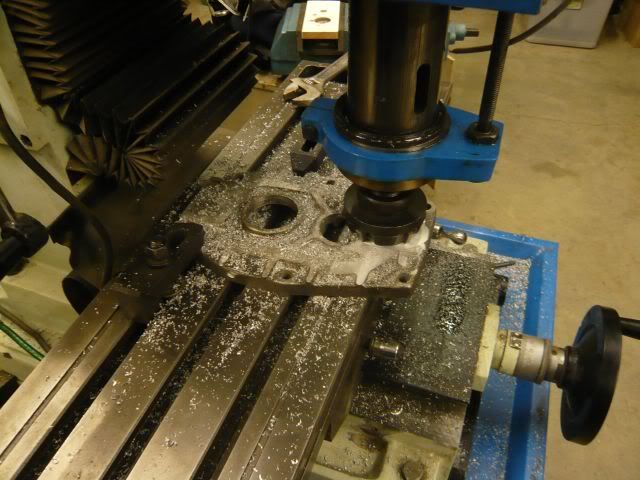
First off we start with the housing that goes between the Gbox and transfercase. The idea was to remove the flange and then mill it down flat. So out came the 9" and the mill
Image

Image

After milling it flat I started work on the output shaft.

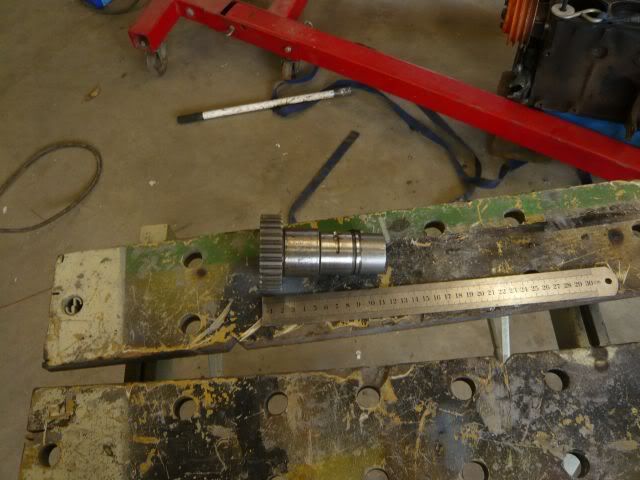
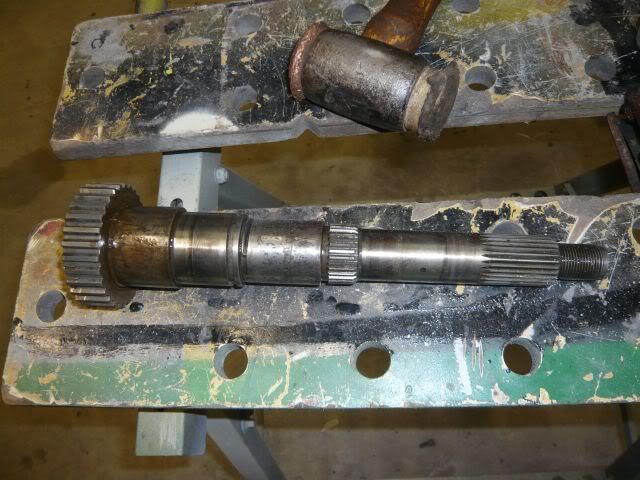
This is the standard output shaft
Image

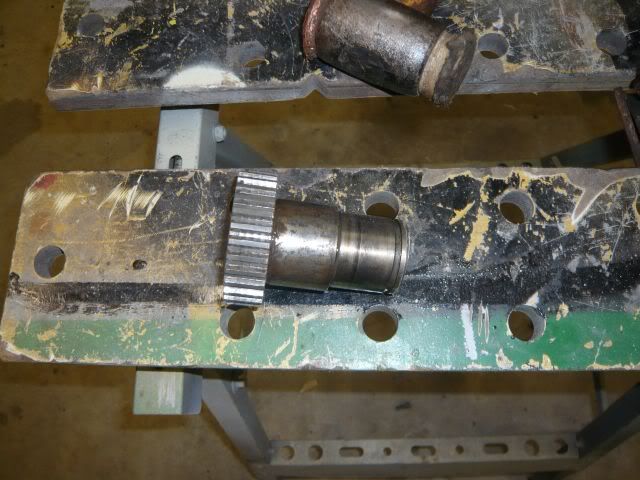
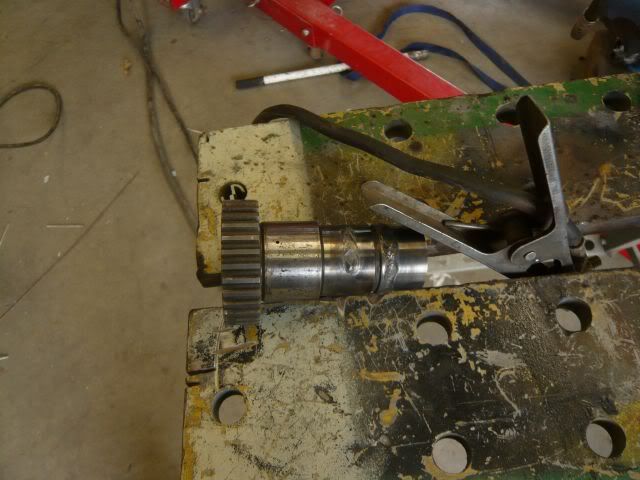
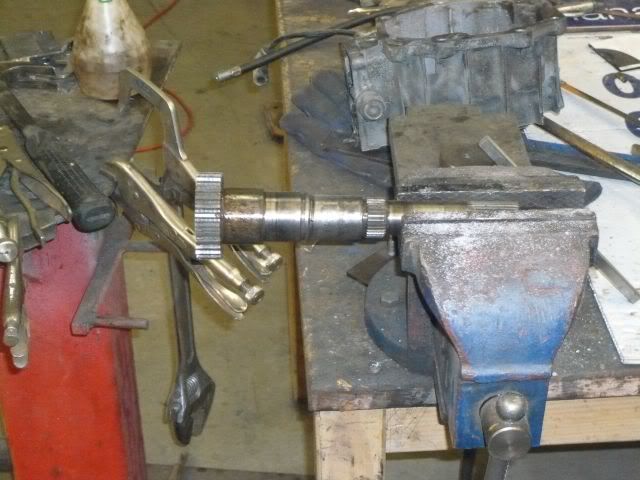
Then I cut it where it steps down next to where the circlip is to hold the bearing on it
Image

Image

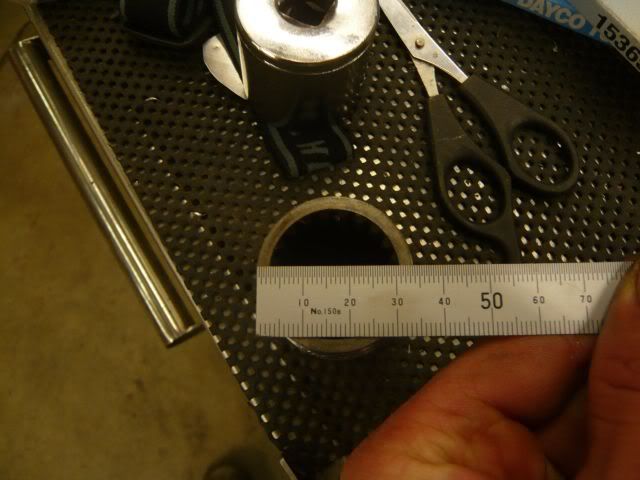
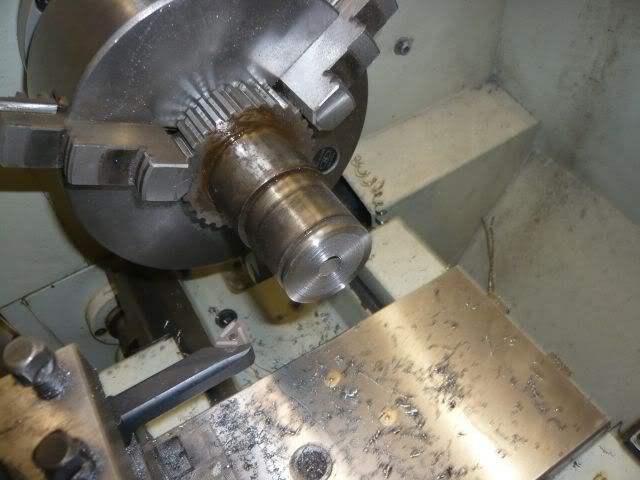
And then stuck it in the lathe and bored out the inside of it. I bored it to 34mm
Image

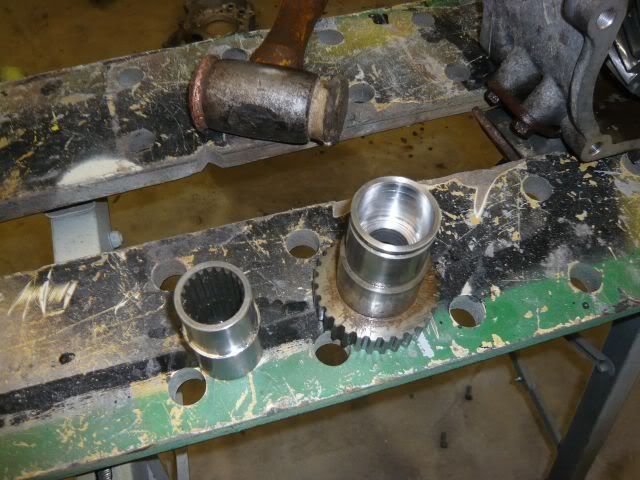
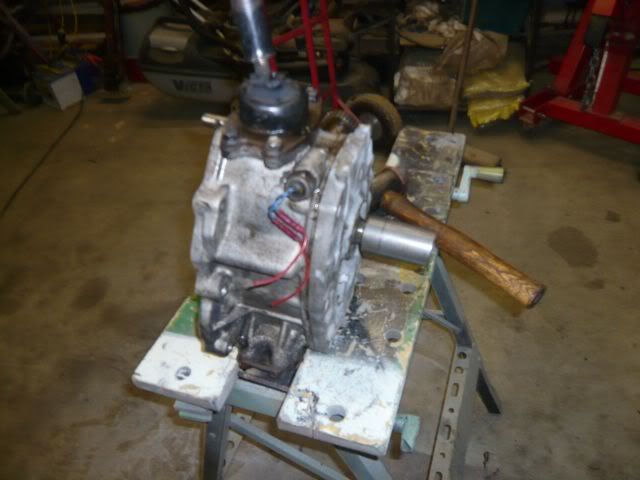
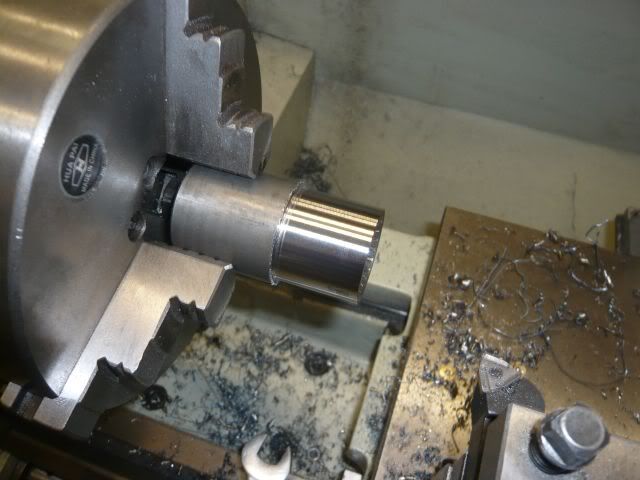
And then I took the standard coupler that goes between the gbox and xfer. This gets turned down to a press fit inside the outputshaft (I turned a little extra by accident, but it doesn't matter too much). Not shown in the chamfer I put in to assist penetration whilst welding.
Image

Image

Image

Here they are next to eachother

Image

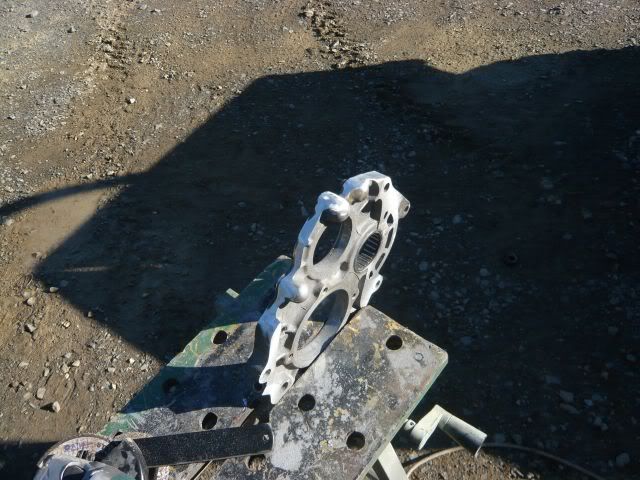
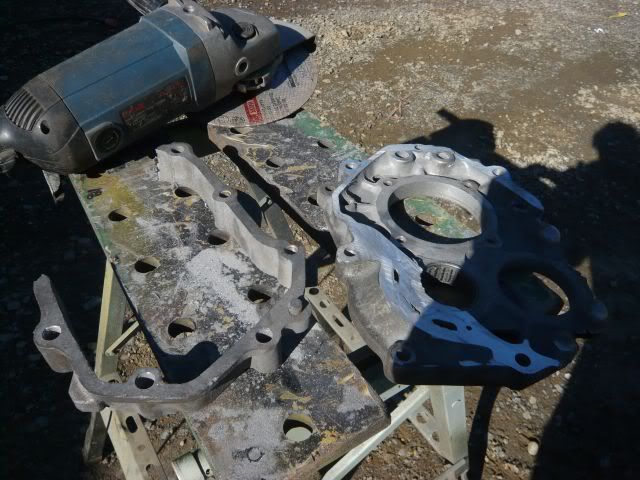
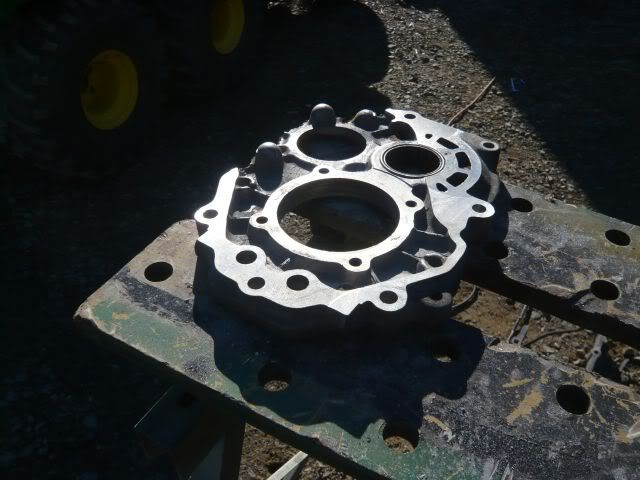
Next up it was time to start work on the 2nd flange used in my adapter. It is cut from the rear housing of the xfer and bolts on to the back of them.

I used the same technique of cutting with the 9" and then milling flat (you cannot mill the whole thing flat though). Remember first though to cut off the front output part (I used the plasma).
Image

Image

Image

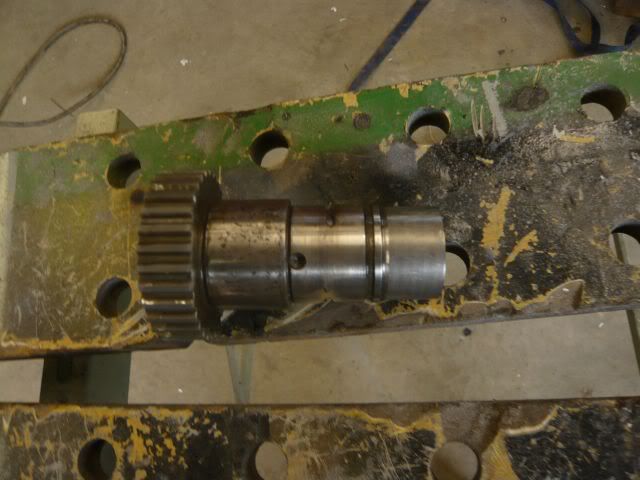
Next up I welded up the output shaft. I wanted to plug weld it but there was no way a drill bit was going through that hardened steel, so I used a 3mm cutting disc and cut 2 slots about 1" long each and welded through, and then turned it back down so the bearing and gears can pass over the top.

The bearing surface needs to be completely flat. Also at this stage harden to your liking.
Image

Image

Image

Next up it was time to start measuring. I ended up cutting a tad off the coupler to get it a bit shorter. Note it is possible to get it much shorter than I have done, but I have decided to leave it the length I have for a few reasons I won't go into. I ended up using some 50x6mm strap between the 2 flanges.
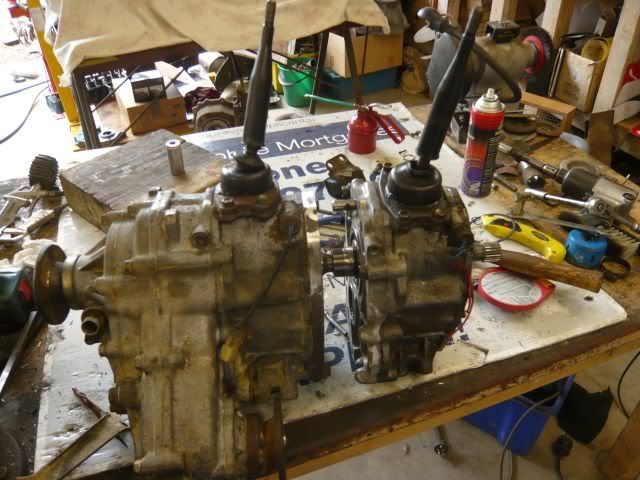
Image

Then I stood it on its nose and used various bits of 50mm strap around it and tacked some bits in place.
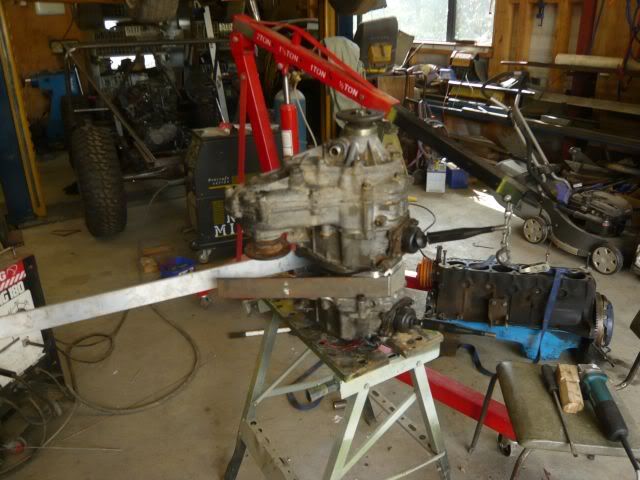
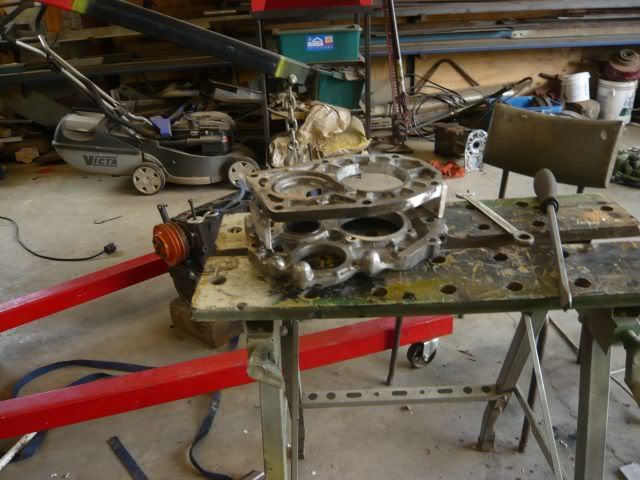
Image

Image

And then started filling in the gaps with more
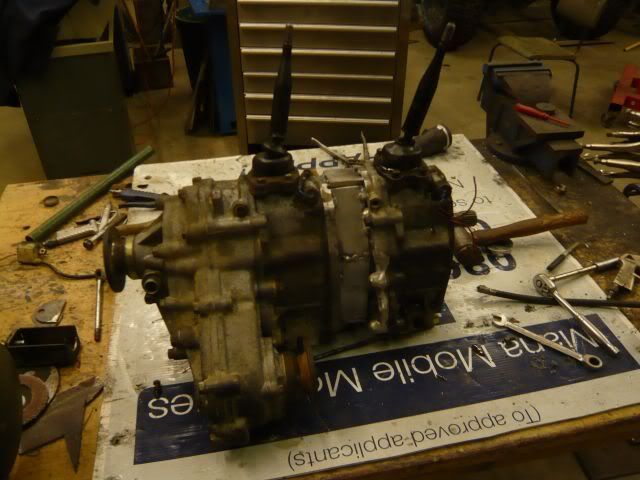
Image

This is rough guide on how I have done my duals adapter. Its not pretty but it works well and it was cheap. I thought it was a damn good bit of engineering for a 17year old :wink:

There are no finished pics yet as it is away getting welded (I am not competent enough on a tig to do more than tack). I did forget to mention though that I clocked it 10deg at the same time.

Let me know what you think :wink:
Posts: 15549
Joined: Tue Oct 22, 2002 9:23 am
Location: Your Mummas House!

Post by bj on roids »

To make it look better could you have left a bit of the housing on one end of your adapter (instead of using the 50x6 flat bar?)

Then you only have to Tig around one side.

I like it though... :cool:
hands and mums dont count!!!
Posts: 1039
Joined: Mon Mar 05, 2007 10:28 am
Location: On board the Mothership

Post by Harb »

Really like people having a go and making stuff themselves, good stuff :cool:
Harb

http://www.4wdmonthly.com.au/shed/index.php?id=2244&im=1
Posts: 6221
Joined: Tue May 31, 2005 12:51 pm
Location: Sydney

Post by v840 »

Fawk you for having access to a mill and lathe and tig and...........I pretty much just hate you. :finger:


Good job on the adapter though. Looks the goods. :cool:
|^^^^^^^^^^^^^^| ||
|.........SUZUKI..........| ||'|";, ____.
|_..._..._______===|=||_|__|..., ]
(@)'(@)"""''"**|(@)(@)*****''(@)
Posts: 416
Joined: Sun Jul 01, 2007 1:04 pm
Location: In a van down by the river.

Post by locktup4x4 »

Very Nice :cool: .

Jason
LOCKTUP4X4.COM.AU
LOCKTUPFABRICATION.COM
Twisted by Design
Posts: 2607
Joined: Tue Jul 15, 2003 12:52 pm
Location: Sunshine Coast QLD

Post by TWISTY »

:armsup: for thinking outside of the box and making it yourself!!!! :cool:
2012 FJ Cruiser
1984 BJ42 - Stretched and Coilovered
1977 HJ45
Posts: 1715
Joined: Tue Sep 06, 2005 8:38 pm
Location: at my wits end

Post by RED60 »

A couple of things to think about.

1. be careful when setting gears up in any chuck. It is possible for the teeth to to put you off centre if they don't sit properly in the jaws.

2. for accurate work 4 jaw chucks are better, I know they're a pain to set up but they are more accurate than 3 jaw, especially if you have to take the job out, do something, then place it back in the chuck.

3. if you stagered the welded cuts they MAY be a bit stronger.

This is not to criticise your work, just something to think about. As someone else said, good on you for havin' a go... :cool: :cool:
Show me the money..SHOW ME THE MONEY
Posts: 2347
Joined: Sat Jan 27, 2007 12:56 pm
Location: Perth

Post by Z()LTAN »

awsome mate.

I can see you becoming a new marks or marlins.

Keep on keeping on !
Locktup4x4.com.au - For all of your hardcore gear

Outlaws4x4.com
Posts: 234
Joined: Fri Jan 27, 2006 11:12 am
Location: NZ

Post by Turoa »

Cheers for all the compliments guys. I enjoy engineering stuff. Its the mechanical side of 4x4's I hate.
To make it look better could you have left a bit of the housing on one end of your adapter (instead of using the 50x6 flat bar?)

Then you only have to Tig around one side.
Yep i did look into that but by the time I shopped out enough to make way for the bolt holes there ended up not being much left of the original case so I opted to just mill them flat.
A couple of things to think about.

1. be careful when setting gears up in any chuck. It is possible for the teeth to to put you off centre if they don't sit properly in the jaws.

2. for accurate work 4 jaw chucks are better, I know they're a pain to set up but they are more accurate than 3 jaw, especially if you have to take the job out, do something, then place it back in the chuck.

3. if you stagered the welded cuts they MAY be a bit stronger.

This is not to criticise your work, just something to think about. As someone else said, good on you for havin' a go... Cool Cool
Yep I was wary of the teeth putting it out of whack, but I beleived it to be close enough (is going in a bush truck after all). Next time I probably will do it in the 4 jaw though just to be more accurate.

Cheers for the criticism though. Its the only way we learn :cool:
Posts: 15549
Joined: Tue Oct 22, 2002 9:23 am
Location: Your Mummas House!

Post by bj on roids »

Send it over to me I will tell you if its any good or not.
hands and mums dont count!!!
Posts: 595
Joined: Sat Nov 02, 2002 2:09 pm
Location: Blackbutt, Queensland

Post by v8zuki »

i too can also help with testing ;) ;)
top job
FOR SALE hilux parts all models
have most parts available from early to late
call mick 0415156693
Posts: 837
Joined: Sat Aug 16, 2008 5:41 pm
Location: out playin

Re: Home brew duals adapter

Post by stock 4runner »

hey mate how did you go with this? did it work as you thought?
Rims flipped from $50
Post Reply

Who is online

Users browsing this forum: No registered users and 9 guests