Notice: We request that you don't just set up a new account at this time if you are a previous user. If you used to be one of our moderators, please feel free to reach out to Chris via the facebook Outerlimits4x4 group and he will get you set back up with access should he need you.
Recovery:If you cannot access your old email address and don't remember your password, please click here to log a change of email address so you can do a password reset.
Now that my last project a BMW with an Nissan RB20 engine conversion is complete here is the next one, with a Nissan flair again.
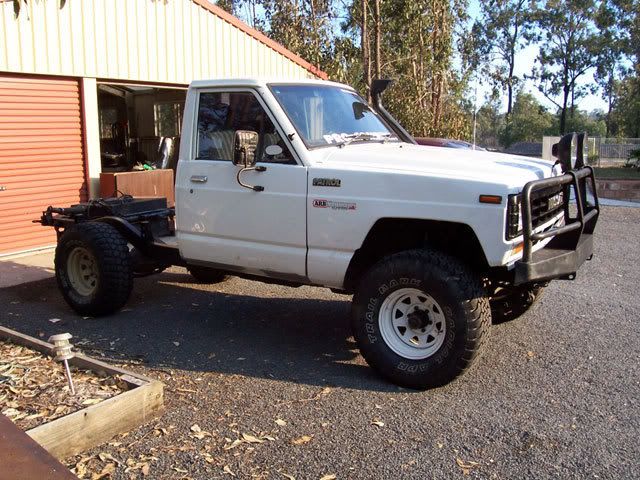
Here we have a leaf sprung MQ ute, it is getting a triangluated 4 link rear.
Now on to the pics.
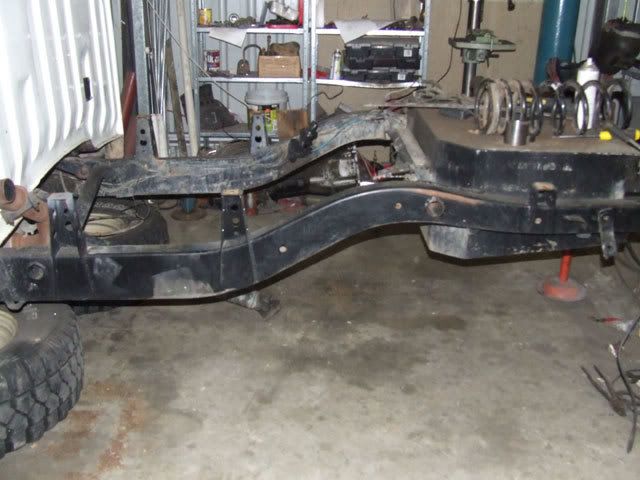
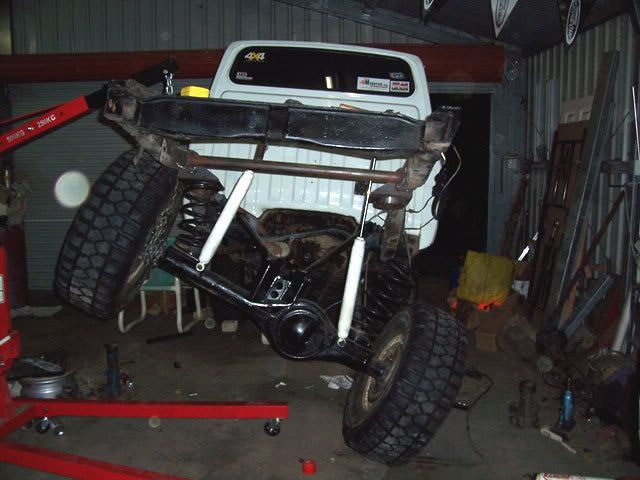
Here is the victim
Another shot showing the original leaf suspension
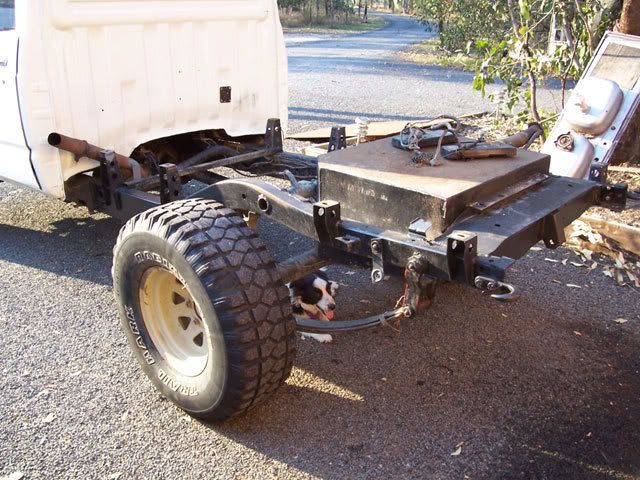
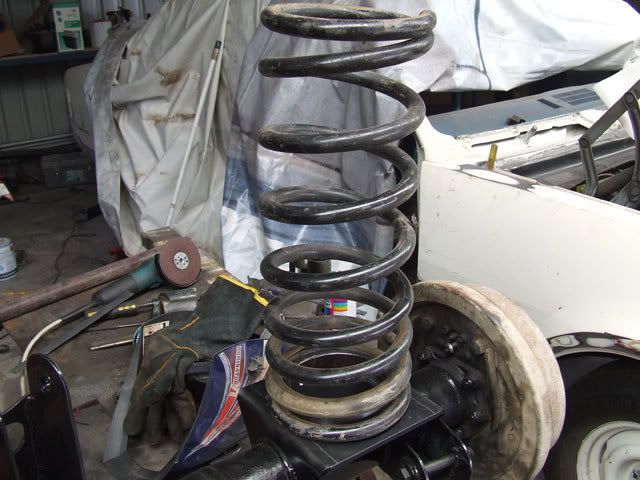
Stripping the rear end apart
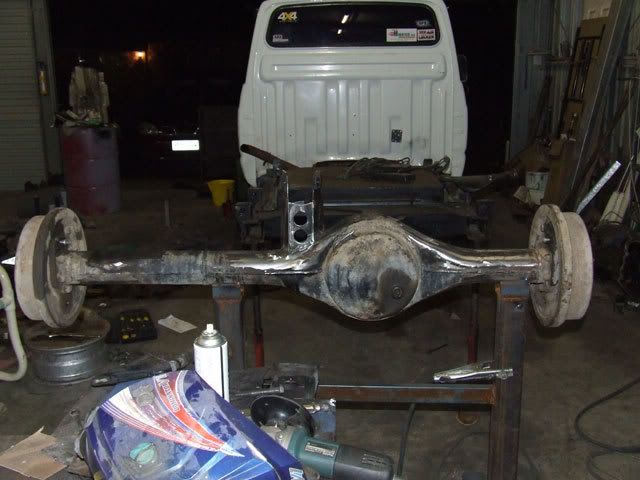
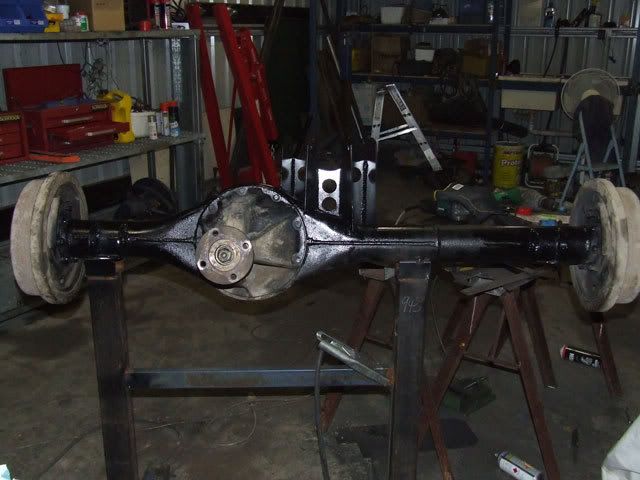
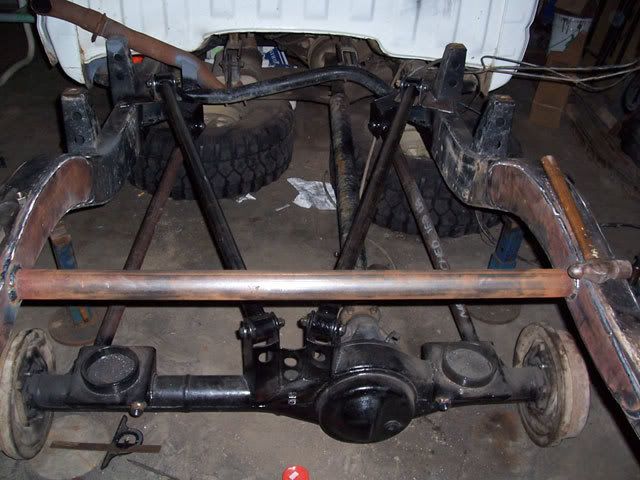
Housing out from under the patrol amd all unnessary mounts removed
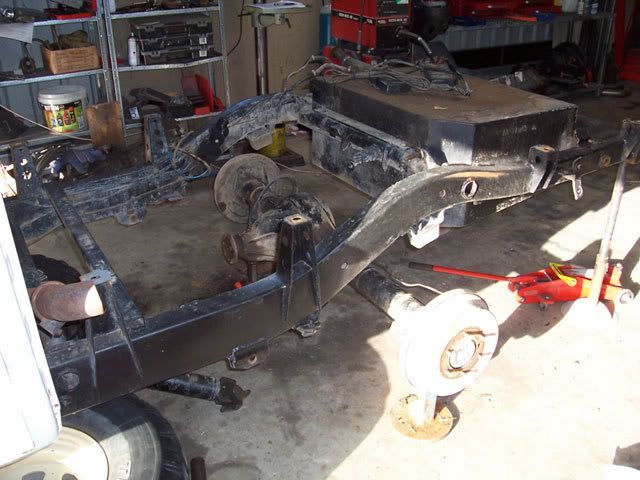
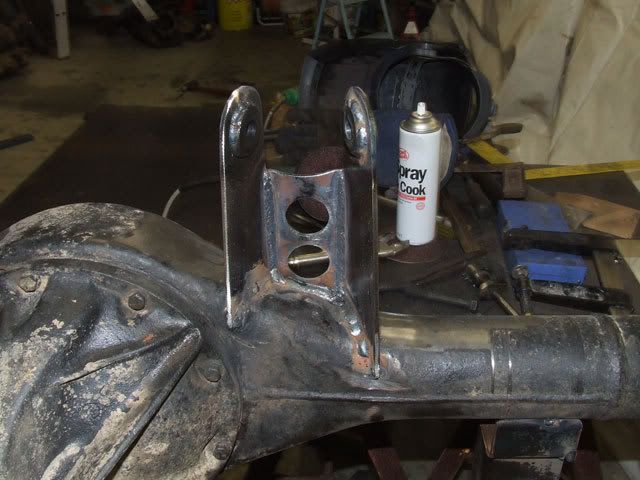
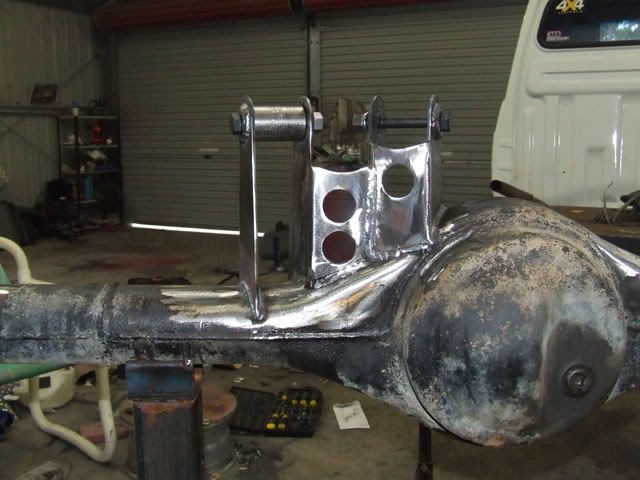
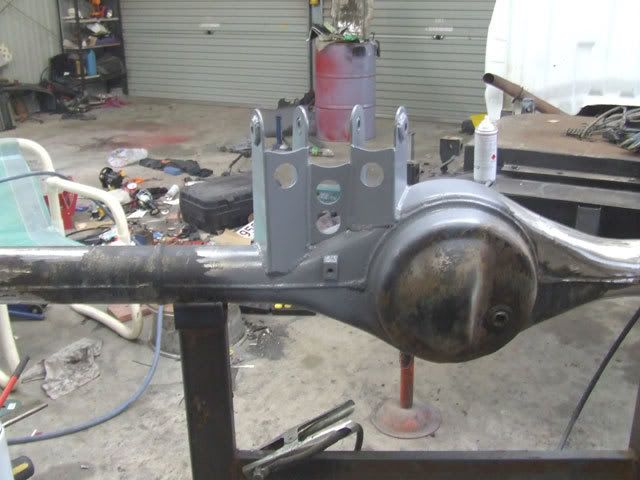
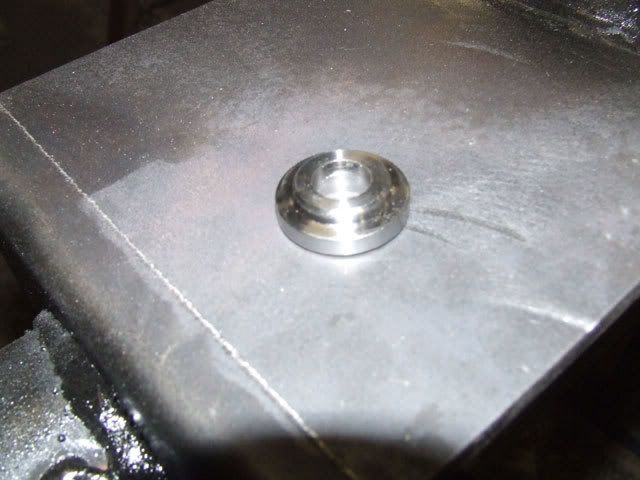
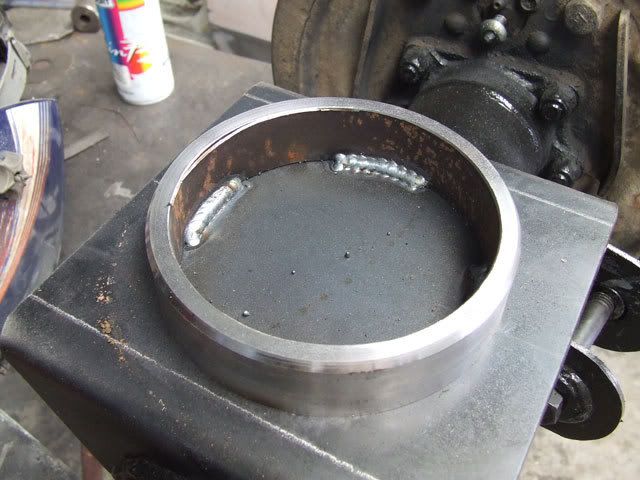
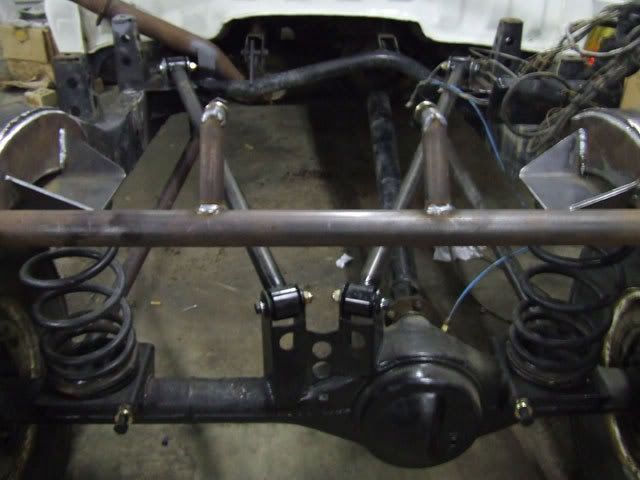
Start of upper link mounts
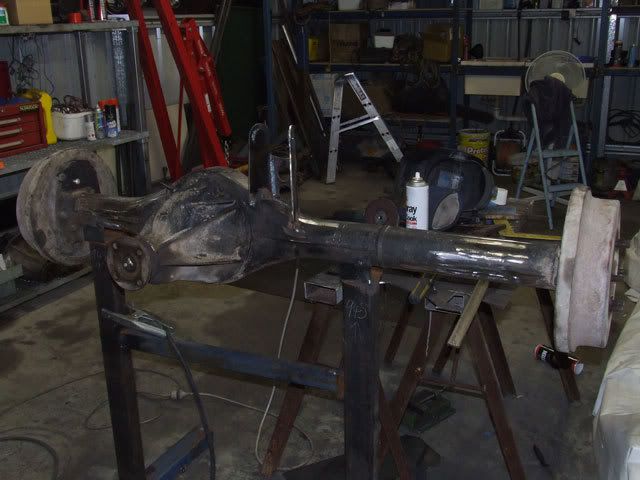
Front close up view - notice bushes welded into prevent ovaling of holes
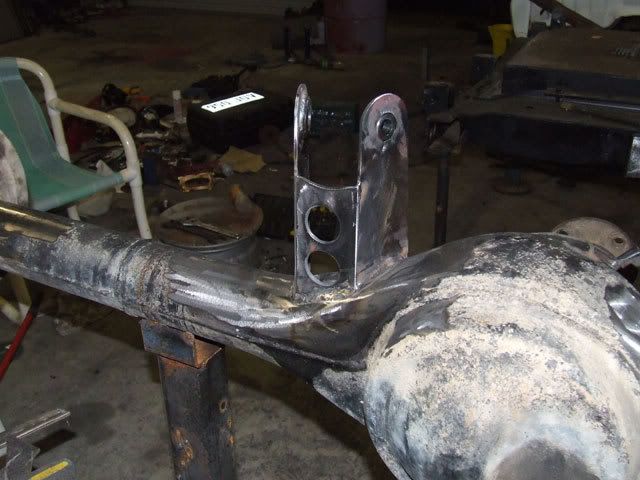
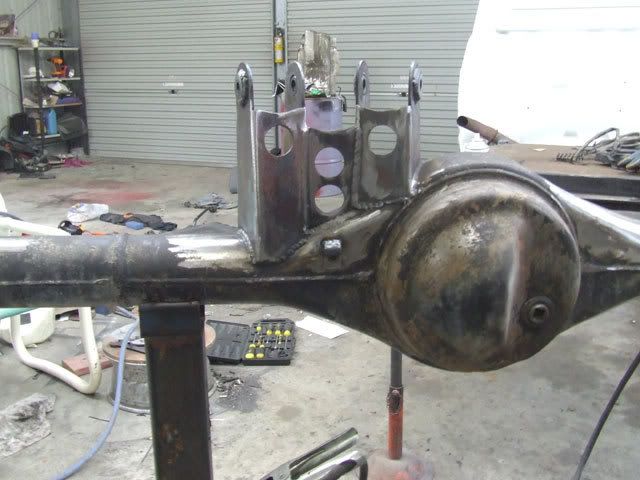
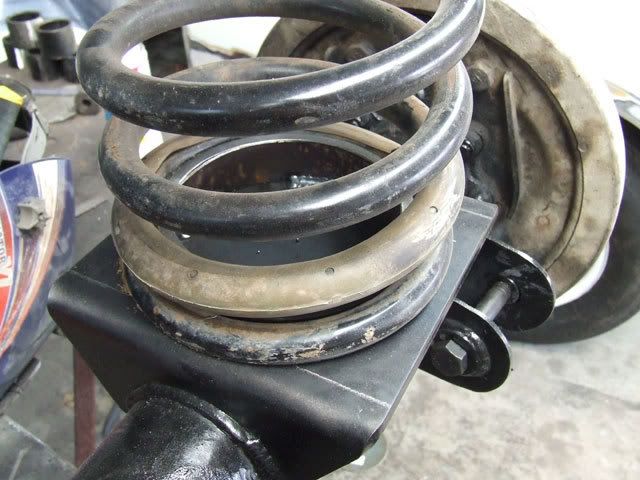
Rear distant view
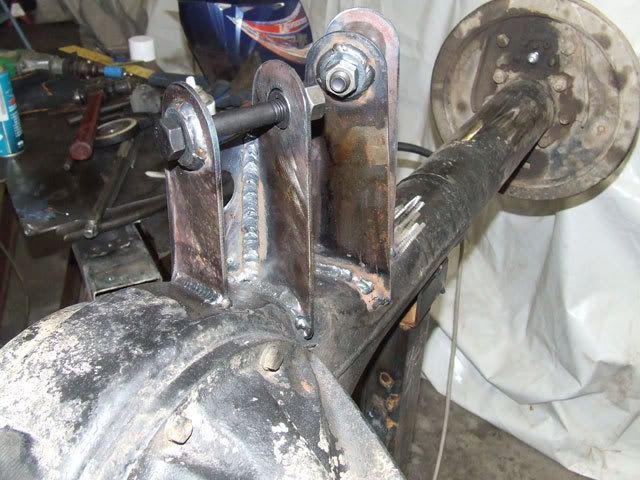
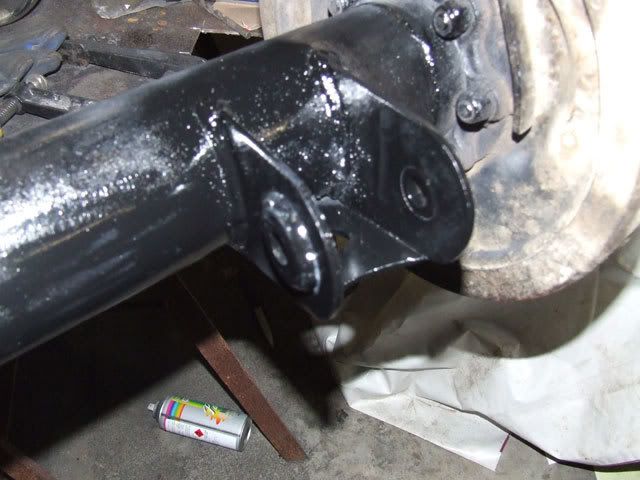
Close up view
Tommorow I will complete the upper link mount and get the lower mounts hopefully installed as well. Coil mounts will be done friday to be ready to make control arms on saturday.
Enjoy
Buddy
http://www.budscustoms.com.au
Like us and follow on facebook for up to date information of what we are working on and great random specials!
Looks good man....but I would push that diff back as far as you can since doing all the custom work. Either that or hack the chassis off right behind the new suspension. Way to much overhand in the rear on all MQ/MK's IMHO.
RMP&O wrote:Looks good man....but I would push that diff back as far as you can since doing all the custom work. Either that or hack the chassis off right behind the new suspension. Way to much overhand in the rear on all MQ/MK's IMHO.
Keep the pics coming.
The owner is getting a new fuel tank and will lob the back off the chassis, the wheel base is long enough as it is
http://www.budscustoms.com.au
Like us and follow on facebook for up to date information of what we are working on and great random specials!
nice looking welds, love the can of "spray and cook" in the background.
just one question (and forgive my ignorance cause I still got alot to learn) how are you guys working out the angles and whatnot? I understand some is basic maths but knowing what drive's & handles ok as opposed to something that handles like a pig??
shakes wrote:nice looking welds, love the can of "spray and cook" in the background.
just one question (and forgive my ignorance cause I still got alot to learn) how are you guys working out the angles and whatnot? I understand some is basic maths but knowing what drive's & handles ok as opposed to something that handles like a pig??
Cheers
Simon
Download the 4 link calculator and read the posts by strangerover (sam) on pirate.
http://www.budscustoms.com.au
Like us and follow on facebook for up to date information of what we are working on and great random specials!
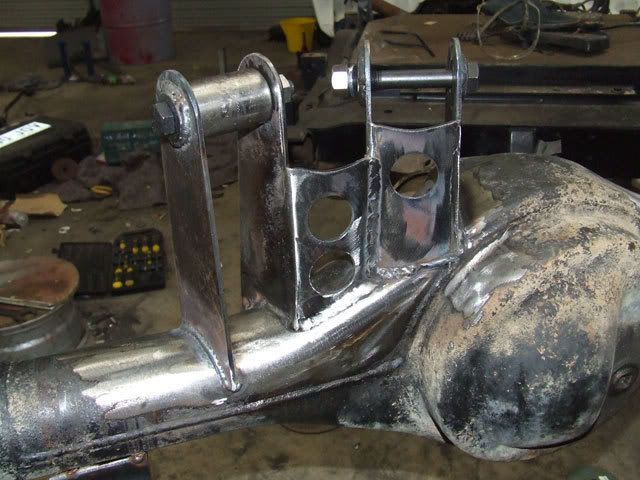
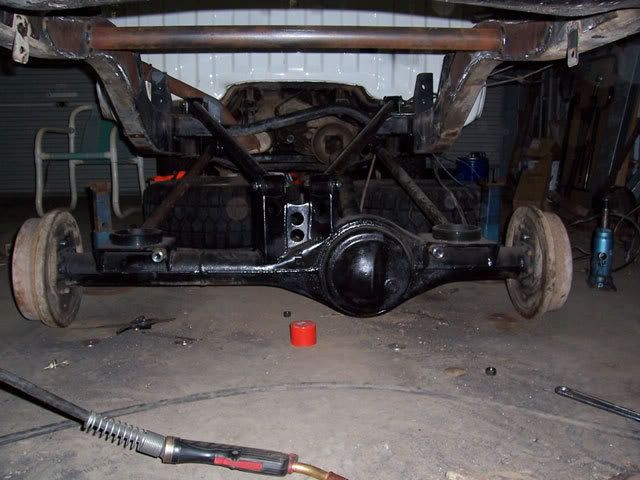
bubs wrote:Finished upper link mounts / truss - also welded back on the brake line t-piece holder
Front View
Querry ........
The material thickness ??? it looks like its 3mm pl from the pics but I'm asuming its thicker ..... yeah ?
2ndly....
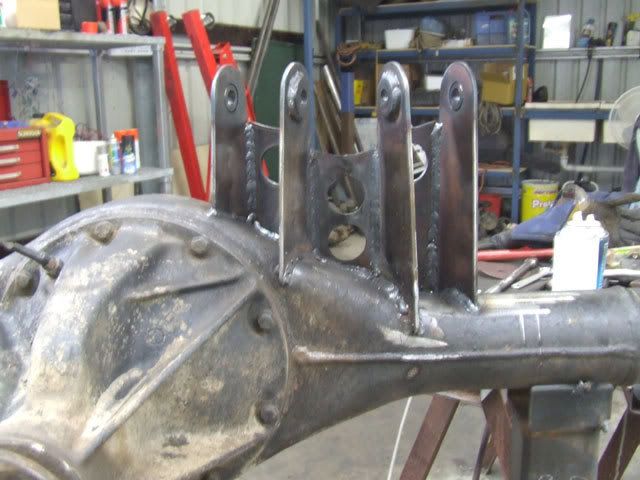
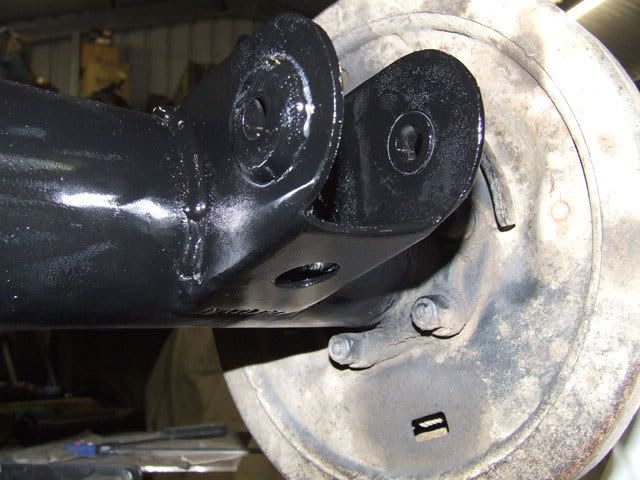
past experiance has taught me that brackets welded to the diff tend to break off unless the plates extend down past the factory seam weld on the diff tube, rotational stress's seem to be the main issue especially when the bracketry has any major height over the heighest point of the pumpkin such as youve done.
I can see that the load has been spread along the length of the housing realy well, just curious as to if there's enough across the housing...
Interesting project .....
Kingy
[color=blue][size=150][b]And your cry-baby, whinyassed opinion would be.....? [/b][/size][/color]
in regards to extending past the weld line of the housing I have not had that problem before. I do have about 150 degrees of the housing on each bracket. I had planned on adding more bracing along the length of the housing. As it is, it is no worse than standard GQ/GU trailing arm mounts.
Buddy
http://www.budscustoms.com.au
Like us and follow on facebook for up to date information of what we are working on and great random specials!