Thought I had posted all my stuff in here but turns out that was the TOTT thread

Was slow one day at work so my workshop manager came out and said "Chook, you're gonna build me a trailer"
No worries, being a second year welder/fabricator I thought this would be pretty sweet, haven't had many start through to finish style projects before.
So It started with a basic frame, 50x50x3 RHS. 2200 long by 1220 wide (7x4?)

I also added 16mmID tube to the inside of the rear crossmember for cables to pass through. Brake/light cables will run through the draw bar.
Made a deliberate effort to make sure that if I was the one building it, then sure as hell I'd be happy with how it turned out in every aspect. Good chance to get into the bosses good books aswell


Draw bar stuck out by 1500mm from the front rail. Measured the front of the drawbar to the axle centreline, dead square (a vital measurement that will be scrutinized when the trailer gets hauled over the pits at Regency)
Draw bar is 75x50x3 RHS

Sheetmetal on top is 2mm thick. Strength wasn't the major factor here, this trailer will hold 2 quad bikes, toolbox and spare-wheel.
Because sheets come in at 2400 long, had to whip out the plasma and remove 203mm from the end. This made the sheet 3mm short, meaning I could weld around the outside then smooth it off enough and make a nice radius around the corners while still being plenty strong enough.
Clamping into place before it gets tacked down.

Here you can see where the sheet as warped slightly around the crossmembers. Not an issue, flat surface not required. Either couldve used thicker sheet or way more braces to keep it level but that would throw the weight goal out the window.

6mm plate on the front of the drawbar to mount the hitch and possibly jockey wheel mount. Welded around every edge. Was about as hot As I could go before I ran the risk of burning through the thinner RHS.

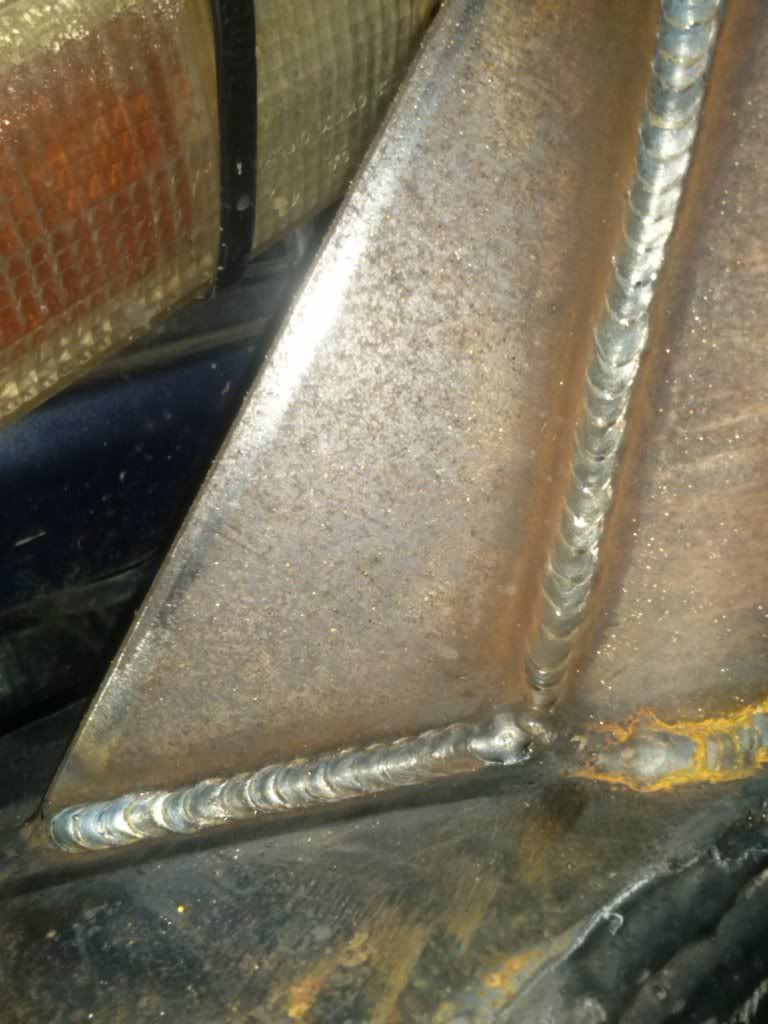
Added 2 braces to the draw bar where the toolbox and spare wheel will sit. 50x50x3 RHS. The piece running backwards to the front chassis member has a fish-plate on the back end which sits on the rear face of the cross-member, and is then welded around all 4 edges. Hope that makes sense

Gave it a lick of paint as it was going to sit outside for a few weeks over the Christmas period.

After christmas I spent a whole day wire wheeling the axles and rims, cleaning booger welded spring perches off the axle, and discovering why the hubs refused to turn. Mud inside hubs makes for a terrible grease substitute

Forgot to take photos of the axle and springs mounted. Apparently welding to the axles is highly illegal! Buggered If I knew. Got all excited because I had some nice perches drawn up that I was going to make but the plan went up shit creek

Axles and springs in and tow hitch bolted on.
Fast forward a few weeks and it's time to set up the sides and front/rear tailgates.
2mm sides that were bent up by another machine shop. They sit 310mm high. Received 3 pieces at 2400 long. This meant I had to cut down 2 of the sides to 2200, and the third one down to 1220. This unfortunately meant I was stuck with an offcut 40mm too short

Dea
l with that later.
Put a 50x50x2 RHS brace along the bottom edge, and 2 50x50x5 angle iron pieces on the end. A 25x25x2 vertical brace in the middle aswell.

All welded up. The sheetmetal stayed fine but the RHS bowed a little. Across 1200mm there was a 6mm bow in the middle. The 300 ton press straightened it out no worries.

All cleaned up and now to start the 2nd one. The second was was more work because I had to cut a 40mm wide strip from one of the bent side offcuts and weld it onto the piece 1180 long in order to make up the required length. Pain in the ass but some massaging from the hammer and a few blocks of wood and she came up fine.

Once that was done, we mounted the front and rear panels to the side panels which were already squared up and tacked on. The front is mounted solid but the rear has 3 big arse hinges welded on which also makes it easily removeable. No photos of hinges but Ill snap some tomorrow. Front and rear panels done, now time to tack on the rolled guards and some 50x50x2 braces to the guards from the front and rear of the chassis. This give the guards some fighting chance should they ever take a beating.

4mm Plate on either side of the front and rear panels are for lights and some small tube running front to rear as a tie down rail. I will wait until the lights etc are all mounted before I cut a nice looking profile into the plates.

Front brace was approx 890mm long and the rear was approx 520. I put an extra brace back to the chassis on the long side to minimize any deflection.

After everything was tacked in place, I pulled on my leather sleeves and spent 3 hrs behind me helmet

Guards were stitched on, all RHS was welded all the way round in position.

Inside of guard

The front and side panels were stitched 50mm, skipped 150, and repeat all around, both on inside and out

Best shot I have of tailgate and hinges, you get the idea


So that's where Im up to at the moment. Still need to:
Mount rear lights
Weld in tie down rails with braces to the top of the guards
Make up removeable pin style locks for the rear tailgate. Got a good idea for that one.
Mount jockey wheel
Mount toolbox, will require some small tabs on front draw bar so it can be bolted down.
Drill hole near front of drawbar for cables to pass through.
And then paint the whole bang lot.
It's not on par with Ben Napier's Ultra 4 build (which I have read religiously on Pirate

) but for a second year apprentice I'm pretty wrapped with it. The whole idea is that if anybody every says "Shit, that came up pretty good" I can stand there with a dirty big grin on me face

Apologies for the long read but this seemed more appropriate than the TOTT thread
Cheers guys
Chook


