Notice: We request that you don't just set up a new account at this time if you are a previous user.
If you used to be one of our moderators, please feel free to reach out to Chris via the facebook Outerlimits4x4 group and he will get you set back up with access should he need you.
Recovery:If you cannot access your old email address and don't remember your password, please click here to log a change of email address so you can do a password reset.

Disco rear diff uni joint conversion

Tech Talk for Rover owners.

Moderator: Micka

Post Reply
Posts: 147
Joined: Sat Aug 04, 2007 1:28 pm
Location: Sydney

Disco rear diff uni joint conversion

Post by little rusty »

Thats right - get rid of that rubber doughnut!

It would have really helped me if there was a decent thread on this conversion... plenty of others say rip of old and whack in new so though I would share my lessons...

My saga started by blowing the rear diff out playing with Landcruisers and then replacing the rear diff with uni conversion with a standard one. So after two weeks of driving with it the wrong way (typical - cant get a uni joint back to front but the disc...) it was flogged and i reverted back to the uni joint.

This is what I did and am proud of my success as I am not a mechanic...

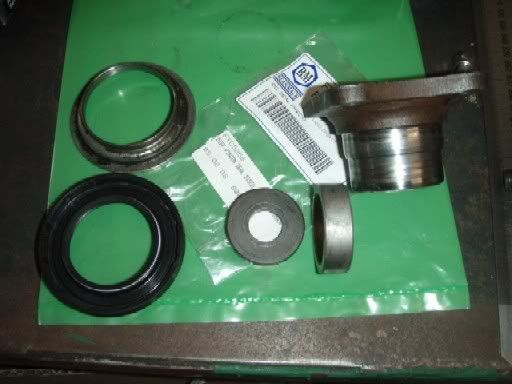
Start with these parts
Image
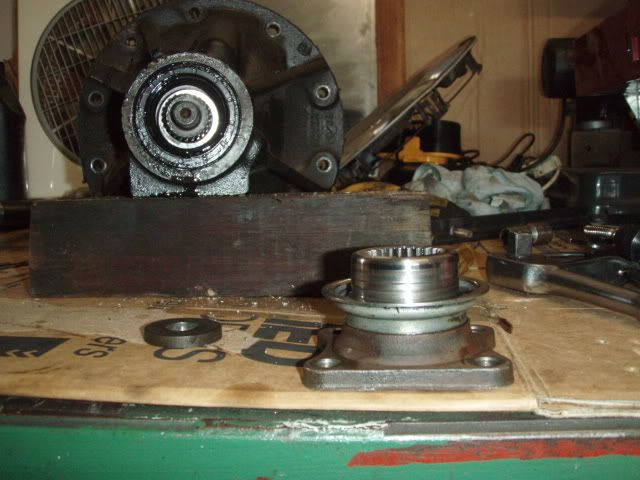
From the left we have a diff pinion oil seal, mud slinger, washer, spacer (critical bit - part number 539745, confirm before ordering, but is about 12.5mm thick and goes up against the bearing) and four bolt flange of front diff or Range Rover Classic... get the whole front diff as you wont have to read any further and bolt in!

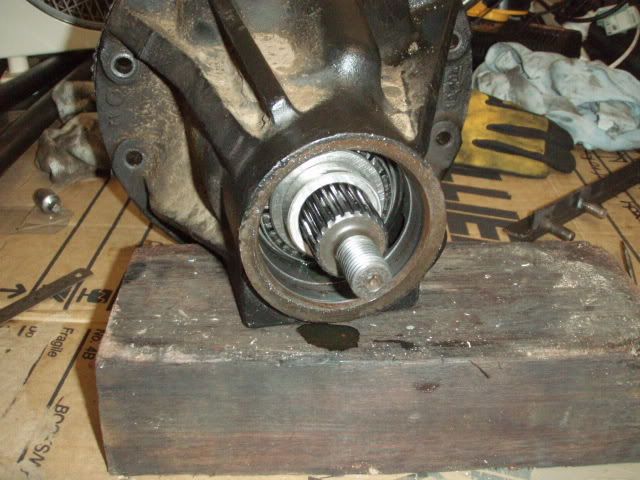
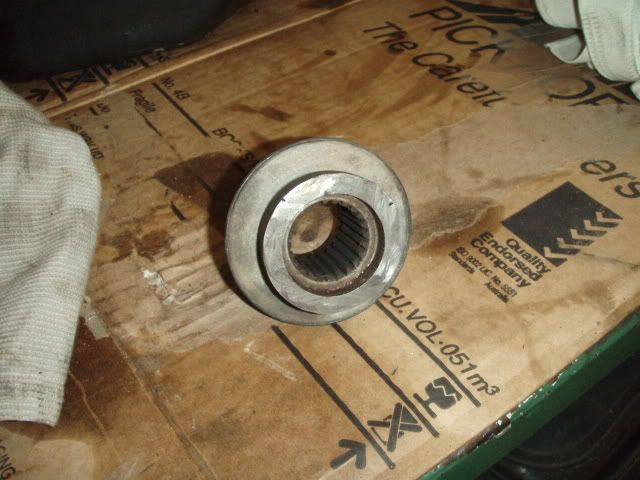
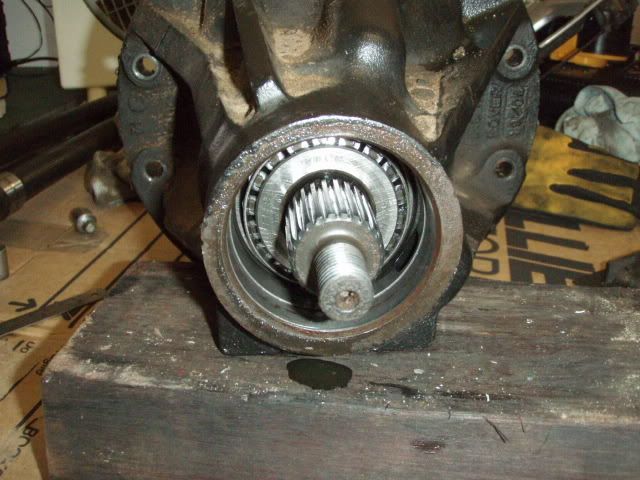
Next, cut the old 3 bolt flange off (i took diff out to work on a bench) by starting with the 3 outriggers, then you should be able to cut around the circumference with your grinder to access the pinion nut inside. It will look like this
Image
pull the oil seal out with a puller or screw driver
Image
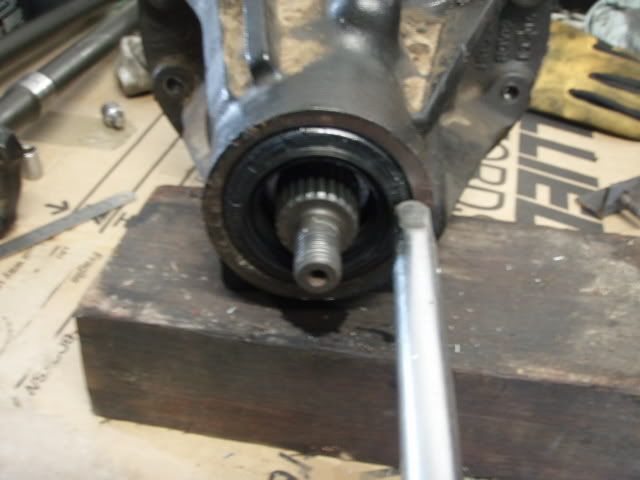
and then insert the spacer
Image
tap in a new seal so it sits flush, greasing the outer lip and oiling the inner lip
Image
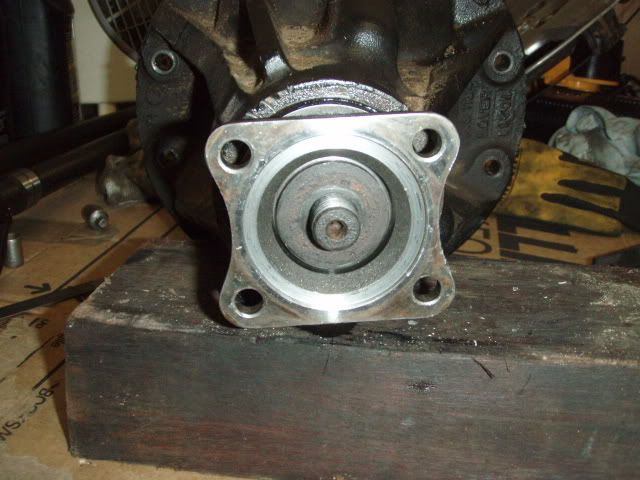
time for the new and improved 4 bolt flange then washer and nut...
Image
Image
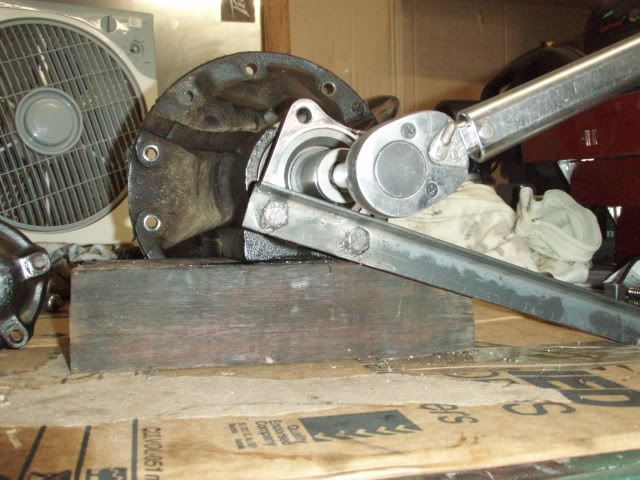
torque the nut up to 130Nm using the flange restraining tool you knocked up earlier
Image
done, hit the tracks and see if it was worth it... spacer should cost no more than $17 if you go to FWD Motors in Yeerongpilly, Brissy.
Posts: 57
Joined: Tue Apr 13, 2004 8:21 pm
Location: North Brissy

Post by subaman »

Awsome write up mate and great pics. Top job shame I dont have a disco I would do the convertion after seeing your story.

cheering :cool: :armsup:
gas grass or arse no one rides for free
Posts: 147
Joined: Sat Aug 04, 2007 1:28 pm
Location: Sydney

Post by little rusty »

cheers ;)

i find so much useful stuff on here that I though I would return the favour!
Posts: 2158
Joined: Sat Jan 20, 2007 8:16 am
Location: New Zealand

Post by KiwiBacon »

Nice write up, but one thing I did differently.

I used a slide-hammer to pull the centre pin from the old 3 bolt flange, then you can get to the nut easily without damaging anything.

I have all the measurements for the spacer if anyone else needs it.
12.5mm thick.
32mm ID
41.2mm OD.
Posts: 3278
Joined: Mon Mar 03, 2003 9:03 pm
Location: St Helena, Melbourne.

Post by Loanrangie »

KiwiBacon wrote:Nice write up, but one thing I did differently.

I used a slide-hammer to pull the centre pin from the old 3 bolt flange, then you can get to the nut easily without damaging anything.

I have all the measurements for the spacer if anyone else needs it.
12.5mm thick.
32mm ID
41.2mm OD.
Thanks, will go and use my old mans lathe and turn 1 up.
Saddle up tonto, its the not so loanrangie! . 98 TDI DISCO lightly modded with more to come.
Posts: 147
Joined: Sat Aug 04, 2007 1:28 pm
Location: Sydney

Post by little rusty »

yeah - I had a grinder and no slide hammer so made do... was commited anyway as the flange was beyond repair! Its stuck in there quite well so you must have done well with the hammer...

I have two spares due to a mail mix up from a Vic supplier...probably easier to buy than fab to ensure its righ?
Posts: 204
Joined: Mon Dec 31, 2007 9:32 am
Location: Gold Coast

Post by kitacooch »

little rusty wrote:yeah - I had a grinder and no slide hammer so made do... was commited anyway as the flange was beyond repair! Its stuck in there quite well so you must have done well with the hammer...

I have two spares due to a mail mix up from a Vic supplier...probably easier to buy than fab to ensure its righ?
Mine was the same, used a slide hammer for couple hours under there and decided to revert to what i knew best, 9" grinder 3 diagonal cuts, big ass hammer to help spread the damn thing and then a solid 3 min round with the slide hammer and bingo, she finally decided to come off.
Have heard of some peole having no probs but then there are others like me who had all sorts of trouble with it. But hey good work with the instructions.
Hey maybe sticky should add this to the FAQ thread, would be handy for those doing the convert, i know i appreciated the feedback i got when asked for some guidance. Not to mention that it is a common conversion for disco owners.
95 Disco, 3.9l V8, 35" Coopers St's, 2" Lift, True Tracks Font & Rear. Bar & Winch, Home Made Sliders.
Posts: 147
Joined: Sat Aug 04, 2007 1:28 pm
Location: Sydney

Post by little rusty »

Just helped a mate replace his rubber disc - should see the flex in it with a 2 inch lift...

landrover engineers seem pretty smart but it boggle me as to why they used this rubber disc thingy... how long have uni joints been around again?
Posts: 176
Joined: Sat Jun 16, 2007 8:18 am
Location: New Zealand

Post by bigbad »

Rubber doughnuts were popular in the 70s with cortinas etc having them, they are better that they dont transmit vibration like a UJ but they arent intended for a large angle such as when a disco is lifted.
Post Reply

Who is online

Users browsing this forum: No registered users and 4 guests