Page 1 of 1
patrol rear bar with gaurd chop
Posted: Tue Oct 28, 2008 7:09 pm
by ssfabricator
hi im looking for some photos and ideas on making a rear bar i have hayman reese towbar and want to keep it but get it high as possible
and yes i have searched and most photos have been moved or deleted
Posted: Tue Oct 28, 2008 9:23 pm
by gq351
im looking into doing this aswell so any pics would be great
cheers
Posted: Tue Oct 28, 2008 9:38 pm
by Skegbudley
Cheezy does a really nice one. No pics or pricing on his site which is a bugger. Gueey has one and it looks trick. (Checkout the bible) Would love to know how much of the rear needs to be cut to fit it.
Posted: Wed Oct 29, 2008 11:13 am
by hjgq
I've done mine my self not hard at all look up
www.mudrhino.com.au and look at the D.I.Y section heaps of good stuff I did my chop and bar for about $300 - $400 for both and if I knew how to up load pic I would do it as well
Posted: Wed Oct 29, 2008 1:32 pm
by jcclures
I did my rear quarter panels and rear bar as well, it probably is not what you want but you can have a look and see if there is anything that will help you do yours.
http://www.4wdmonthly.com.au/forum/show ... 736&page=3
Posted: Sun Nov 02, 2008 7:55 pm
by ssfabricator
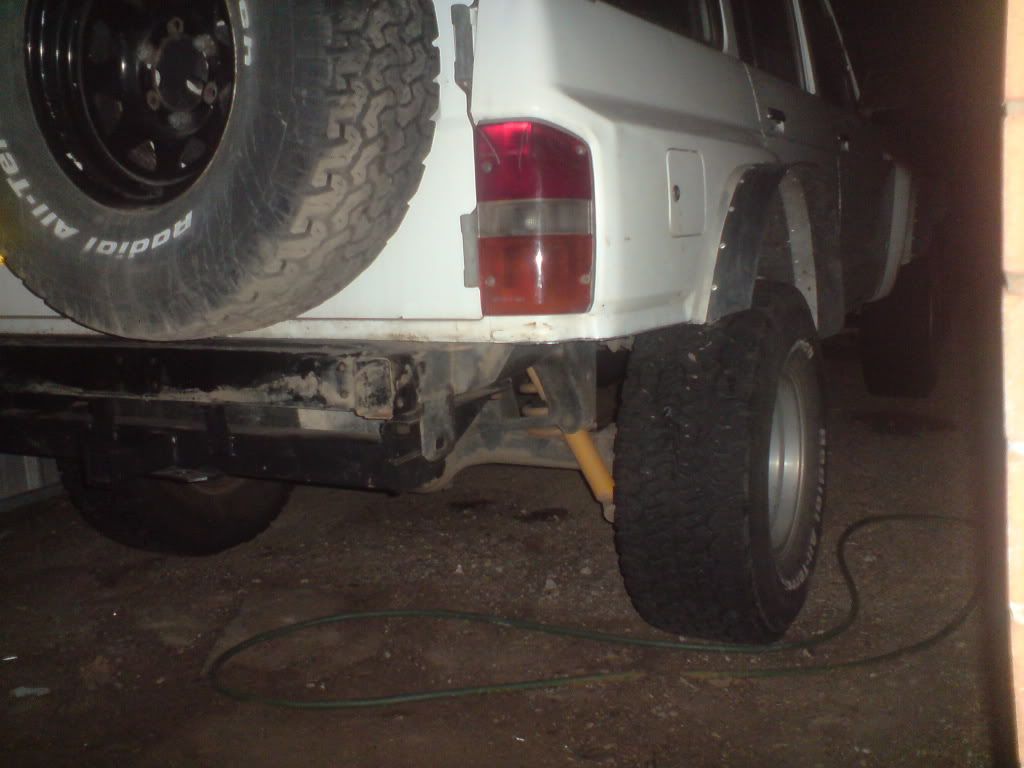
done the qauters today pretty much went off what mud rhino did just went a little higher i have some pics but it was dark when i finished going to make rear bar with twin tyre holders next weekend
[img][img]
http://i270.photobucket.com/albums/jj93 ... C00152.jpg[/img][/img]
Posted: Sun Nov 02, 2008 10:12 pm
by tna racing
Posted: Mon Nov 03, 2008 9:12 am
by mat_p
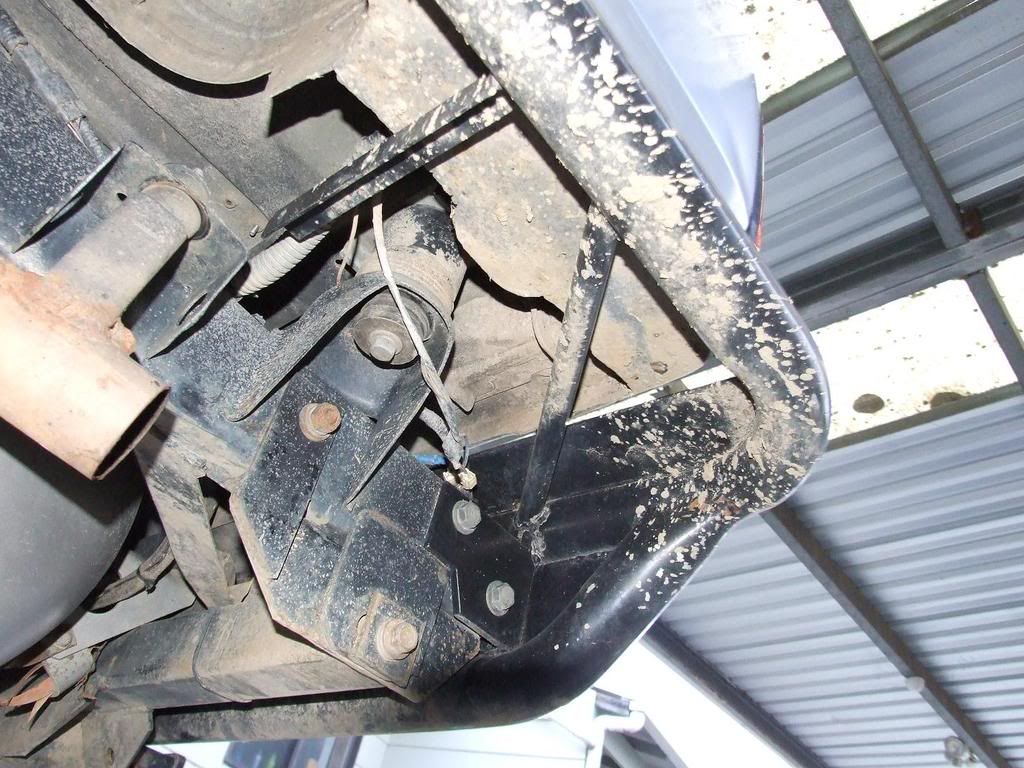
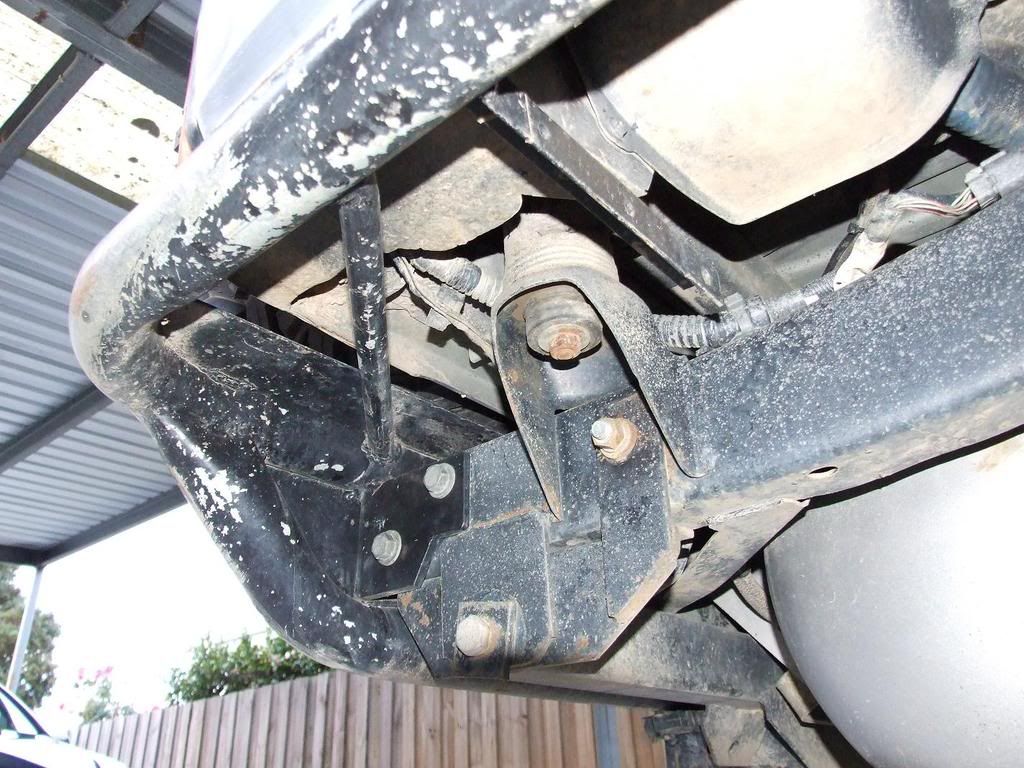
here is one off the mudrhino forums, which i am going to attempt to replicate once i have done a body lift and a 1/4 guard chop.
i just need to work out what was done with the towbar...as in wether or not the bar is welded to the side of it or if the part that holds the towball is welded to the top of the bar.
i was actually thinking of flipping my whole towbar over so it mount on top of the chassis and welding the extra bite on the outside of it, which is what it sort of looks like has happened here...but im not to sure.


Posted: Mon Nov 03, 2008 4:07 pm
by SIM79
hjgq wrote:I've done mine my self not hard at all look up
www.mudrhino.com.au and look at the D.I.Y section heaps of good stuff I did my chop and bar for about $300 - $400 for both and if I knew how to up load pic I would do it as well
Anyone that uses that mudrhino process will end up with heaps of RUST!
Silcone+metal=RUST
Use urathrane!
Posted: Mon Nov 03, 2008 4:18 pm
by turps
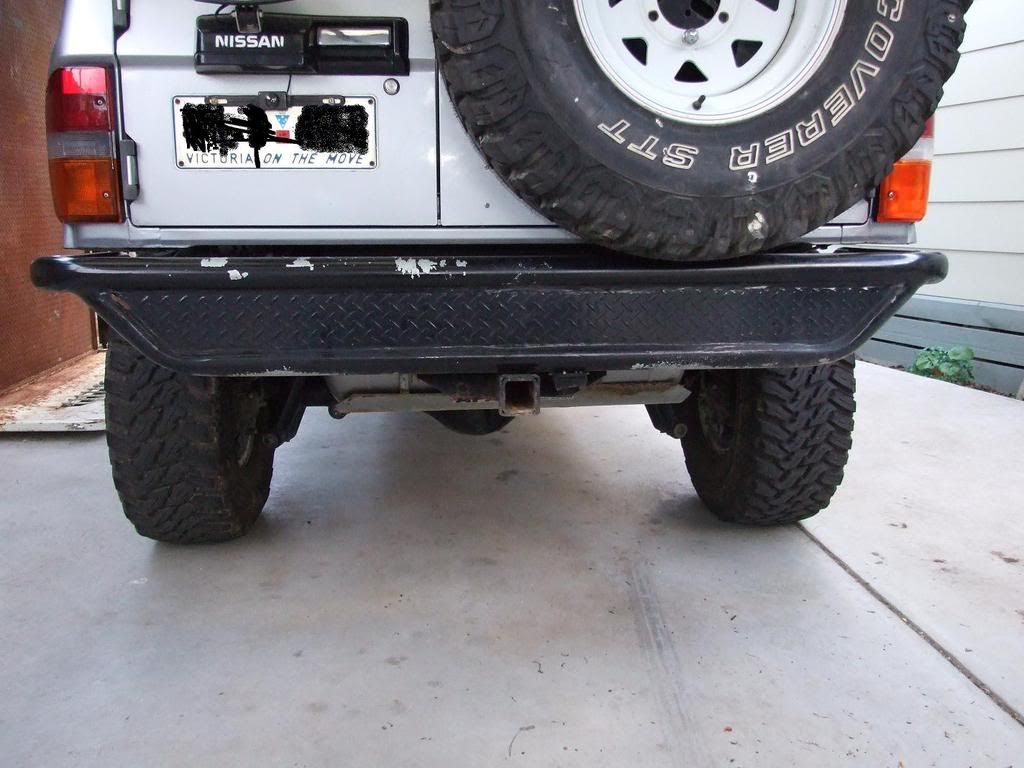
I did mine similar to Mat_p. I used the haymen reece towbar. I cut the ends of, so I could mount them on the otherside so they went down instead of up.
I had to drill some extra holes in the chassi to get all the bolts in.
THen I welded 75x75 so it went to the cnrs, this is the same as the towbar.
Then used 50x75 or similar to go forwards to teh wheel arch.
I didnt taper mine on the cnrs though. As I found the bar tends to dig into the mud. So I wanted it to stick out slightly. Worked much better than the flush mount setup. It also made for a nice spot to put in twin pivots.
Posted: Mon Nov 03, 2008 5:20 pm
by nastytroll
SIM79 wrote:hjgq wrote:I've done mine my self not hard at all look up
www.mudrhino.com.au and look at the D.I.Y section heaps of good stuff I did my chop and bar for about $300 - $400 for both and if I knew how to up load pic I would do it as well
Anyone that uses that mudrhino process will end up with heaps of RUST!
Silcone+metal=RUST
Use urathrane!
Natural cure should be fine, acid cure could cause issues. Either way silicon is shit to paint, better off using Everflex 240-PU by Adheseal.
Posted: Mon Nov 03, 2008 7:24 pm
by hjgq
nastytroll wrote:SIM79 wrote:hjgq wrote:I've done mine my self not hard at all look up
www.mudrhino.com.au and look at the D.I.Y section heaps of good stuff I did my chop and bar for about $300 - $400 for both and if I knew how to up load pic I would do it as well
Anyone that uses that mudrhino process will end up with heaps of RUST!
Silcone+metal=RUST
Use urathrane!
Natural cure should be fine, acid cure could cause issues. Either way silicon is shit to paint, better off using Everflex 240-PU by Adheseal.
I agree with the silicon coment thats why I didn't use it at all just painted every thing first then when atached then bogged,sanded,bogged and painted about 5 coats outside and spray inside as well
Posted: Mon Nov 03, 2008 8:28 pm
by dont_follow_me
would sikaflex work okay to seal the new panel to the body and then bog outside to shape it.
Posted: Mon Nov 03, 2008 9:30 pm
by ssfabricator
i used sikaflex and i can get easy access to inside and fishoil i like the idea of the towbar above chassis rails but im not a fan of body lift workin on rear bar tomorrow
Posted: Wed Nov 05, 2008 8:35 am
by jcclures
Rust is why I did mine the way I did, I was able to just spot-weld the seams the same as the factory method, plus used drain slots in the panel. Then sprayed plenty of rust proofing on the inside.
Posted: Wed Nov 05, 2008 10:27 am
by skippy's GQ
after u have done the chop and all the welding and prep work, apply seam sealant to all the joins, its rubber based and is the best to seal up the pannels, plus dosent promote rust..
Posted: Sat Jan 10, 2009 8:42 pm
by dont_follow_me
has anyone got some pics of their guard chop. I am going to do mine in the next few weeks and would appreciate some before/during/after pics to give me some idea's AND is there anything to watch out for while the grinder is at full boar

Posted: Sun Jan 11, 2009 11:10 am
by SIM79
Found these doing a search!!!!!!


[/img]
Posted: Sun Jan 11, 2009 6:45 pm
by not stock
All rear bars are very similar try and incorperate some recovery points if you can. I made mine out of 10mm plate as strong as they come.


Posted: Sun Jan 11, 2009 7:03 pm
by dont_follow_me
thanks not stock, can you pls post a pic of your front tube bar

i know its off topic but your avatar has caught my eye
Posted: Mon Jan 12, 2009 7:51 am
by not stock
Hope this helps , my approach angle could be better but this was my first tube bar.


Posted: Mon Jan 12, 2009 7:55 am
by dont_follow_me
very nice first attempt. if you did it again, what would you change?
obviously you would change the lower part to improve approach angle, but what else? and what size pipe is that?
cheers
Posted: Mon Jan 12, 2009 9:00 am
by bogged
SIM79 wrote:Found these doing a search!!!!!!
are you able to explain this.. "SEARCH" thing you talk of?
Posted: Mon Jan 12, 2009 9:27 am
by not stock
The pipe is 50mm nb 4mm wall. For the approach angle I change the possition of the winch (further in under the grill) . But I'm happy with the bar it's different strong and does what it was made for.