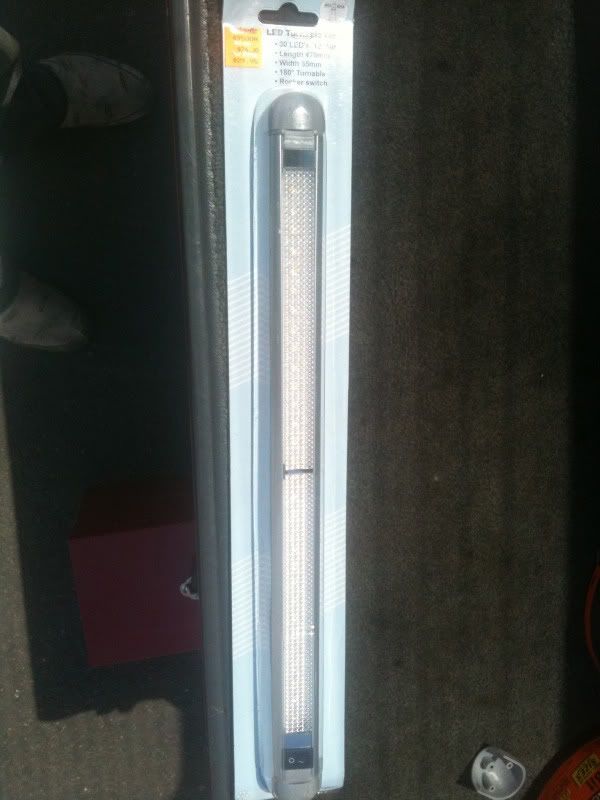
The LED lights I purchased were these - https://www.whitworths.com.au/main_item ... olutePage=. I loved the fact they are able to be rocked 180 degrees.
I bought two of them as I thought the more light the better
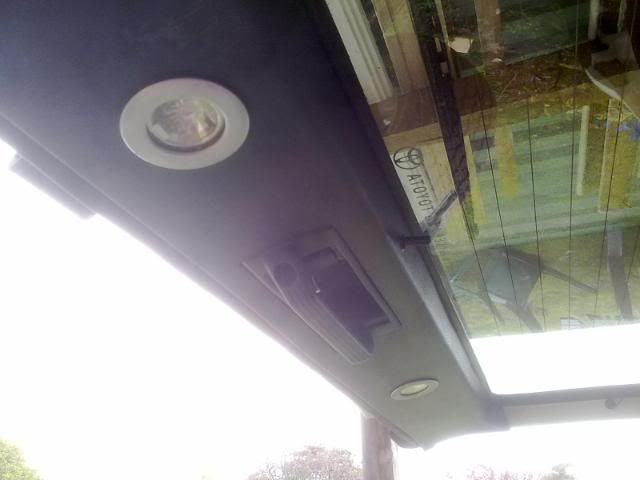
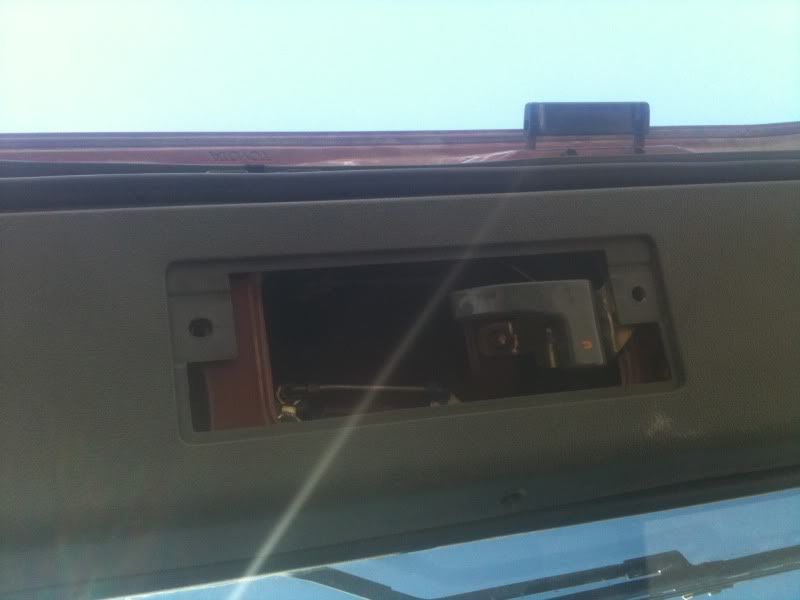
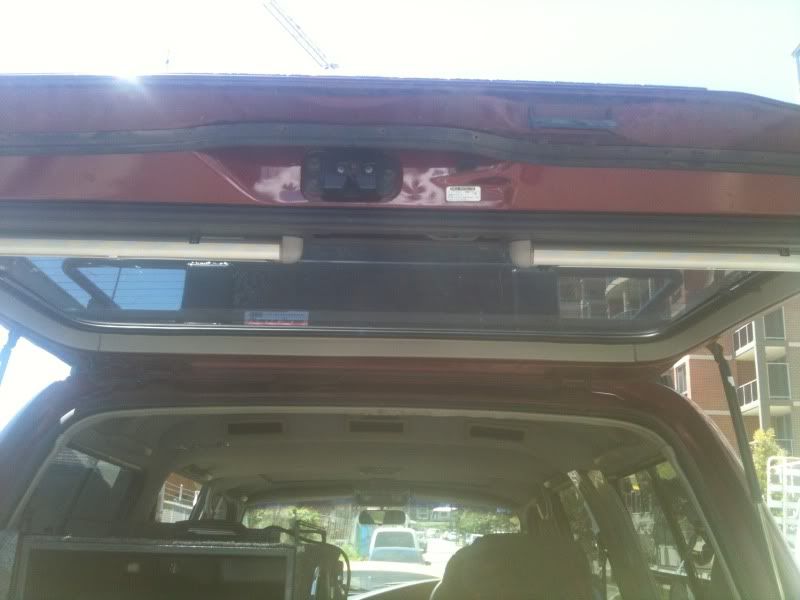
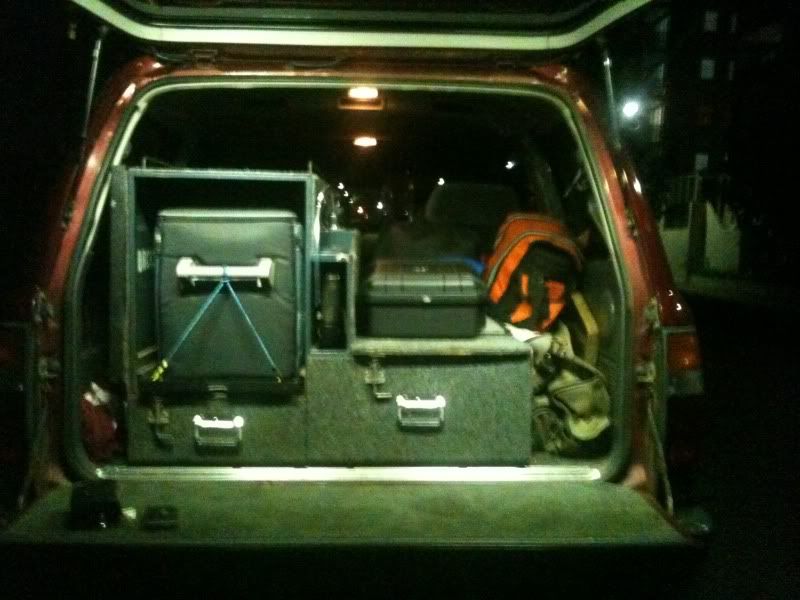
As you can see here, the factory interior lights are pretty dull.
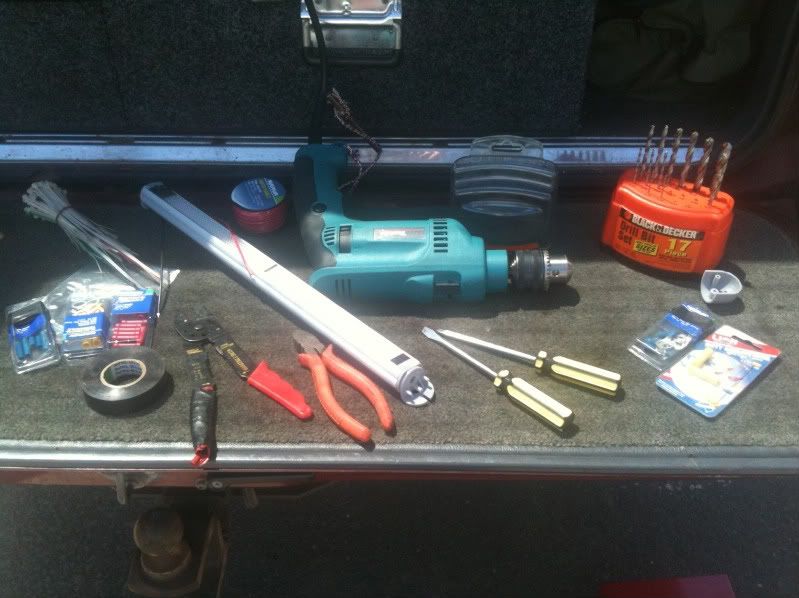
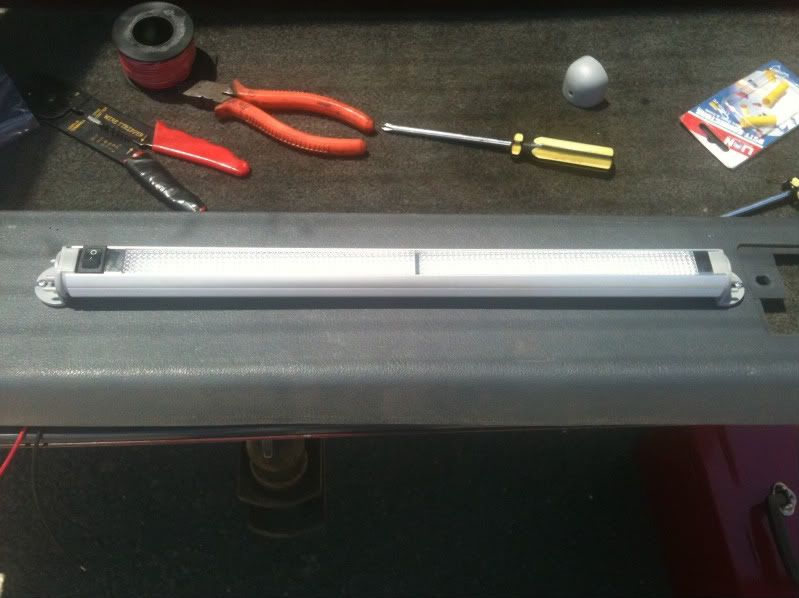
Here are the tools that are required for the job. The plan was to put a light on either side of the interior door handle on the rear door.
Here are one of the lights I bought still in the package.
First thing I had to do was unscrew and remove the interior door handle so I could pull off the complete rear trim.
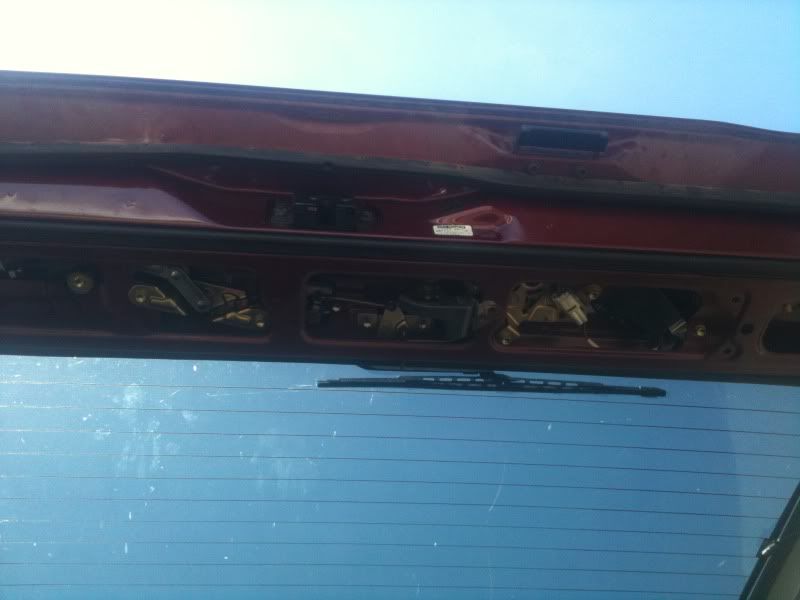
Door trim removed.
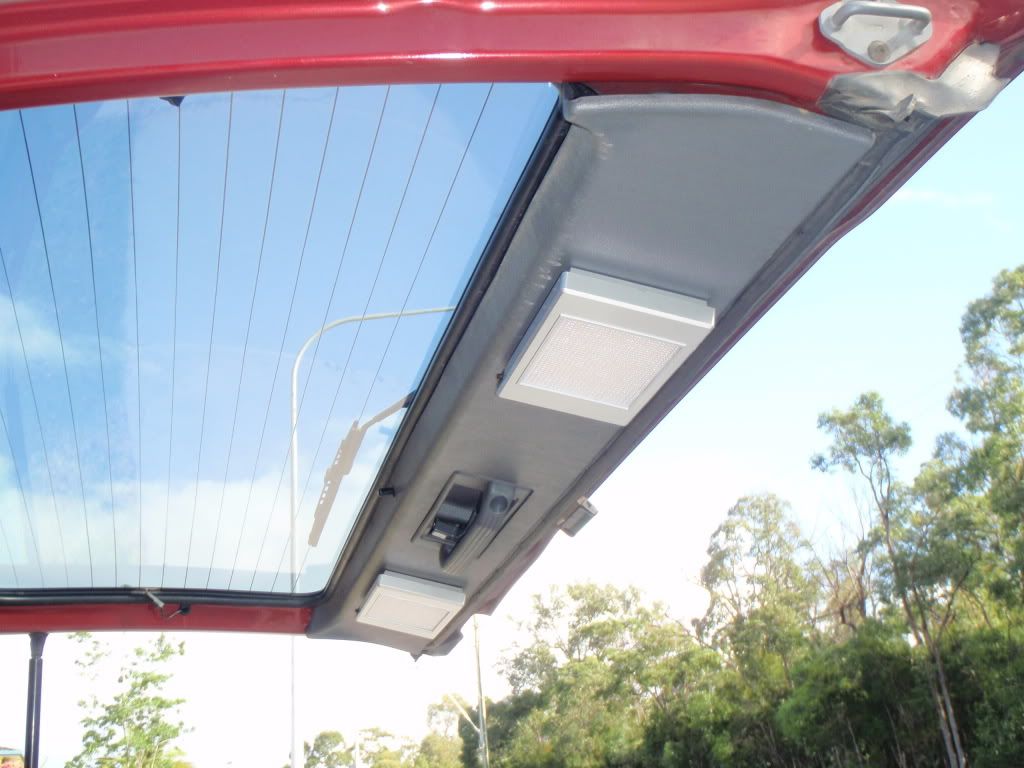
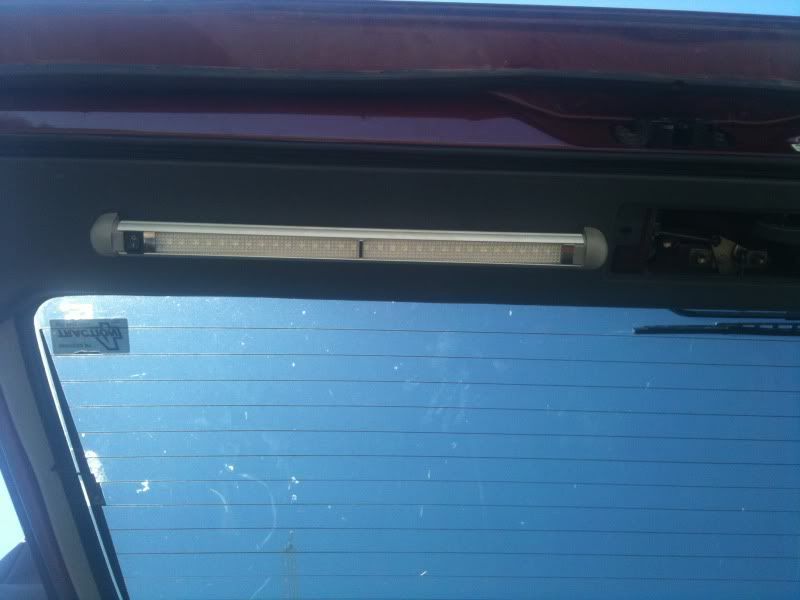
First light installed.
The hole was drilled in the trim so the wires of the light could be accessed.
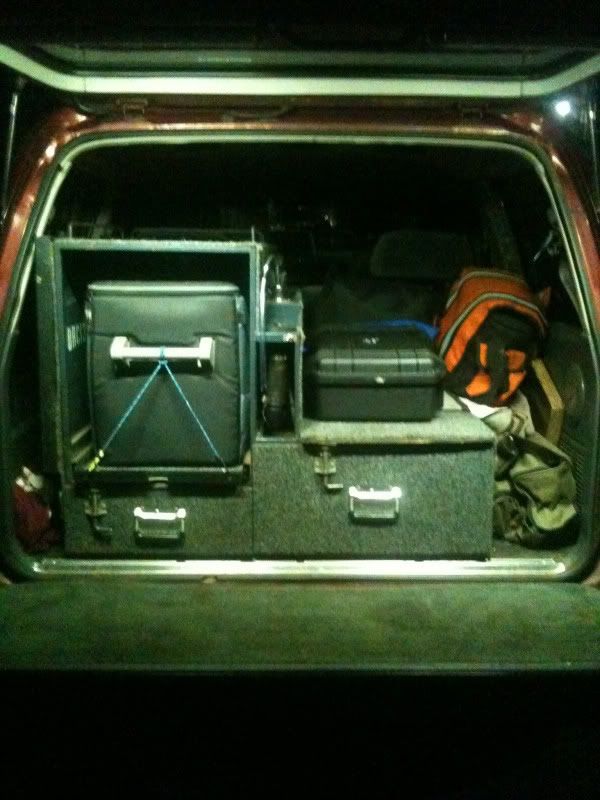
The first light up.
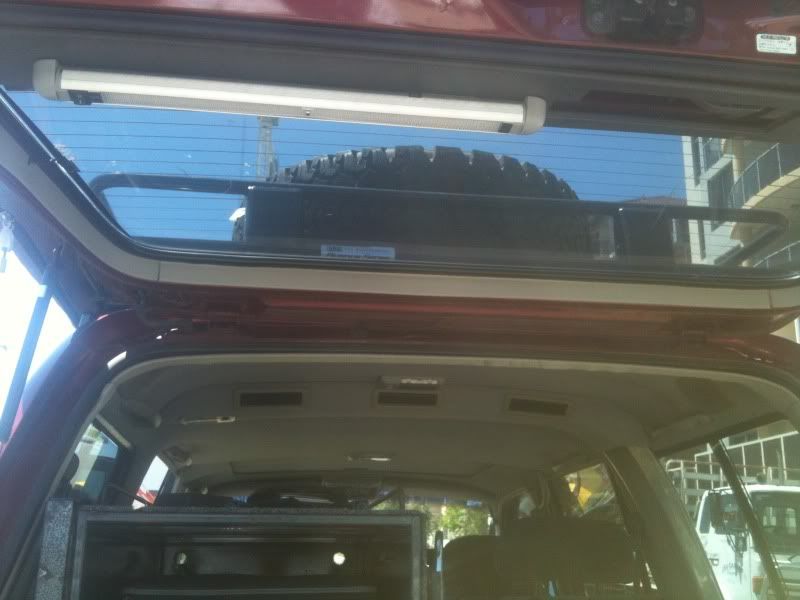
And again.
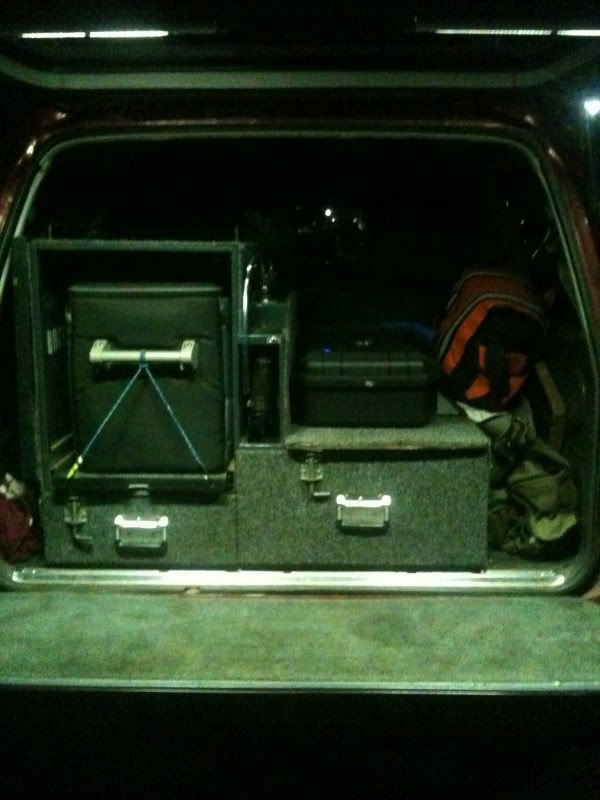
The two lights up.
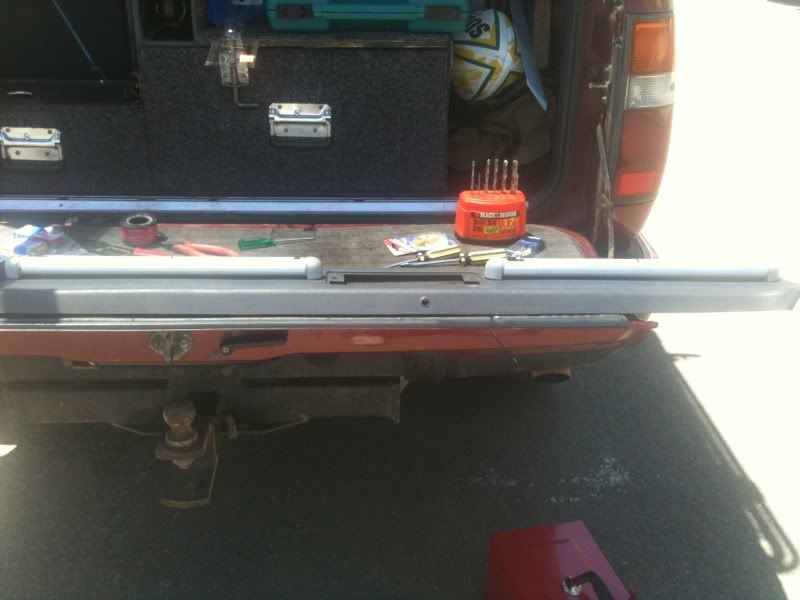
And again.
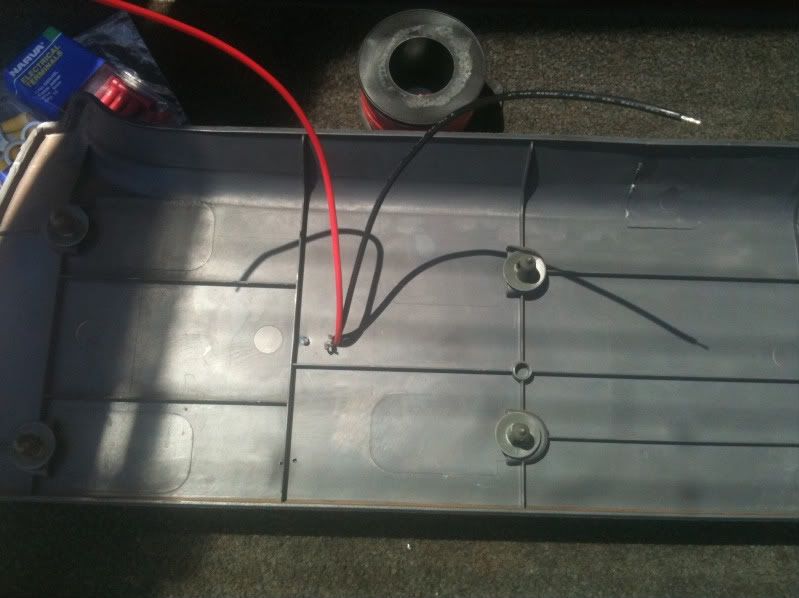
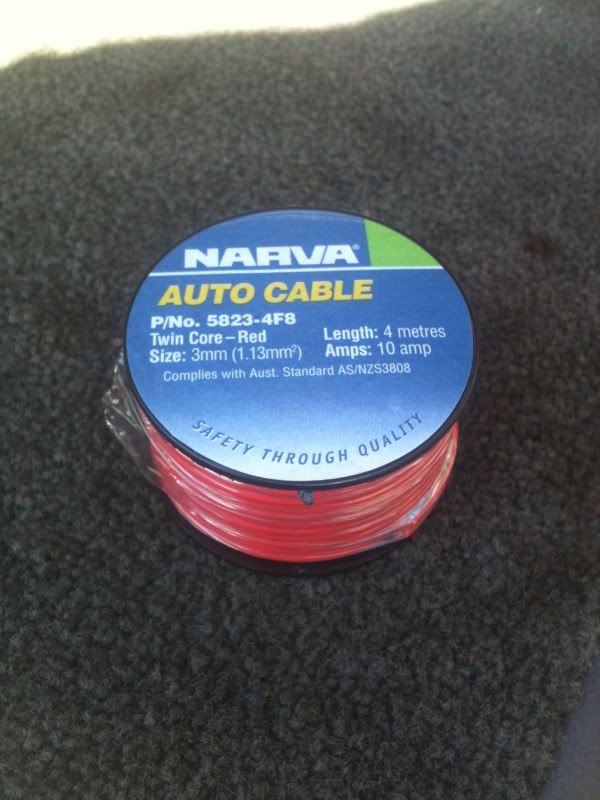
This is the auto cable I used to extend the wiring from the light to the auxiliary battery.
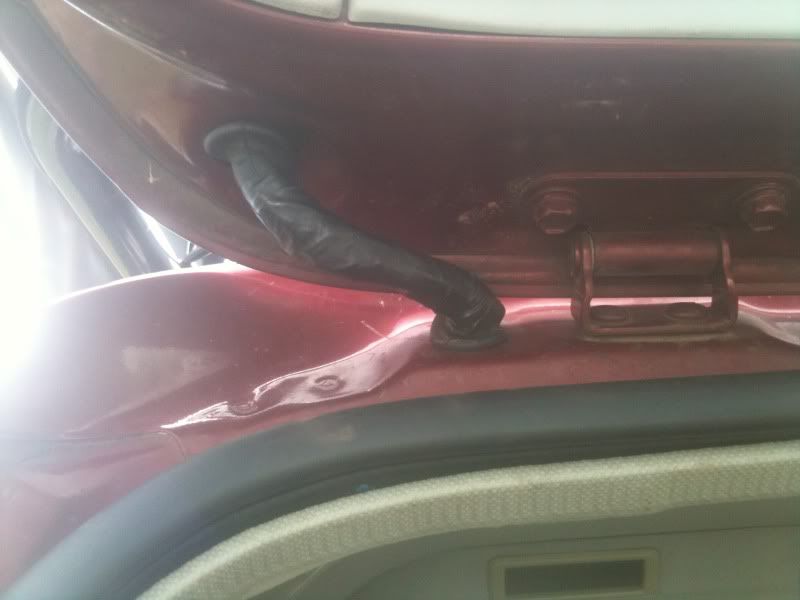
The cables put through the door rubber grommet

And sealed up.
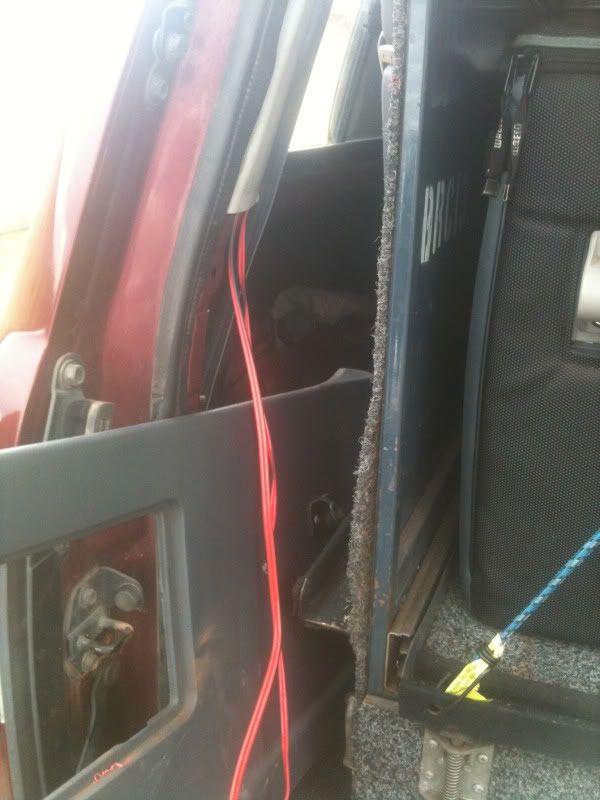
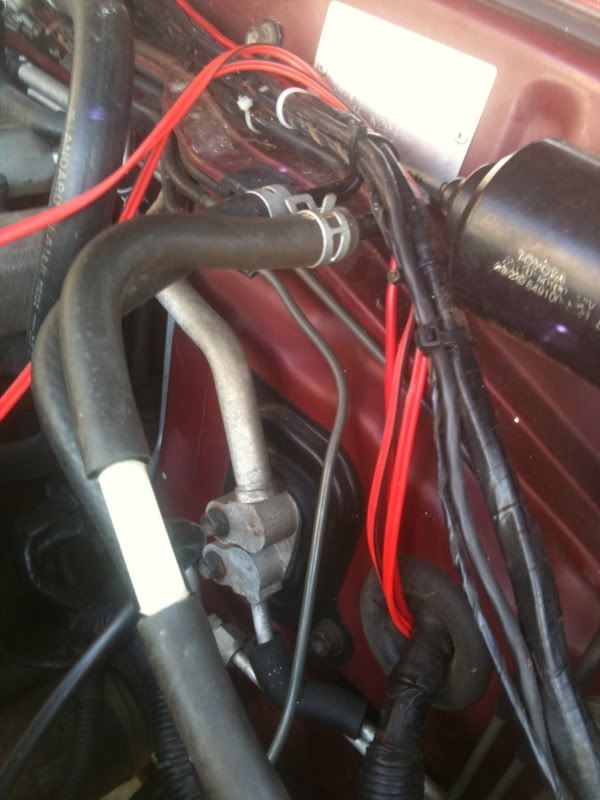
The cable needs to run down the door and through and under the rear passenger and front passengers door trims.
Then the cable to run through the engine firewall.
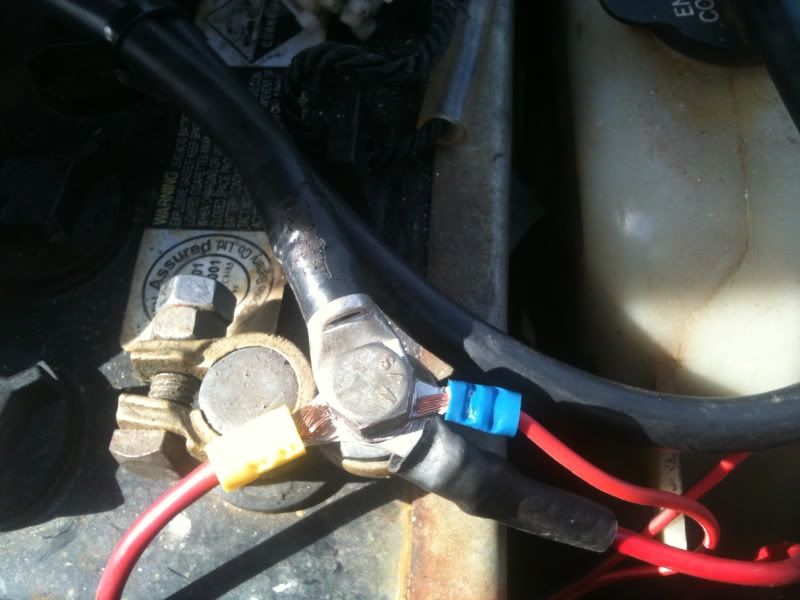
First light attached to the auxiliary battery.
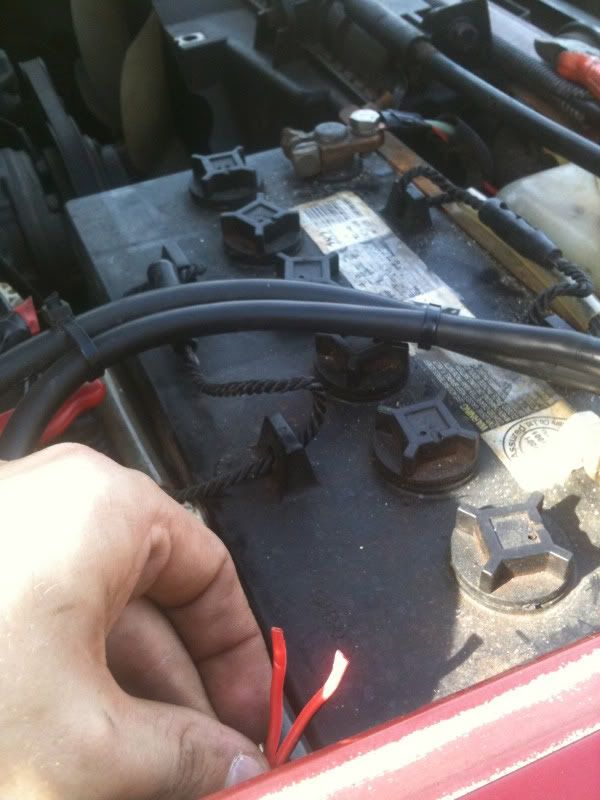
Doh! The cable was 20cm (if that) too short. I had to buy another roll of cable.
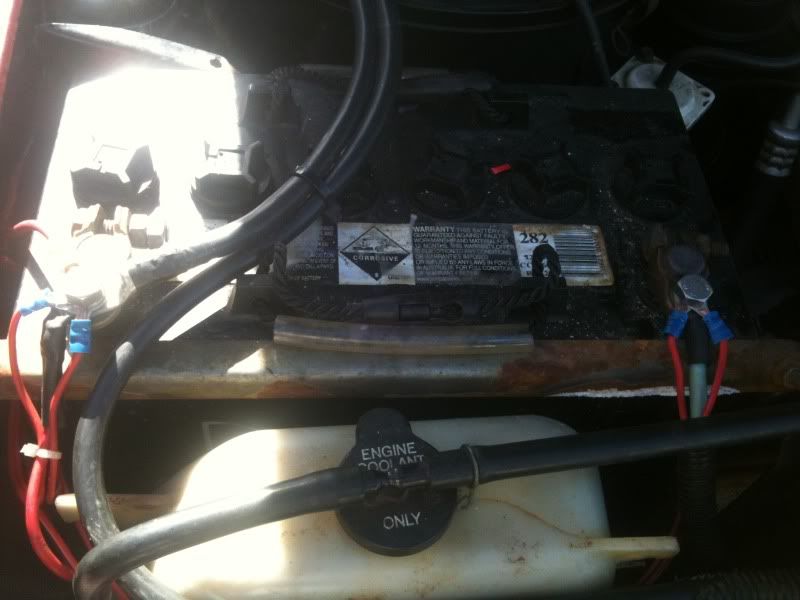
Both batteries wired to the auxiliary battery. Now I had to wait till night time to see how they performed.
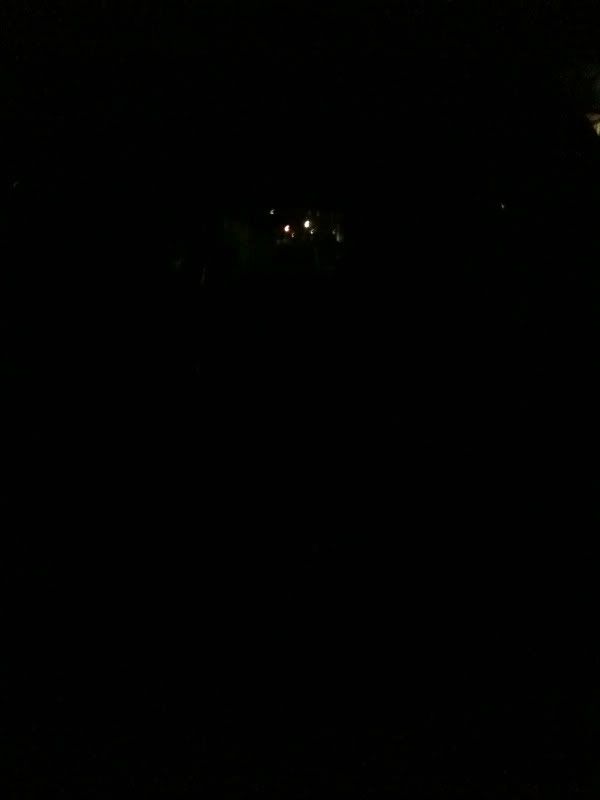
Night time! This is a photo of the rear door with no lights on.
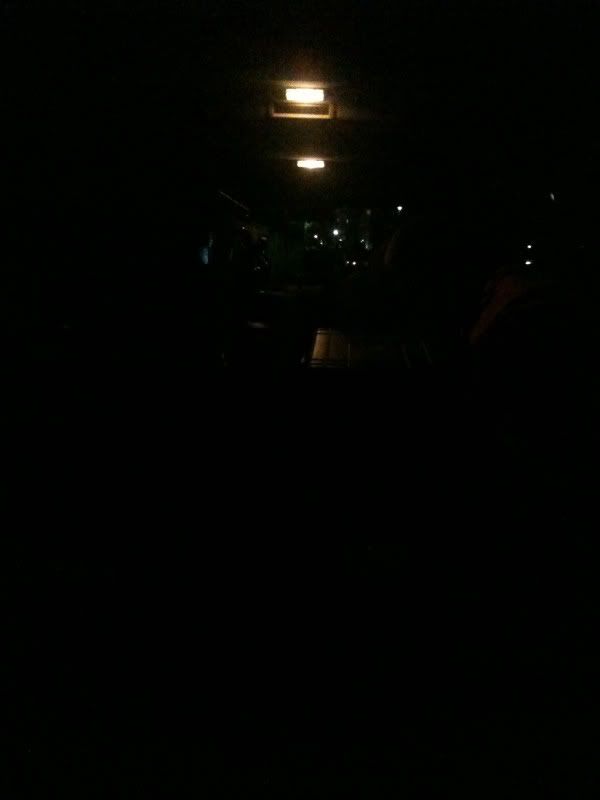
This is a photo of the rear door with the factory interior lights on.
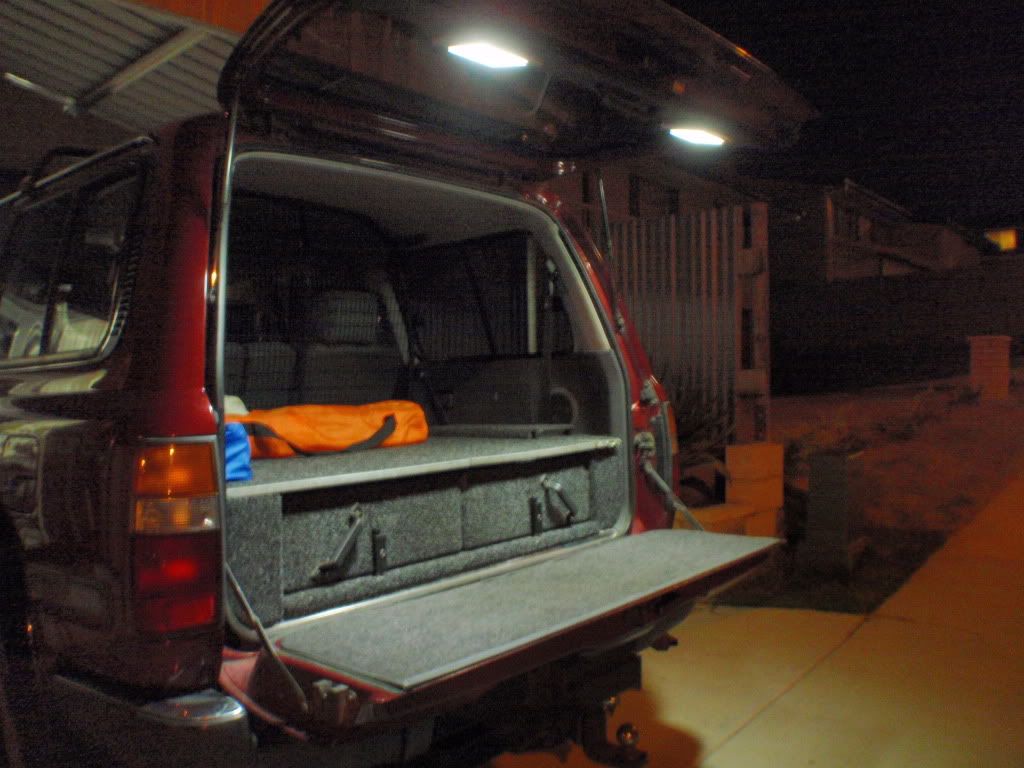
BOOM!!! The LED lights work a treat! So much light!
The lights are turned to shine on the bench.
The lights are turned to shine into the cabin.
Hope you enjoyed the write up.