OK.. must be something about the 5L / 2002 Dualcab but didn't even need to lift the car up! Did it last night in (almost dark) even!
Here are the steps in case anyone wants to try it with the same model.
Tools needed: 17mm ring; 17mm socket + adjustable head-angle socket driver , 12mm Open ended Spanner
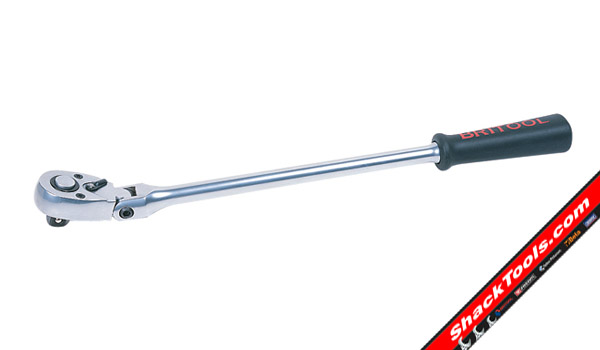
Note: the adjustable head socket driver is the BEST tool to do this with as it allows the head adjustment so the handle to run between the firewall and the bell housing.. you could not do this job as easy without one.. I think I got mine from Justtools - its a 1/4"... but excellent tool!
Like this one:
http://www.comparestoreprices.co.uk/ima ... atchet.jpg
Steps:
1. Disconnect battery (12mm in my case)
2. disconnect all wires and piping to Air filter/box (mine has snorkel)
3. remove airbox/filter completly (good time to give it a clean with the 'pressor?!)
4. move all cable formers/holders out of the way
5. disconnect solenoid switch cable (connector)
6. diconnect 12V cable (12mm open ended spanner)
7. break tension off 2x 17mm bolts (might need leaverage - I needed a piece of steel pipe over socket driver to crack the tension) and loosen both with the socket driver head bent to about 45degrees.
(tip: the top bolt is threaded into the starter housing; but the bottom bolt is a nut/bolt combination - and the nut's hard to see - do this from below - 2ppl will speed the job up)
8. remove bottom bolt/nut (and a quick cleanup for easier re-insert)
9. remove top bolt (will need to hold up starter to remove weight)
10. remove starter backwards and upwards via area between chassis, engine and injector pump. Does slide out easy (the mounting plate of starter is tricky to manouver - be patient)
ITS OUT!
Quick overhaul of the starter contacts (could probably have cleaned them up - but bought the goods from UK - only too 5 days to get here - so replaced them anyway).
Flip starter upsideown (teeth to the ground)
1. Unscrew solenoid backplate (three 8mm bolts with phillips screwtop - very soft metal - use the 8mm!)
2. remove the contactor - BUT LEAVE SPRING IN -(it holds the ballbearing at the bottom in - loose that and game is over!)
3. unbolt 12mm holding common 12V for motor and move out of way.
4. unbolt 2x 12mm nuts holding contact bolts in place
5. remove contactors - note the seqence for the insulators and o'rings.. (do one at a time and lay them out in order).
6. replace first contactor - fingertight and use the new contactor/20mm socket to make sure its square and bottomed out.
tip: the contacts have to sit flat or the contactor will make connection to the contacts in the raised point... and wear the contacts out quicker.
7. tighten every thing up.
reverse everything for re-installation.
Jobs done..
Took me about 1 hour and NO LOST SKIN!!
