Not sure if this is wanted but thought id put it up.
Well today i was having a few more troubles with the idle on my carbie, Its all ready had a kit put through it so pulled it off to unblock the idle jet and give it a once over. It was pretty shaged bit of throttle shaft play and heap of (AWSOME) mods by the previous 500 owners.
So a quick search on the net and found a carbie place just down the road. went down and had a extended chat with the ins and outs and a heap of different options available. I really just wanted something easy to tune was pretty much bolt on and could get me going ASAP. EFI was an option but i just didn't have the time.
Here is a link to the weber i bought. http://www.thecarbyshop.net.au/latest-news
MIchael the owner was great to deal with and very helpful he has purchased all of these webers NOS from the us, If you want more info just give him a call.
Ok so ill throw some pics up and show every one the process took about 2 hours all up.
Tools:
spanners
Hamer
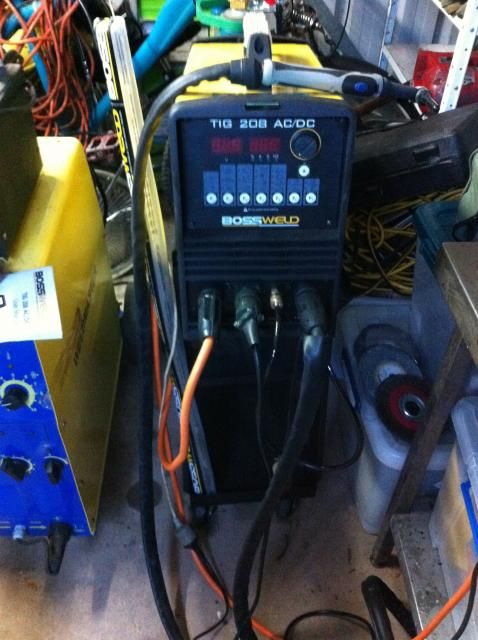
Tig welder/Glue.
Grinder/dremal with cut off wheels.
scribe
ruler
Stanley knife
Got over this pretty fast

This is the kit i Picked up from the shop as it come.

first of all I took the 2 space/adaptor plates off the bottom of the carbie. and pulled them apart. they were all ready marked for me by the shop.

Next i got the original space place that sits on the inlet manifold and using a flat blade screw driver i bevelled the edges of the whole i could sit in the lead ball provided.

Using the lead ball provided i filled the hole in the original plate by simply sitting the ball in the whole and lightly tapping it with a ball pean hammer until it was nice and flat had to work it into the hole a little but with the ball but was pretty straight forward. then i cut off the excess lead with a stanley knife blade.

I then put down a gaskit then the original base plate then gaskit then the first of the 2 spacer/adaptor plates from the kit and bolted it into place.

Then i bolted on the second adaptor and locktighted it in place.

Then bolted carbie new throttle cable mount on,
I then bolted the template piece onto the original hat as seen in the first picture making sure that i marked the centre line and the position that it needed to be in so that it lines up with the original airbox. once i was happy with how it was i scribed around the template.

Then got the grinder out and started to hack away, it would be alot easier with a dremal or 2inch cut off air tool.

checking the size f the new hat adaptor, still needed to trim a bit more.

Got it to where i wanted it.

Then went into worlds smallest work shop and started to put the new adaptor ring on.
This helps..

Owner of the carbie shop doesn't weld his on and uses a compound to stick them on cant remember what it was called.
all welded on.

Then using the threaded rod supplied with the adaptor i fitted the modified hat and then cut down the threaded rod to the correct size.

Then refitted 2 the vac advance hose and the vacume hose that goes to your canister. Blocked off the old choke water hoses and the other vacuum hoses.
Fitted up fuel hose and throttle cable.

Gave it 2 pumps and turned it over started straight away and sat perfectly on idle. pompoms pompoms pompoms Armsup Armsup
So i thought id better take it out for a drive and wow what a difference midrange pull is so much more and the power improvement is great.
I have heard all the stories about webers on angles but i was assured that the DFT Weber didn't have these problems so i took it out and tried it out on some angles and inclines and could not fault it.
It was not an easy decision to go with the new option (cause im a tight arse) but im very happy that i did it.
Mods just delete this if its not wanted or in the wrong place.
Cheers
Mick